Installing the 82357A
Step 4: Configuring the 82357A
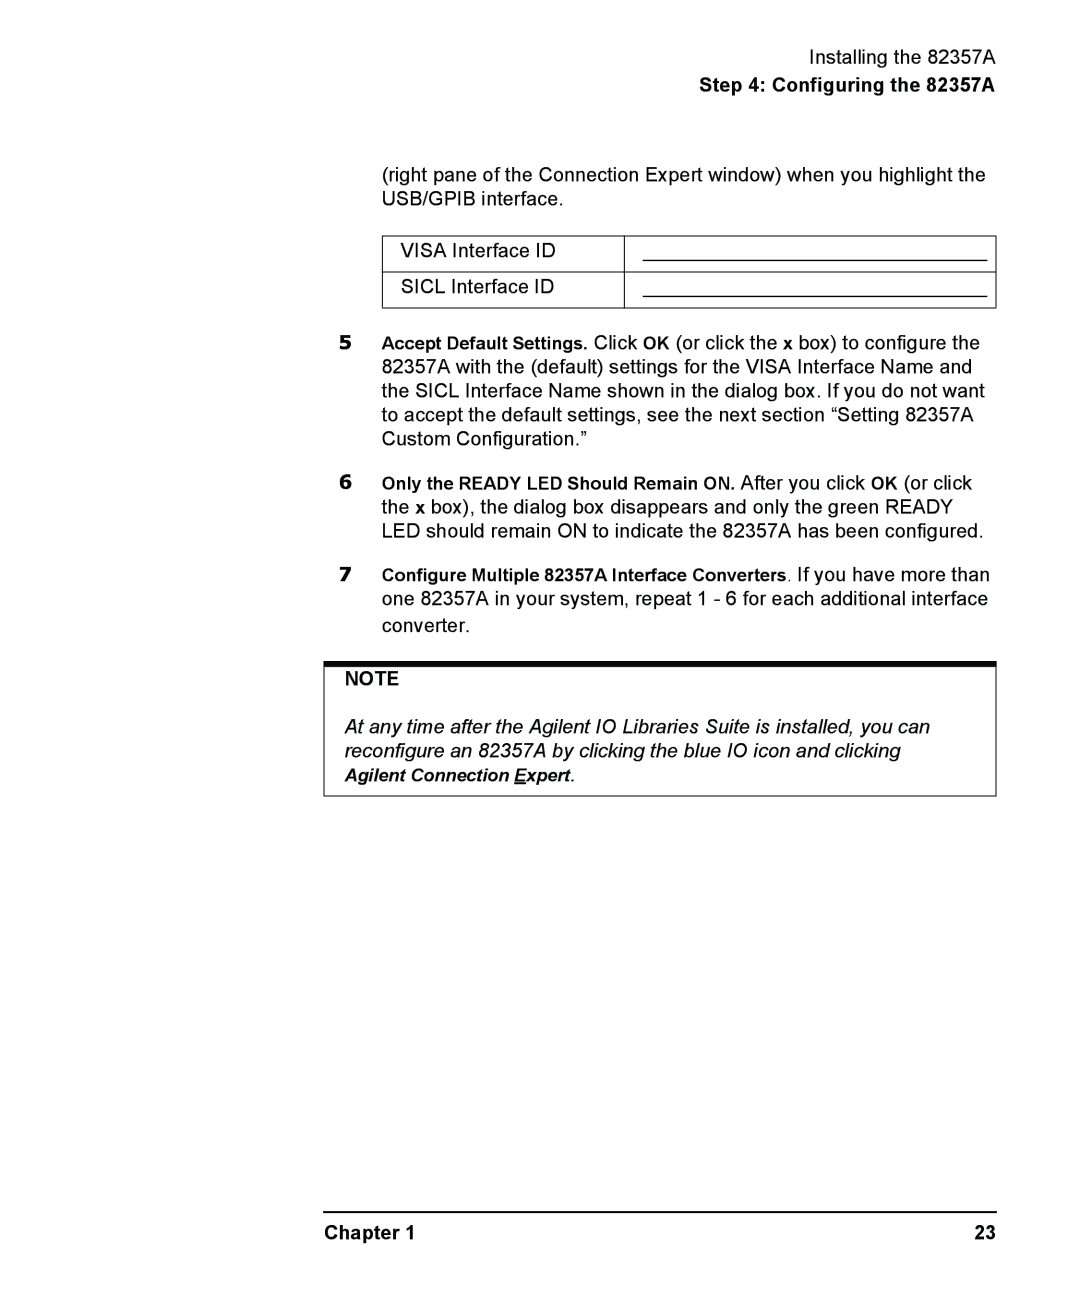
(right pane of the Connection Expert window) when you highlight the USB/GPIB interface.
VISA Interface ID | _______________________________ |
|
|
SICL Interface ID | _______________________________ |
|
|
5Accept Default Settings. Click OK (or click the x box) to configure the 82357A with the (default) settings for the VISA Interface Name and the SICL Interface Name shown in the dialog box. If you do not want to accept the default settings, see the next section “Setting 82357A Custom Configuration.”
6Only the READY LED Should Remain ON. After you click OK (or click the x box), the dialog box disappears and only the green READY LED should remain ON to indicate the 82357A has been configured.
7Configure Multiple 82357A Interface Converters. If you have more than one 82357A in your system, repeat 1 - 6 for each additional interface converter.
NOTE
At any time after the Agilent IO Libraries Suite is installed, you can reconfigure an 82357A by clicking the blue IO icon and clicking Agilent Connection Expert.
Chapter 1 | 23 |