USING AUDIO MANAGER
3 Enter information about the track such as the title, artist, album title, genre, and lyrics.
In some fields, you can select the desired item from the ![]() to the right of the field.
to the right of the field.
4Click on “Next” once or more times to go to the next track to edit. When you have no more tracks to edit, click on “Close.”
5Click on “Close” to close the “Preview Playlist” window.
To learn more about how to use the “Edit CD Track Information” dialog box, refer to the “Edit Track Information” under the “Playlist” book in the Online Help window.
7 Click on the “Start Reading” button.
The recording process for the selected tracks starts. The Status box displays the progress of the track currently being recorded and the total recording progress of all the tracks selected for recording.
To stop recording, click on the “Stop Reading” button.
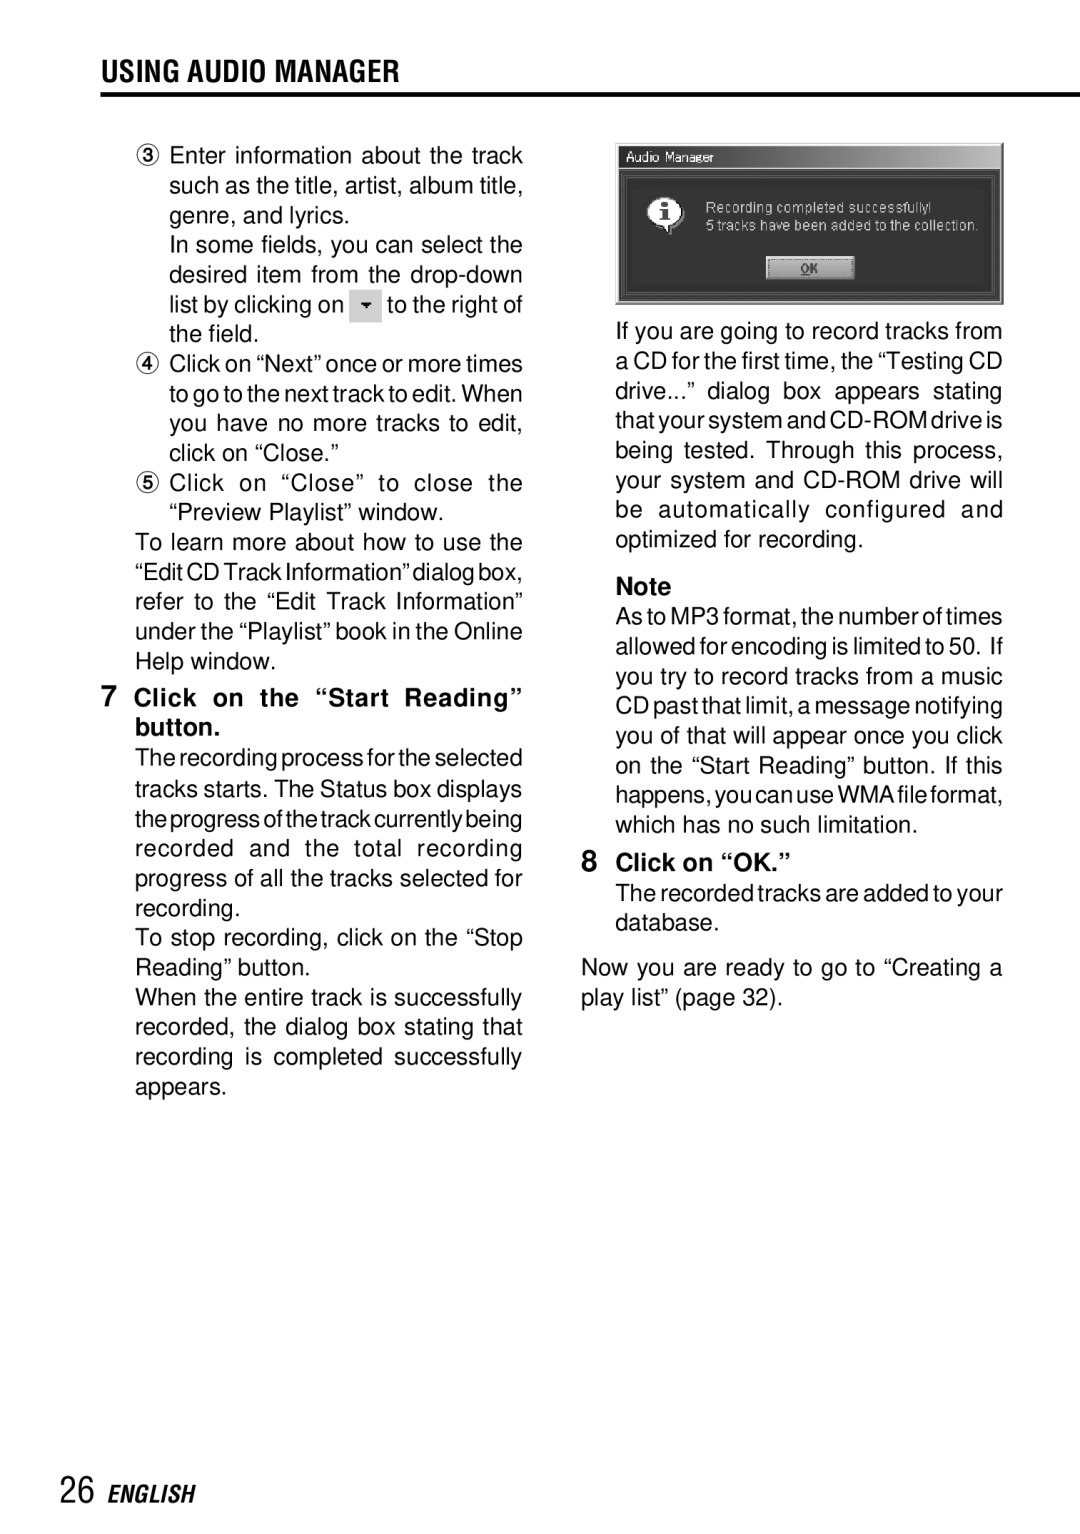
When the entire track is successfully recorded, the dialog box stating that recording is completed successfully appears.
If you are going to record tracks from a CD for the first time, the “Testing CD drive...” dialog box appears stating that your system and
Note
As to MP3 format, the number of times allowed for encoding is limited to 50. If you try to record tracks from a music CD past that limit, a message notifying you of that will appear once you click on the “Start Reading” button. If this happens, you can use WMA file format, which has no such limitation.
8Click on “OK.”
The recorded tracks are added to your database.
Now you are ready to go to “Creating a play list” (page 32).