Kindle User’s Guide 83
Chapter 7 Settings and Experimental
Entering Network Information
If you manage a
press the Symbol key | to enter numbers or symbols not present on the Kindle keyboard. |
To enter network information manually, follow these steps:
1.Make sure you are within range of the network you want to add.
2.Press the Home button, then press the Menu button.
3.Navigate to “Settings” using the
4. Select “view” next to
5.Navigate to “Enter other
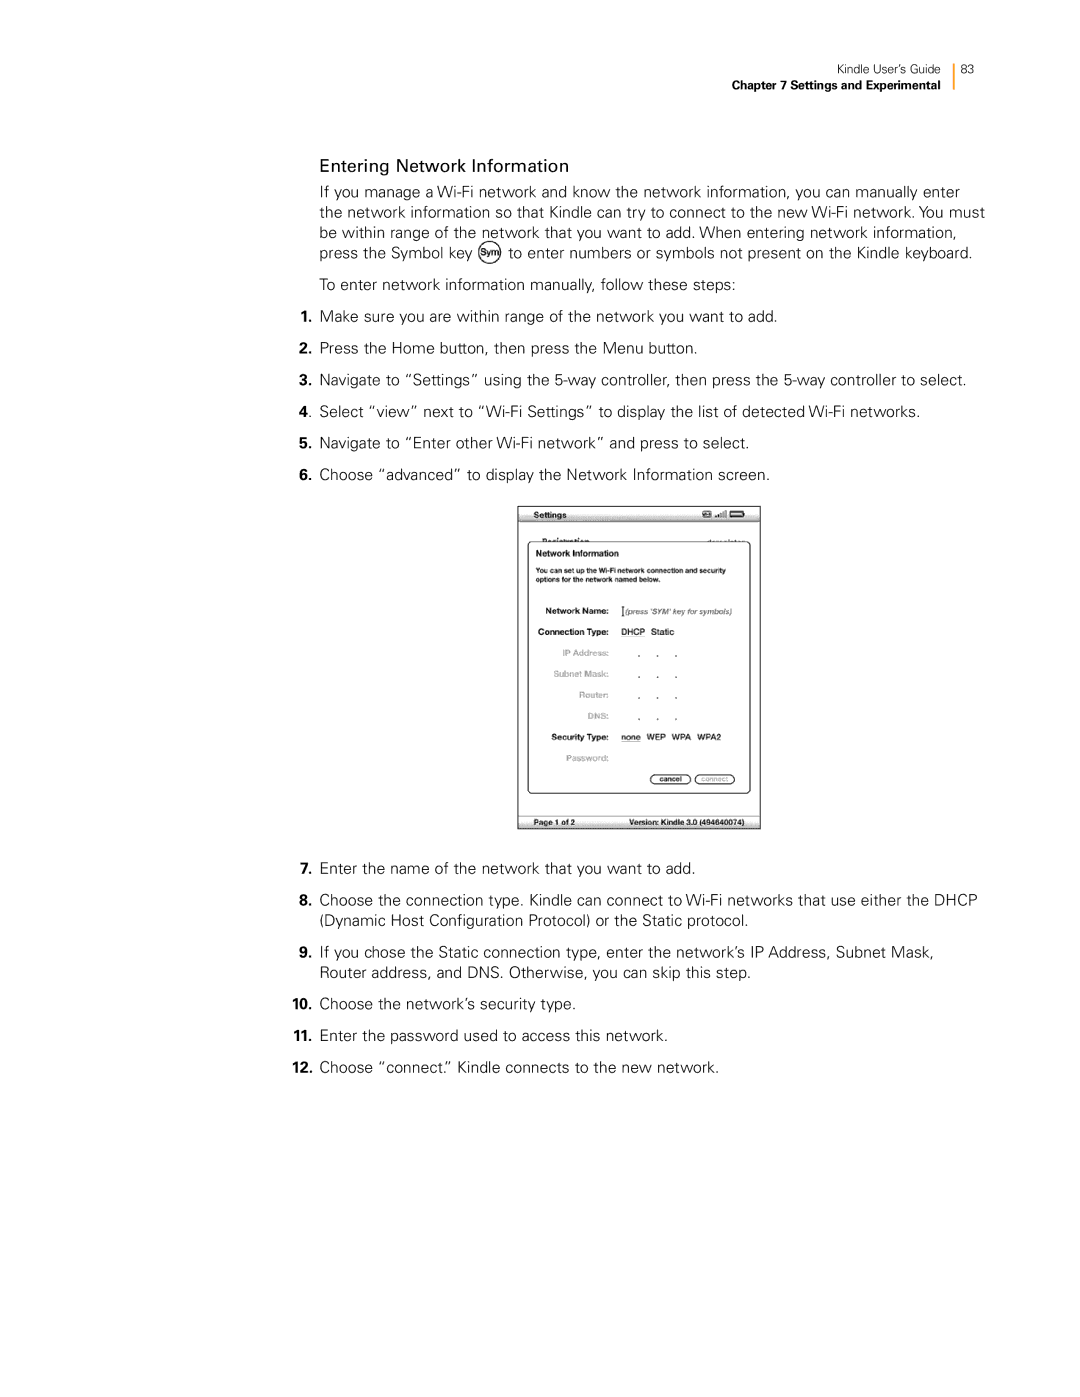
6.Choose “advanced” to display the Network Information screen.
7.Enter the name of the network that you want to add.
8.Choose the connection type. Kindle can connect to
9.If you chose the Static connection type, enter the network’s IP Address, Subnet Mask, Router address, and DNS. Otherwise, you can skip this step.
10.Choose the network’s security type.
11.Enter the password used to access this network.
12.Choose “connect.” Kindle connects to the new network.