Chapter 7: How Tos
7.9Perform Advanced Editing
On the Storyboard, you can perform basic content modification, including adding still images, video clips, and transitions to your movie, as well as enhance your still images and trim your video clips. See Section 3.4 and Section 7.5 for more information. To perform more advanced editing, you need to use the Timeline.
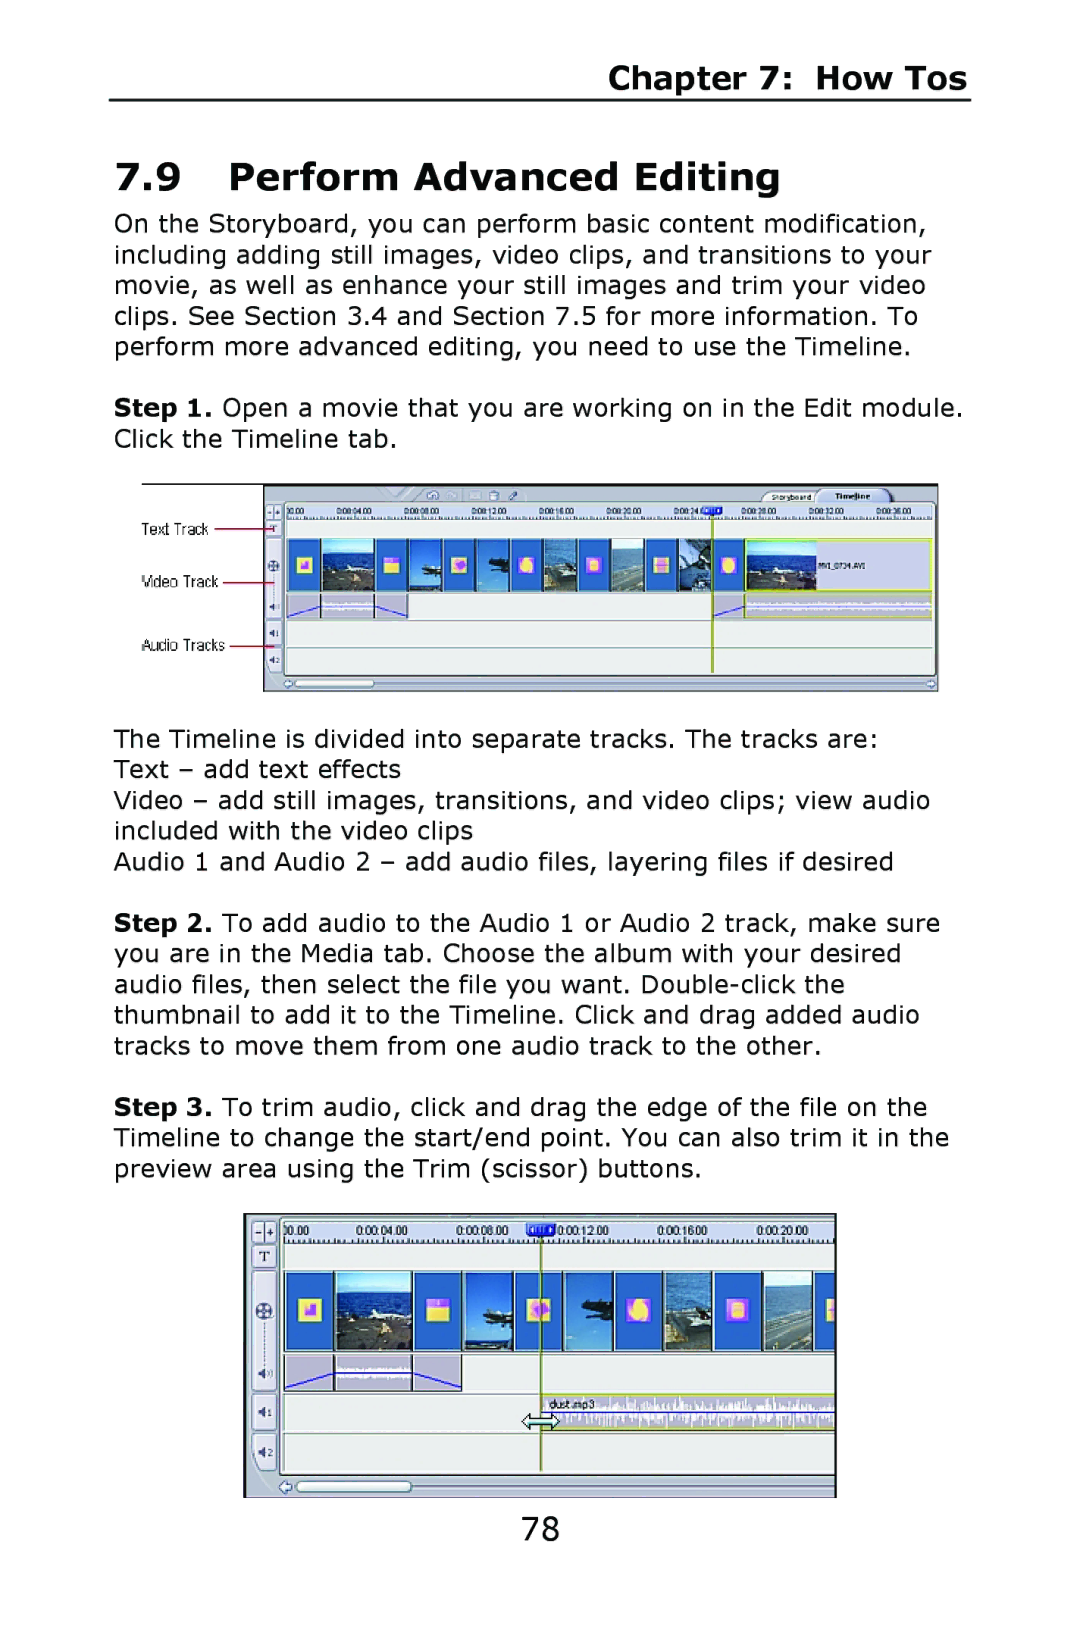
Step 1. Open a movie that you are working on in the Edit module. Click the Timeline tab.
The Timeline is divided into separate tracks. The tracks are: Text – add text effects
Video – add still images, transitions, and video clips; view audio included with the video clips
Audio 1 and Audio 2 – add audio files, layering files if desired
Step 2. To add audio to the Audio 1 or Audio 2 track, make sure you are in the Media tab. Choose the album with your desired audio files, then select the file you want.
Step 3. To trim audio, click and drag the edge of the file on the Timeline to change the start/end point. You can also trim it in the preview area using the Trim (scissor) buttons.
78
