Chapter 7: How Tos
7.1Capture Video
Step 1. Connect your camera to the computer and turn the power on. Launch the program. From the welcome wizard, select "Capture, create, or edit videos." From the next screen, select "Capture From Device."
If you already have the program open, click "Capture" at the top of the screen to go to the Capture module.
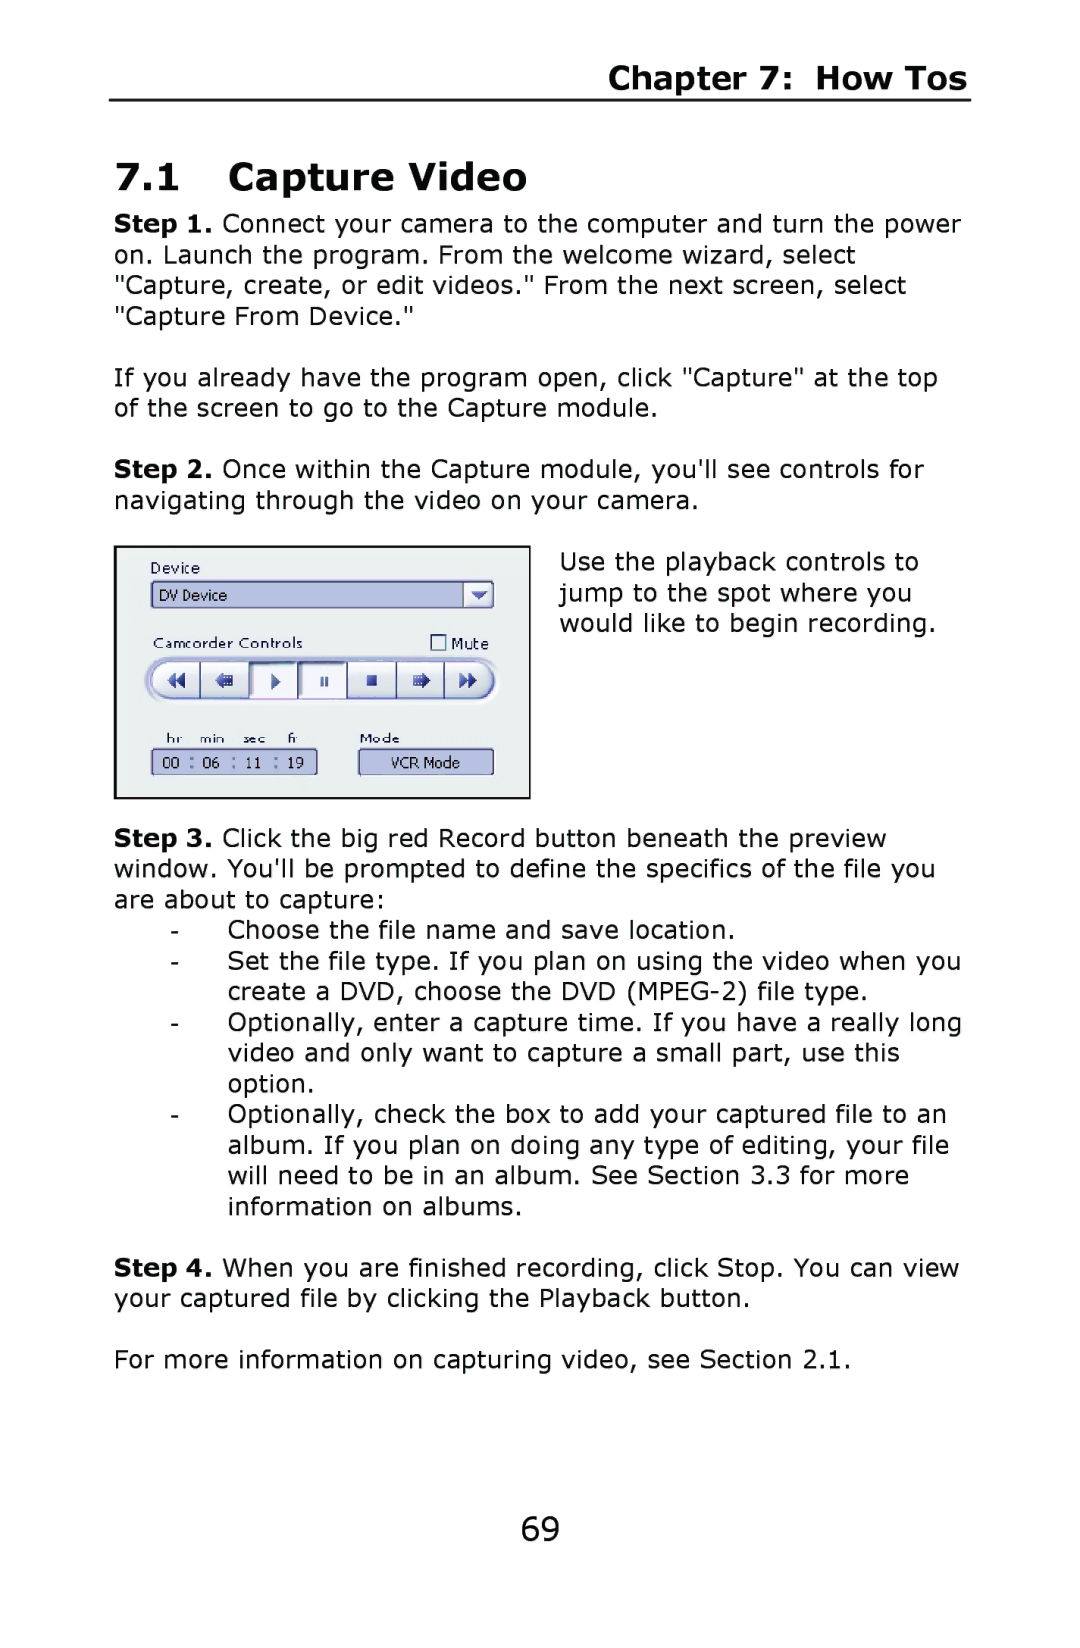
Step 2. Once within the Capture module, you'll see controls for navigating through the video on your camera.
Use the playback controls to jump to the spot where you would like to begin recording.
Step 3. Click the big red Record button beneath the preview window. You'll be prompted to define the specifics of the file you are about to capture:
-Choose the file name and save location.
-Set the file type. If you plan on using the video when you create a DVD, choose the DVD
-Optionally, enter a capture time. If you have a really long video and only want to capture a small part, use this option.
-Optionally, check the box to add your captured file to an album. If you plan on doing any type of editing, your file will need to be in an album. See Section 3.3 for more information on albums.
Step 4. When you are finished recording, click Stop. You can view your captured file by clicking the Playback button.
For more information on capturing video, see Section 2.1.
69