AXIS 213 - Configuring the PTZ Network Camera 27
1.Click the Upload/Remove button.
2.Enter the path to the file, e.g. a file located on your workstation or click Browse.
3.Select the user level for the uploaded file. Setting the user access level means that you have complete control over which pages can be viewed by which users.
4.Click the Upload button.
All uploaded files are shown in the list in the lower section of the page. To remove a file, check the box provided next to it and then click the Remove button.
5.Click Close to close the window.
•To use your uploaded file, click the radio button and select the file from the
•To use an External file located somewhere other than in the AXIS 213, click the radio button and enter the URL by External:
Own Home Page
To use an uploaded web page as the default page, check the checkbox, select the page from the
User Defined Links |
|
Enter a descriptive name and enter the |
|
URL in the provided field. The link will |
|
appear on the Live View page. |
|
User defined CGI links can be used to |
|
issue HTTP API requests, e.g. PTZ |
|
commands. |
|
Example: |
|
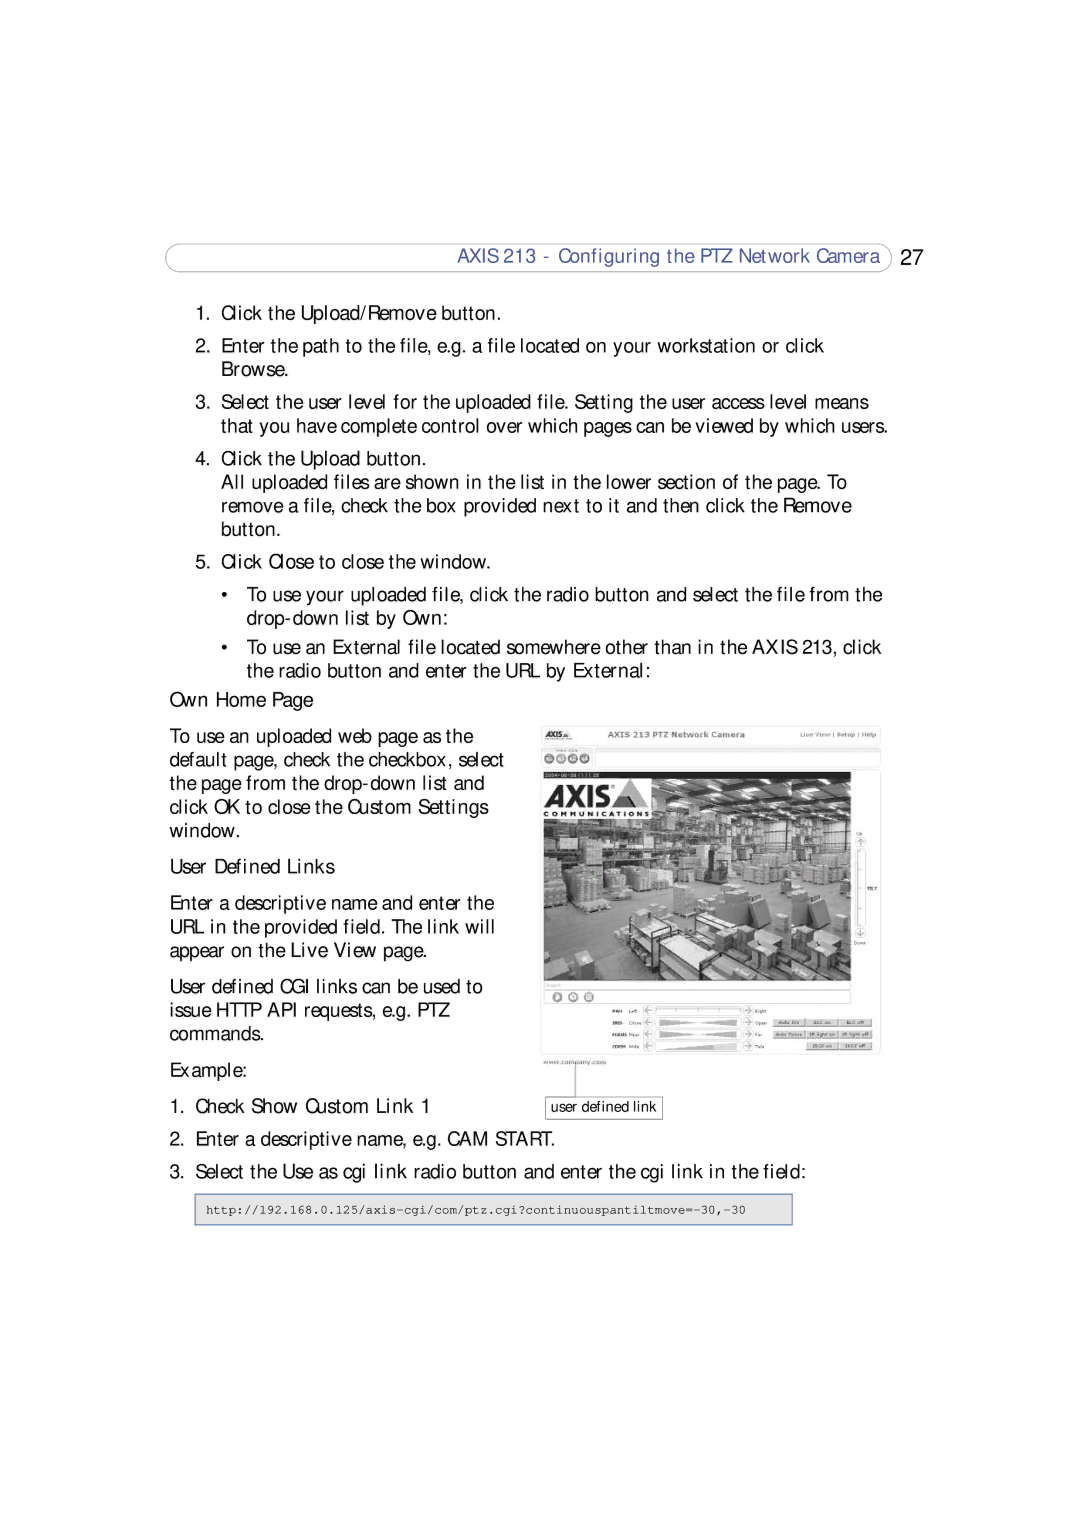
1. Check Show Custom Link 1 | user defined link |
2.Enter a descriptive name, e.g. CAM START.
3.Select the Use as cgi link radio button and enter the cgi link in the field: