8
Installing the AXIS 213
Please observe the following before installing the AXIS 213 PTZ Network Camera.
•This product is designed for indoor use or locations where it is protected from rain and moisture. To operate the camera in these conditions, use the outdoor housing accessories.
•Do not use strong or abrasive detergents when cleaning the casing. Use a mild detergent and wipe gently.
•Never position the camera directly towards the sun or other bright objects. Whether the camera is in use or not, never aim it at the sun or other extremely bright objects.
Connecting the Hardware
Before you begin
If the AXIS 213 is to be mounted in a position where it is difficult to access, it is recommended that you set the IP address and get the camera up and running before completing the hardware installation, i.e. skip step 1 below until the installation is completely verified.
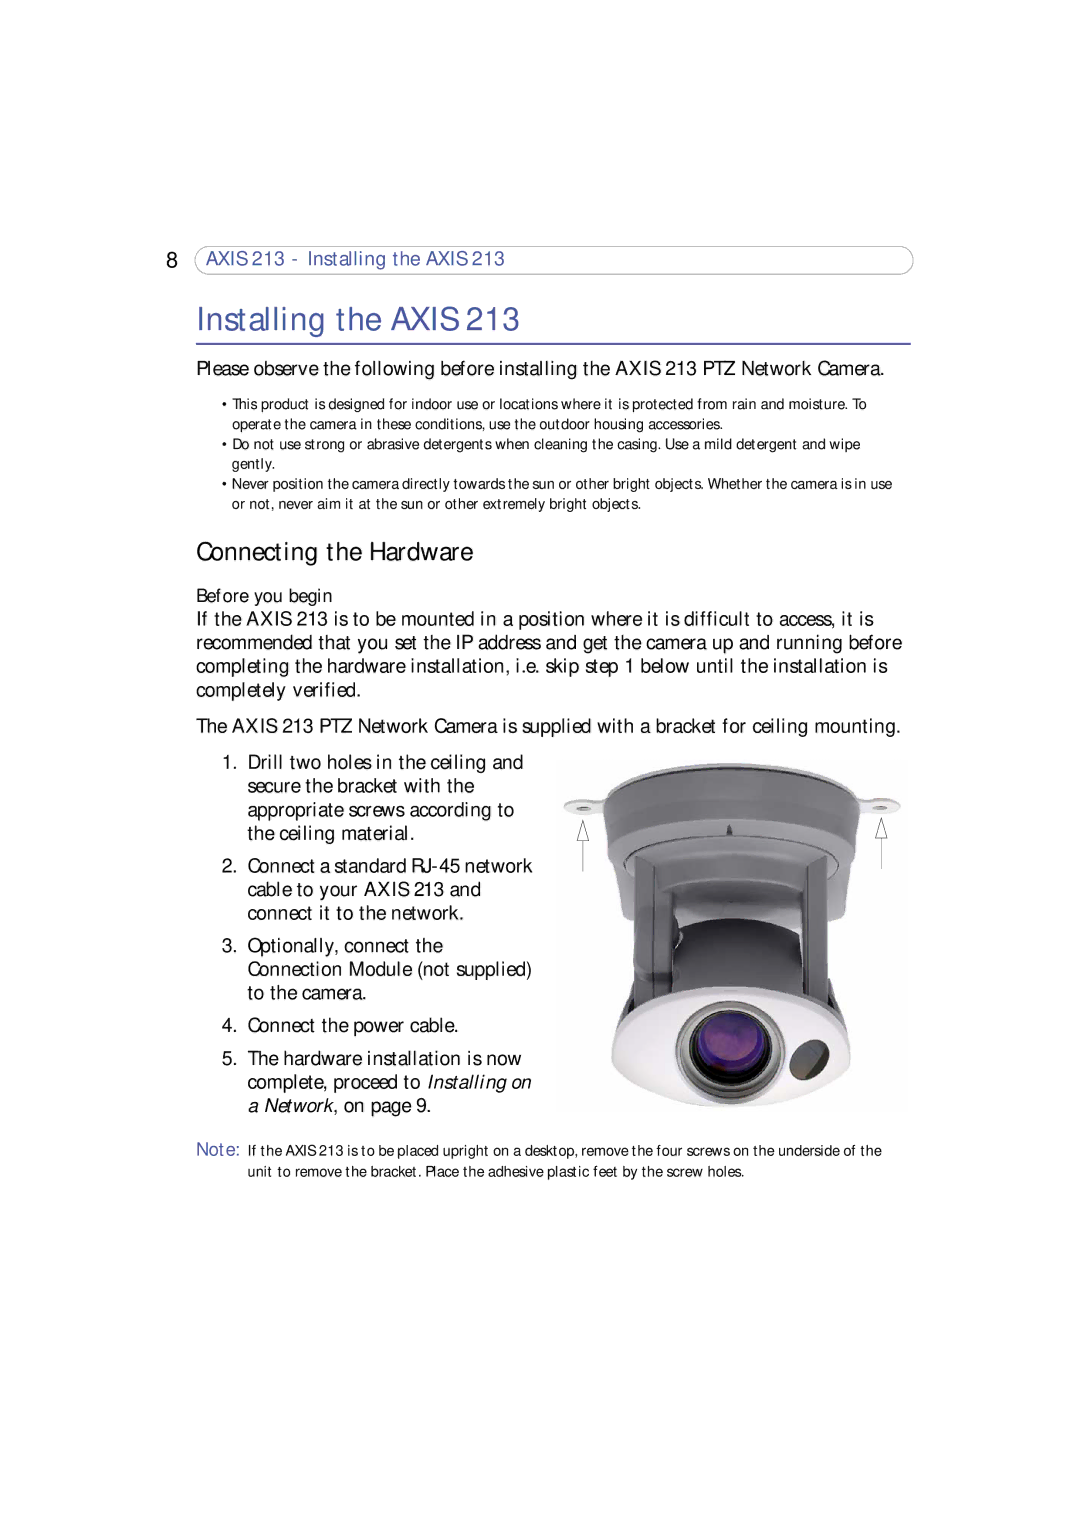
The AXIS 213 PTZ Network Camera is supplied with a bracket for ceiling mounting.
1.Drill two holes in the ceiling and secure the bracket with the
appropriate screws according to the ceiling material.
2.Connect a standard
3.Optionally, connect the Connection Module (not supplied) to the camera.
4.Connect the power cable.
5.The hardware installation is now complete, proceed to Installing on a Network, on page 9.
Note: If the AXIS 213 is to be placed upright on a desktop, remove the four screws on the underside of the unit to remove the bracket. Place the adhesive plastic feet by the screw holes.