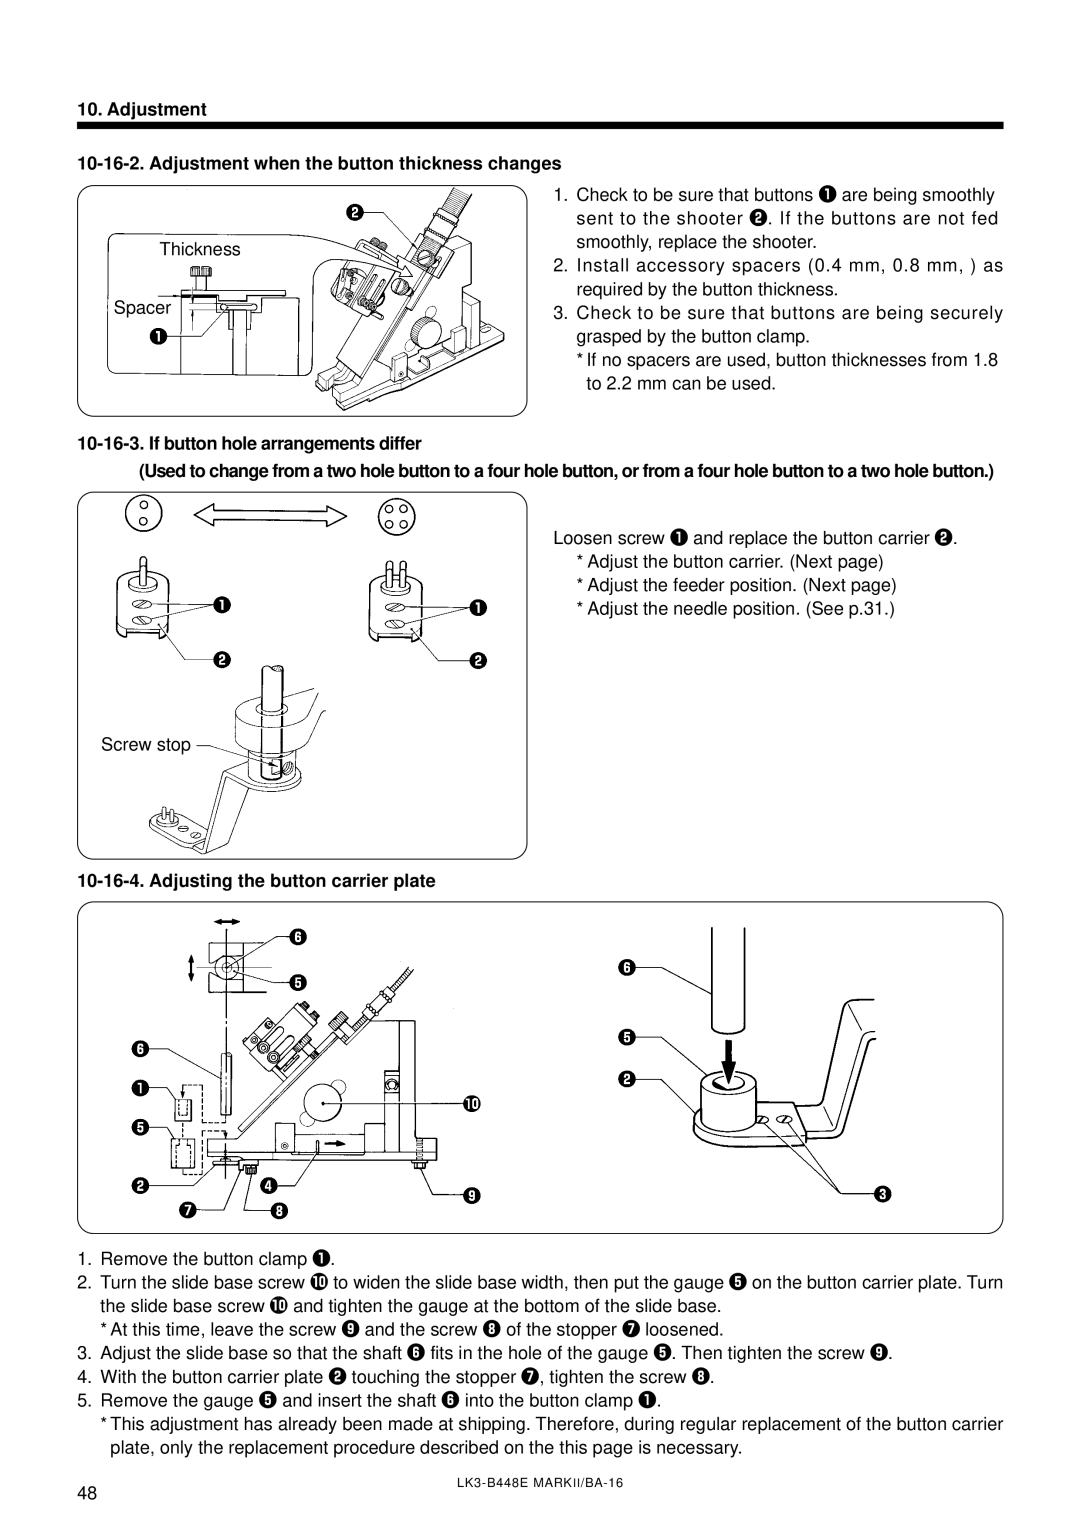
LK3-B448E specifications
The Brother LK3-B448E is a versatile and innovative sewing machine designed to meet the needs of both home sewers and professionals alike. This comprehensive machine is especially advantageous for users who want to experiment with intricate designs and achieve high-quality results with ease.At the core of the LK3-B448E lies its advanced computerized technology, which facilitates a seamless sewing experience. The machine features a user-friendly interface, making it accessible for not just experienced sewists but also beginners. The LCD display provides clear visibility of settings, stitch patterns, and design options, ensuring that users have full control over their projects.
One of the standout features of the LK3-B448E is its extensive library of built-in stitch patterns. With over 100 different stitches to choose from, including decorative, utility, and quilting stitches, users can easily customize their sewing to suit any project. In addition to the built-in stitches, this machine supports the use of embroidery patterns and designs, expanding creative possibilities significantly.
The LK3-B448E also incorporates advanced sewing technologies, such as automatic needle threading and a drop-in bobbin system. These features simplify the setup process, allowing users to spend more time sewing and less time managing technicalities. Furthermore, the machine offers adjustable stitch length and width, enabling personalized settings that cater to various fabric types and sewing tasks.
Another remarkable characteristic of the LK3-B448E is its adjustable presser foot pressure. This allows for better control, whether working with delicate fabrics or thicker materials. The machine’s speed controls help manage sewing speed, providing additional comfort for users as they tackle intricate patterns or detailed designs.
The LK3-B448E also supports USB connectivity, enabling users to transfer new designs and updates effortlessly. This feature ensures that the machine remains relevant with cutting-edge patterns and functionalities, extending its lifespan and usability.
In conclusion, the Brother LK3-B448E combines user-friendly design with advanced technology, offering a comprehensive sewing experience. Its extensive features, coupled with customizable settings, make it an ideal choice for both novice and experienced users looking to enhance their sewing projects. With the LK3-B448E, creating beautiful garments and intricate designs is a straightforward and enjoyable process.

