Chapter 7: Local Management
NOTE |
The first time a user attempts to exit the screen without saving the changes, a “NOT SAVED?” message is displayed. The edits are lost if the user proceeds to exit without saving the changes.
6.To exit the screen, press the appropriate Function key or use the arrow keys to highlight the RETURN command.
7.Press ENTER. The Feature Selection screen appears.
7.6THE CONFIGURATION SCREEN
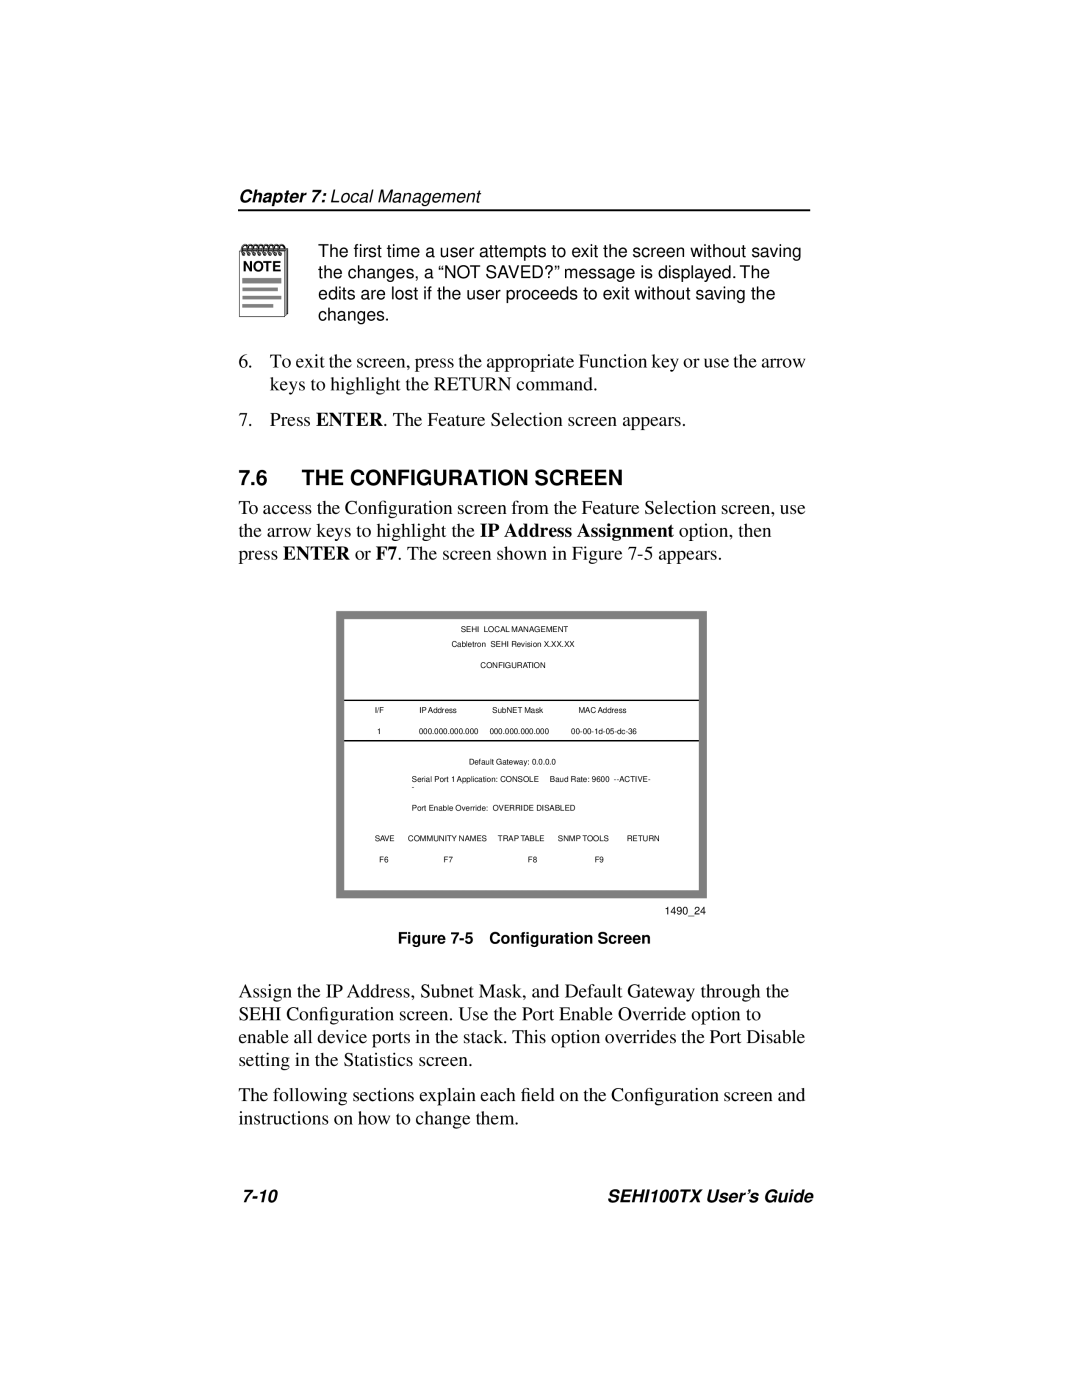
To access the Configuration screen from the Feature Selection screen, use the arrow keys to highlight the IP Address Assignment option, then press ENTER or F7. The screen shown in Figure
SEHI LOCAL MANAGEMENT
Cabletron SEHI Revision X.XX.XX
CONFIGURATION
I/F | IP Address | SubNET Mask | MAC Address |
|
1 | 000.000.000.000 | 000.000.000.000 | ||
|
|
| ||
| Default Gateway: 0.0.0.0 |
| ||
| Serial Port 1 Application: CONSOLE | Baud Rate: 9600 | ||
| - |
|
|
|
| Port Enable Override: OVERRIDE DISABLED |
| ||
SAVE | COMMUNITY NAMES | TRAP TABLE | SNMP TOOLS | RETURN |
F6 | F7 | F8 | F9 |
|
1490_24
Figure 7-5 Configuration Screen
Assign the IP Address, Subnet Mask, and Default Gateway through the SEHI Configuration screen. Use the Port Enable Override option to enable all device ports in the stack. This option overrides the Port Disable setting in the Statistics screen.
The following sections explain each field on the Configuration screen and instructions on how to change them.
SEHI100TX User’s Guide |
