Chapter 7: Local Management
7.6.5Exiting the Configuration Screen
Use the following steps to exit the Configuration screen and return to the Feature Selection screen:
1.Press the appropriate Function key. To return to the Feature Selection screen, use the arrow keys to highlight the RETURN command.
2.Press ENTER. The Feature Selection screen appears.
7.7THE TRAP TABLE SCREEN
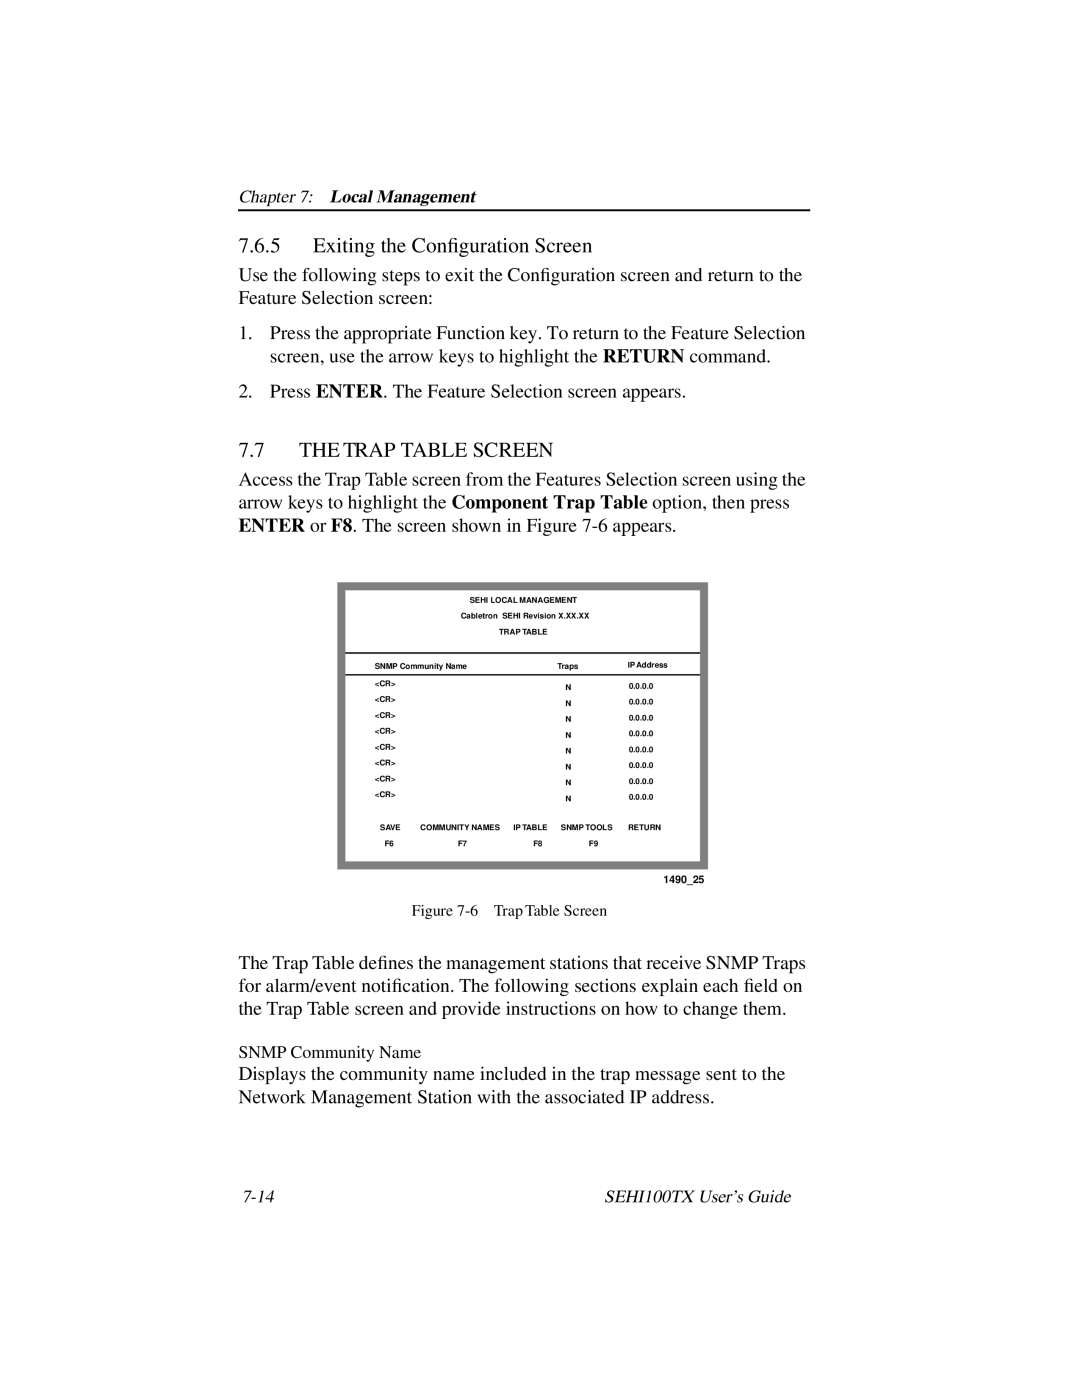
Access the Trap Table screen from the Features Selection screen using the arrow keys to highlight the Component Trap Table option, then press ENTER or F8. The screen shown in Figure
SEHI LOCAL MANAGEMENT
Cabletron SEHI Revision X.XX.XX
TRAP TABLE
SNMP Community Name |
| Traps | IP Address | |
|
|
|
|
|
<CR> |
|
| N | 0.0.0.0 |
|
|
| ||
<CR> |
|
| N | 0.0.0.0 |
|
|
| ||
<CR> |
|
| N | 0.0.0.0 |
|
|
| ||
<CR> |
|
| N | 0.0.0.0 |
|
|
| ||
<CR> |
|
| N | 0.0.0.0 |
|
|
| ||
<CR> |
|
| N | 0.0.0.0 |
|
|
| ||
<CR> |
|
| N | 0.0.0.0 |
|
|
| ||
<CR> |
|
| N | 0.0.0.0 |
|
|
| ||
SAVE | COMMUNITY NAMES | IP TABLE | SNMP TOOLS | RETURN |
F6 | F7 | F8 | F9 |
|
1490_25
Figure 7-6 Trap Table Screen
The Trap Table defines the management stations that receive SNMP Traps for alarm/event notification. The following sections explain each field on the Trap Table screen and provide instructions on how to change them.
SNMP Community Name
Displays the community name included in the trap message sent to the Network Management Station with the associated IP address.
SEHI100TX User’s Guide |
