Installing the STHI
3.1.2Stacking the STHI
The rear panel of the STHI has four STACK ports exclusively reserved for connections to STH modules. Refer to the STH manual for stacking instructions.
3.1.3Attaching the Strain Relief Bracket
To reduce lateral stresses imposed on TCU ports and cable plugs by the weight of cables hanging from the TCU ports of a horizontally mounted STHI, the strain relief bracket ensures that cable forces pull nearly straight out from the port, rather than prying sharply downward.
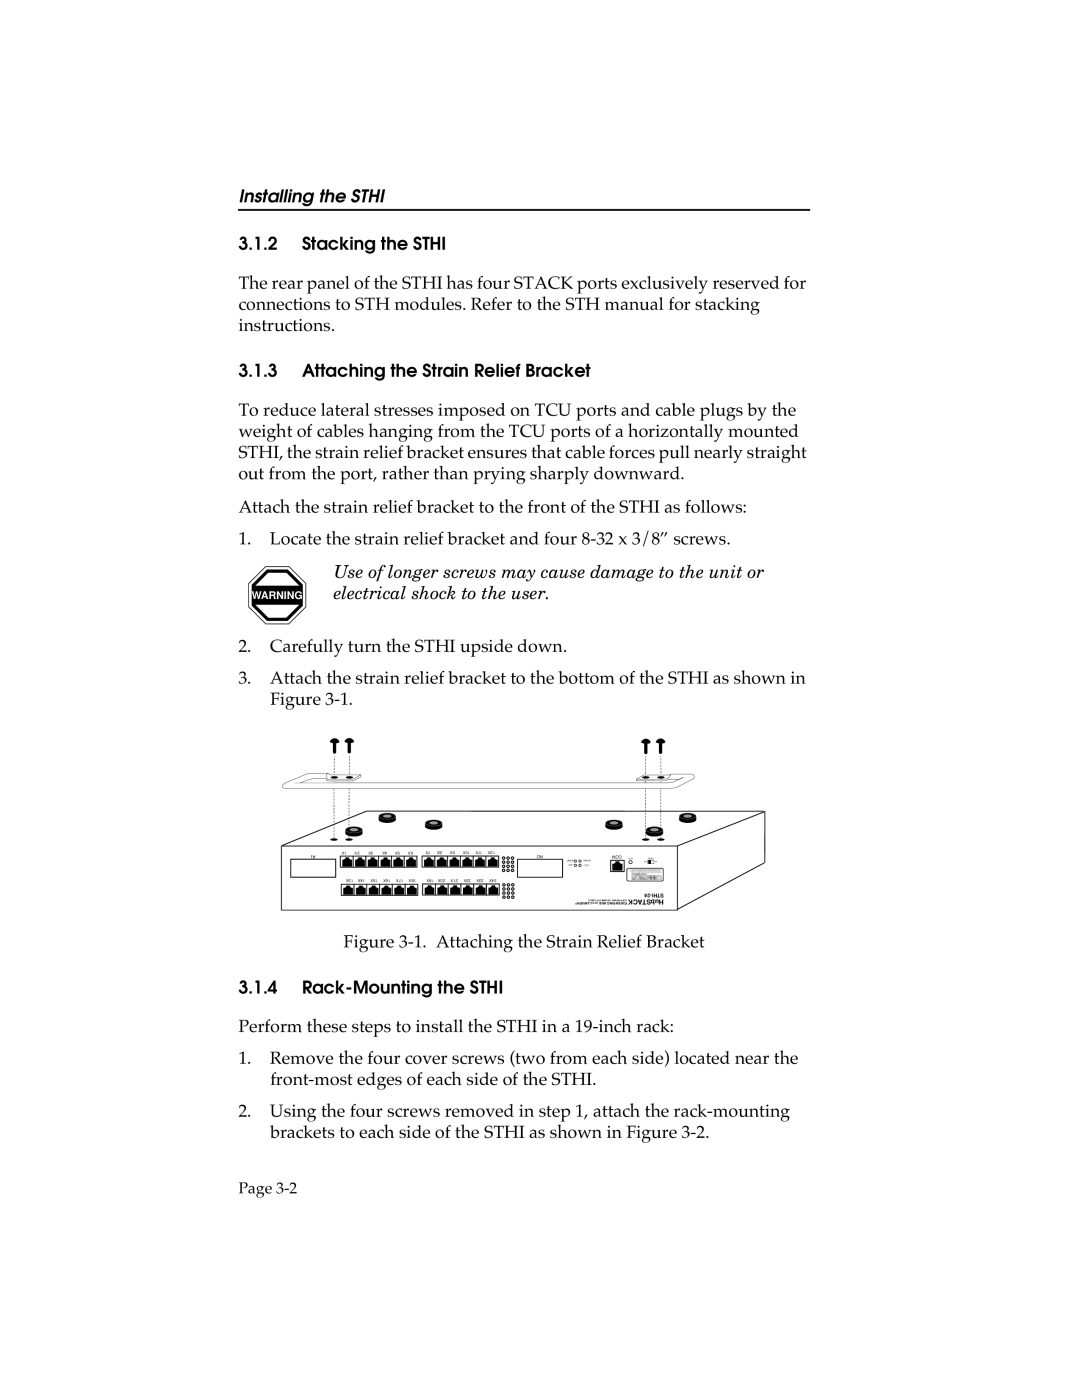
Attach the strain relief bracket to the front of the STHI as follows:
1.Locate the strain relief bracket and four
Use of longer screws may cause damage to the unit or WARNING electrical shock to the user.
2.Carefully turn the STHI upside down.
3.Attach the strain relief bracket to the bottom of the STHI as shown in Figure
RI | 1X | 2X | 3X | 4X | 5X | 6X |
| 7X | 8X | 9X | 10X | 11X | 12X | |
|
|
|
|
|
|
|
|
|
|
|
|
|
|
|
|
| 13X | 14X | 15X | 16X | 17X | 18X |
| 19X | 20X | 21X | 22X | 23X | 24X |
|
|
| ||||||||||||
|
|
|
|
|
|
|
|
|
|
|
|
|
|
|
RO | COM |
MGMT | Mb/s 16 |
ACT | CPU |
CABLE UTP OHM 100 SUPPORTING ® LANVIEWWITH HUB RING TOKEN HubSTACK
Figure 3-1. Attaching the Strain Relief Bracket
3.1.4Rack-Mounting the STHI
Perform these steps to install the STHI in a
1.Remove the four cover screws (two from each side) located near the
2.Using the four screws removed in step 1, attach the
Page