Installing the STHI
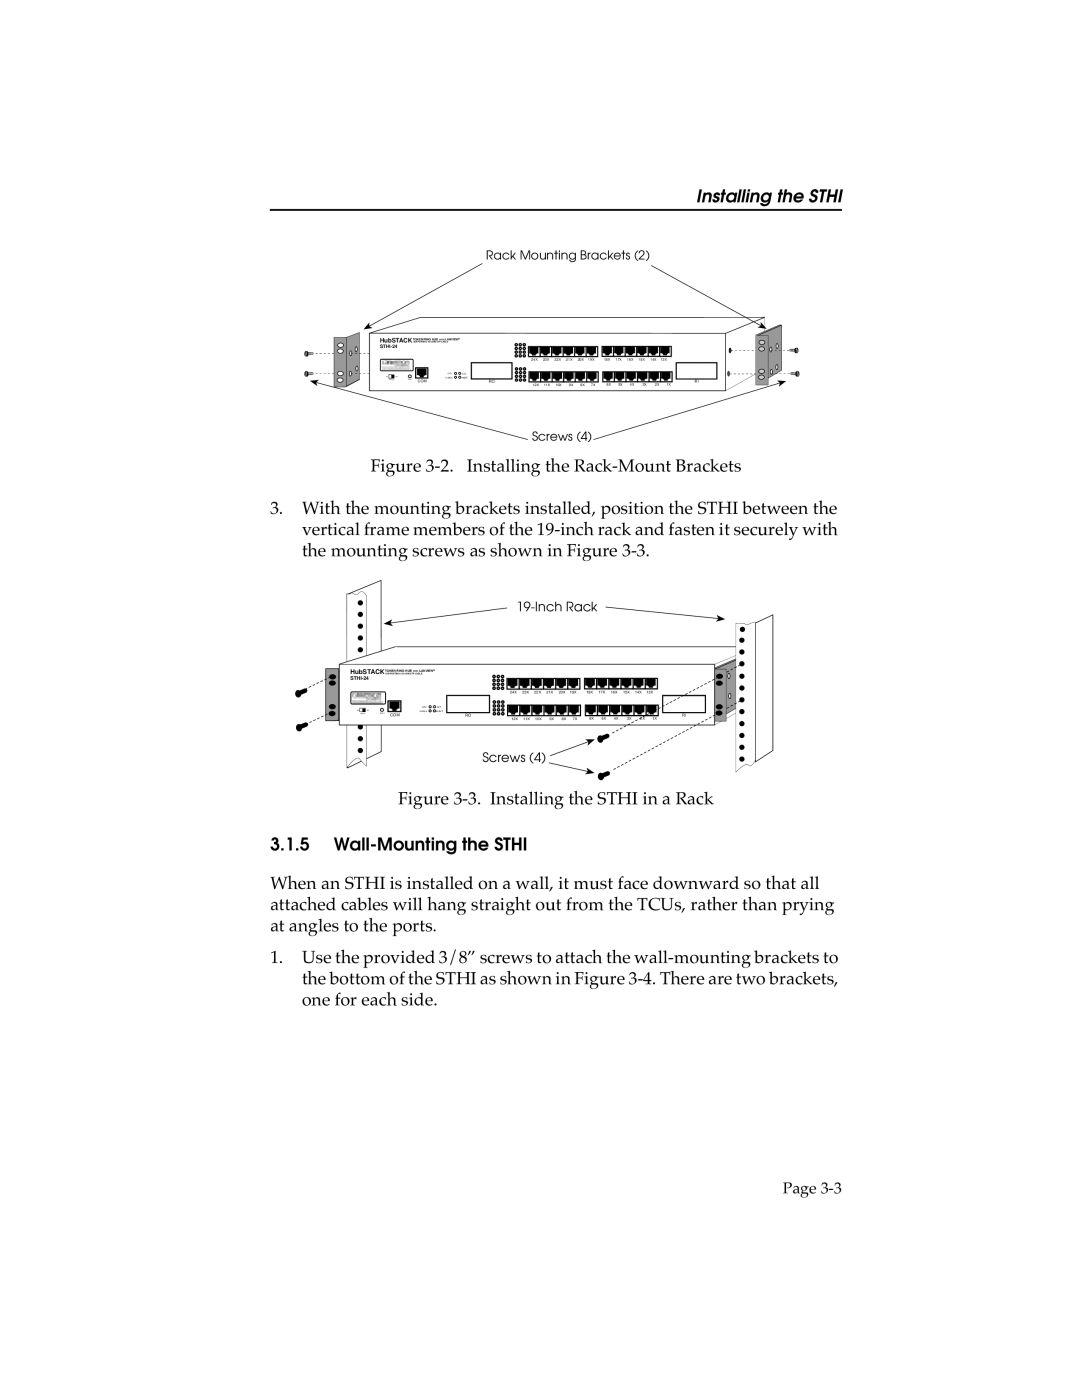
Rack Mounting Brackets (2)
HubSTACK TOKEN RING HUB WITH LANVIEW®
SUPPORTING 100 OHM UTP CABLE
CPU | ACT |
16 Mb/s | MGMT |
COM | RO |
24X 23X 22X 21X 20X 19X 18X 17X 16X 15X 14X 13X
RI
12X | 11X | 10X | 9X | 8X | 7X | 6X | 5X | 4X | 3X | 2X | 1X |
Screws (4)
Figure 3-2. Installing the Rack-Mount Brackets
3.With the mounting brackets installed, position the STHI between the vertical frame members of the 19-inch rack and fasten it securely with the mounting screws as shown in Figure 3-3.
19-Inch Rack
HubSTACK TOKEN RING HUB WITH LANVIEW®
SUPPORTING 100 OHM UTP CABLE
CPU | ACT |
16 Mb/s | MGMT |
COM | RO |
24X 23X 22X 21X 20X 19X 18X 17X 16X 15X 14X 13X
RI
12X | 11X | 10X | 9X | 8X | 7X | 6X | 5X | 4X | 3X | 2X | 1X |
Screws (4)
Figure 3-3. Installing the STHI in a Rack
3.1.5Wall-Mounting the STHI
When an STHI is installed on a wall, it must face downward so that all attached cables will hang straight out from the TCUs, rather than prying at angles to the ports.
1.Use the provided 3/8” screws to attach the
Page