12 |
| Installing Your Camera on a Network | AXIS 2110 User’s Manual |
Checking the Installation From Your Browser
Having completed the installation, you should then check the connection between the AXIS 2110 and the network, as follows:
1.Start your browser (see note below) and enter the name or IP address of your camera:
Example!
http://10.11.12.13/
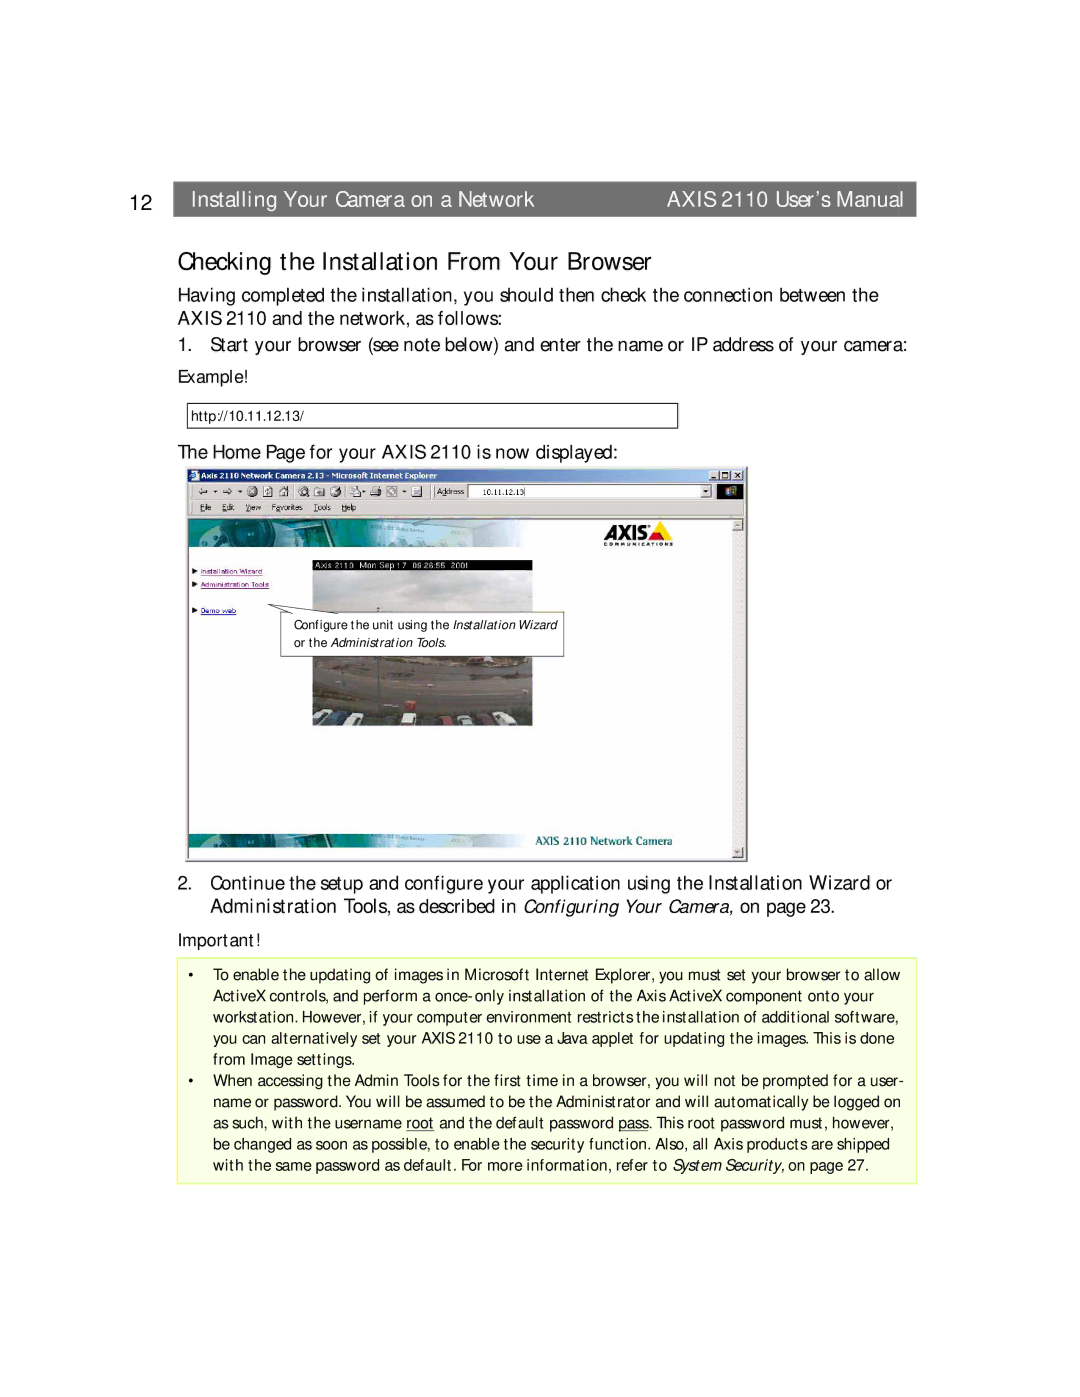
The Home Page for your AXIS 2110 is now displayed:
Configure the unit using the Installation Wizard or the Administration Tools.
2.Continue the setup and configure your application using the Installation Wizard or Administration Tools, as described in Configuring Your Camera, on page 23.
Important!
•To enable the updating of images in Microsoft Internet Explorer, you must set your browser to allow ActiveX controls, and perform a
•When accessing the Admin Tools for the first time in a browser, you will not be prompted for a user- name or password. You will be assumed to be the Administrator and will automatically be logged on as such, with the username root and the default password pass. This root password must, however, be changed as soon as possible, to enable the security function. Also, all Axis products are shipped with the same password as default. For more information, refer to System Security, on page 27.