14 |
| Other Methods of Setting the IP Address | AXIS 2110 User’s Manual |
Setting the IP Address with the AXIS IP Installer
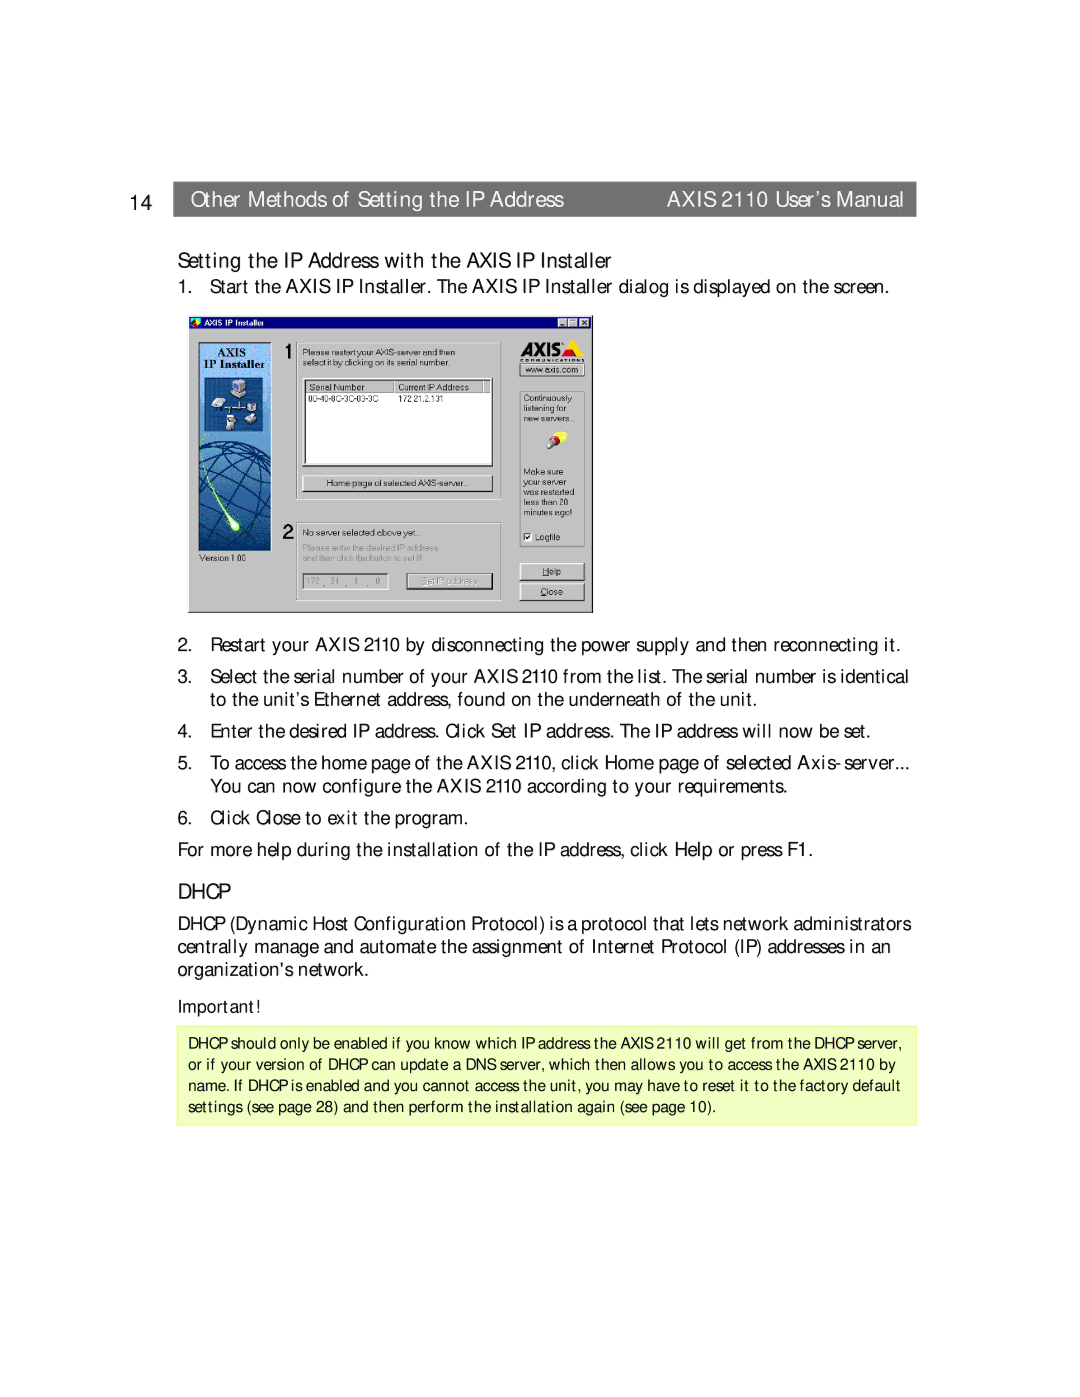
1. Start the AXIS IP Installer. The AXIS IP Installer dialog is displayed on the screen.
2.Restart your AXIS 2110 by disconnecting the power supply and then reconnecting it.
3.Select the serial number of your AXIS 2110 from the list. The serial number is identical to the unit’s Ethernet address, found on the underneath of the unit.
4.Enter the desired IP address. Click Set IP address. The IP address will now be set.
5.To access the home page of the AXIS 2110, click Home page of selected
You can now configure the AXIS 2110 according to your requirements.
6.Click Close to exit the program.
For more help during the installation of the IP address, click Help or press F1.
DHCP
DHCP (Dynamic Host Configuration Protocol) is a protocol that lets network administrators centrally manage and automate the assignment of Internet Protocol (IP) addresses in an organization's network.
Important!
DHCP should only be enabled if you know which IP address the AXIS 2110 will get from the DHCP server, or if your version of DHCP can update a DNS server, which then allows you to access the AXIS 2110 by name. If DHCP is enabled and you cannot access the unit, you may have to reset it to the factory default settings (see page 28) and then perform the installation again (see page 10).