Chapter 3 Installing the Content Delivery Engines
Installing the CDEs
Install a disk drive by performing the following steps:
Warning During this procedure, wear grounding wrist straps to avoid ESD damage to the card. Do not directly touch the backplane with your hand or any metal tool, or you could shock yourself.
Statement 94
Step 1 Power off the CDE before removing or installing a disk drive.
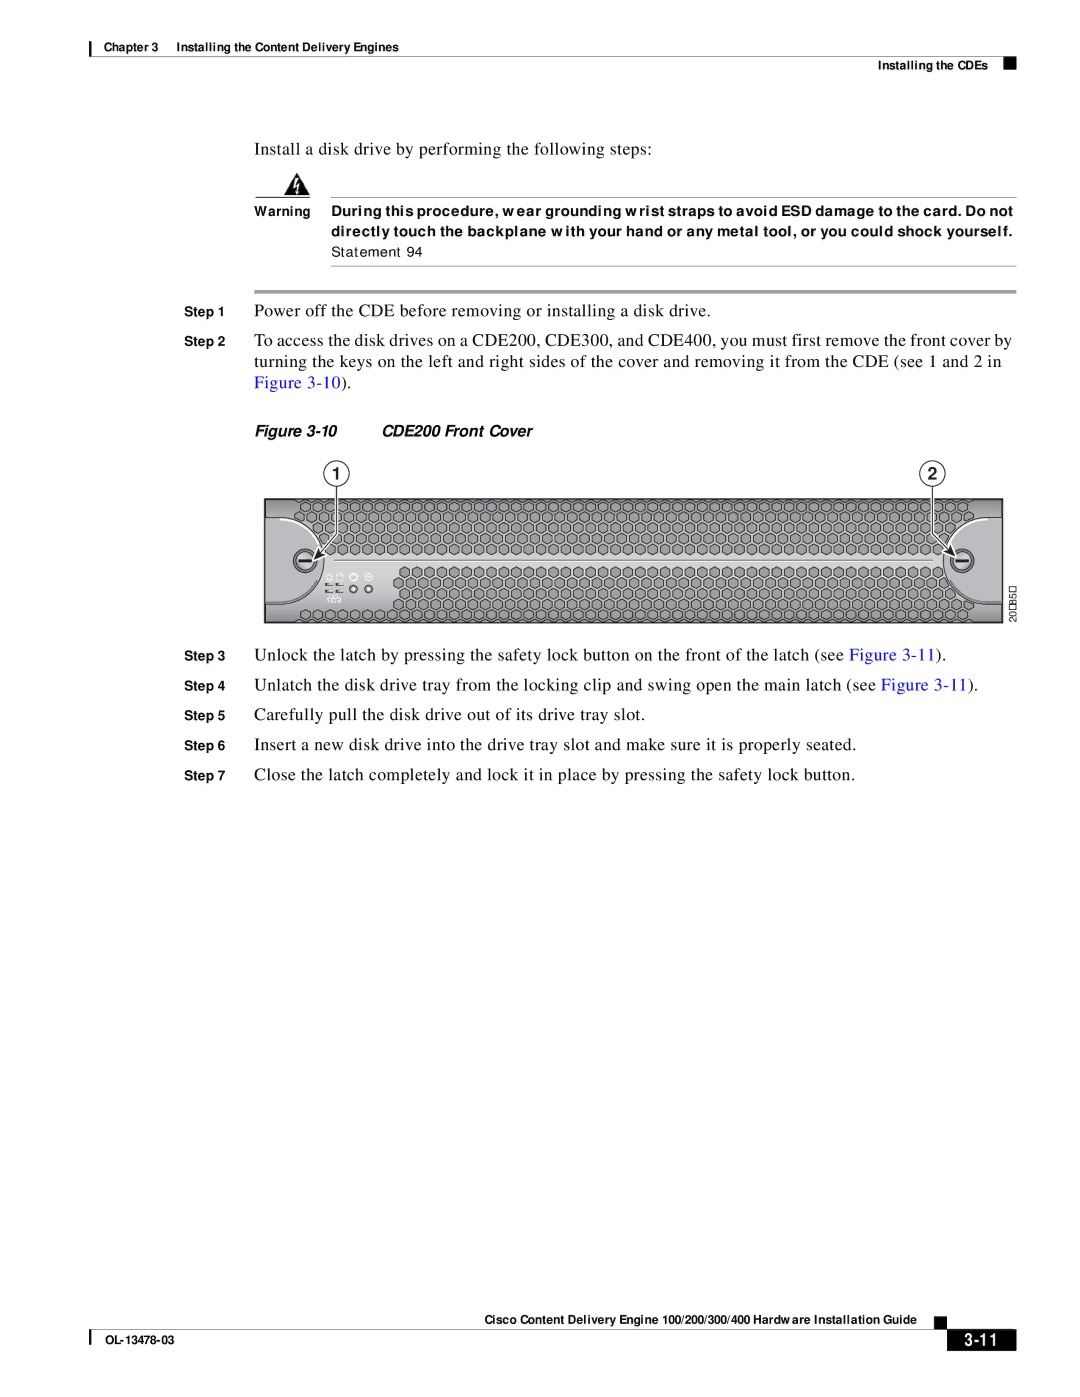
Step 2 To access the disk drives on a CDE200, CDE300, and CDE400, you must first remove the front cover by turning the keys on the left and right sides of the cover and removing it from the CDE (see 1 and 2 in Figure
Figure | CDE200 Front Cover | |
| 1 | 2 |
1 | 2 | 203854 |
|
| |
Step 3 Unlock the latch by pressing the safety lock button on the front of the latch (see Figure
Step 6 Insert a new disk drive into the drive tray slot and make sure it is properly seated.
Step 7 Close the latch completely and lock it in place by pressing the safety lock button.
Cisco Content Delivery Engine 100/200/300/400 Hardware Installation Guide
|
| ||
|
|