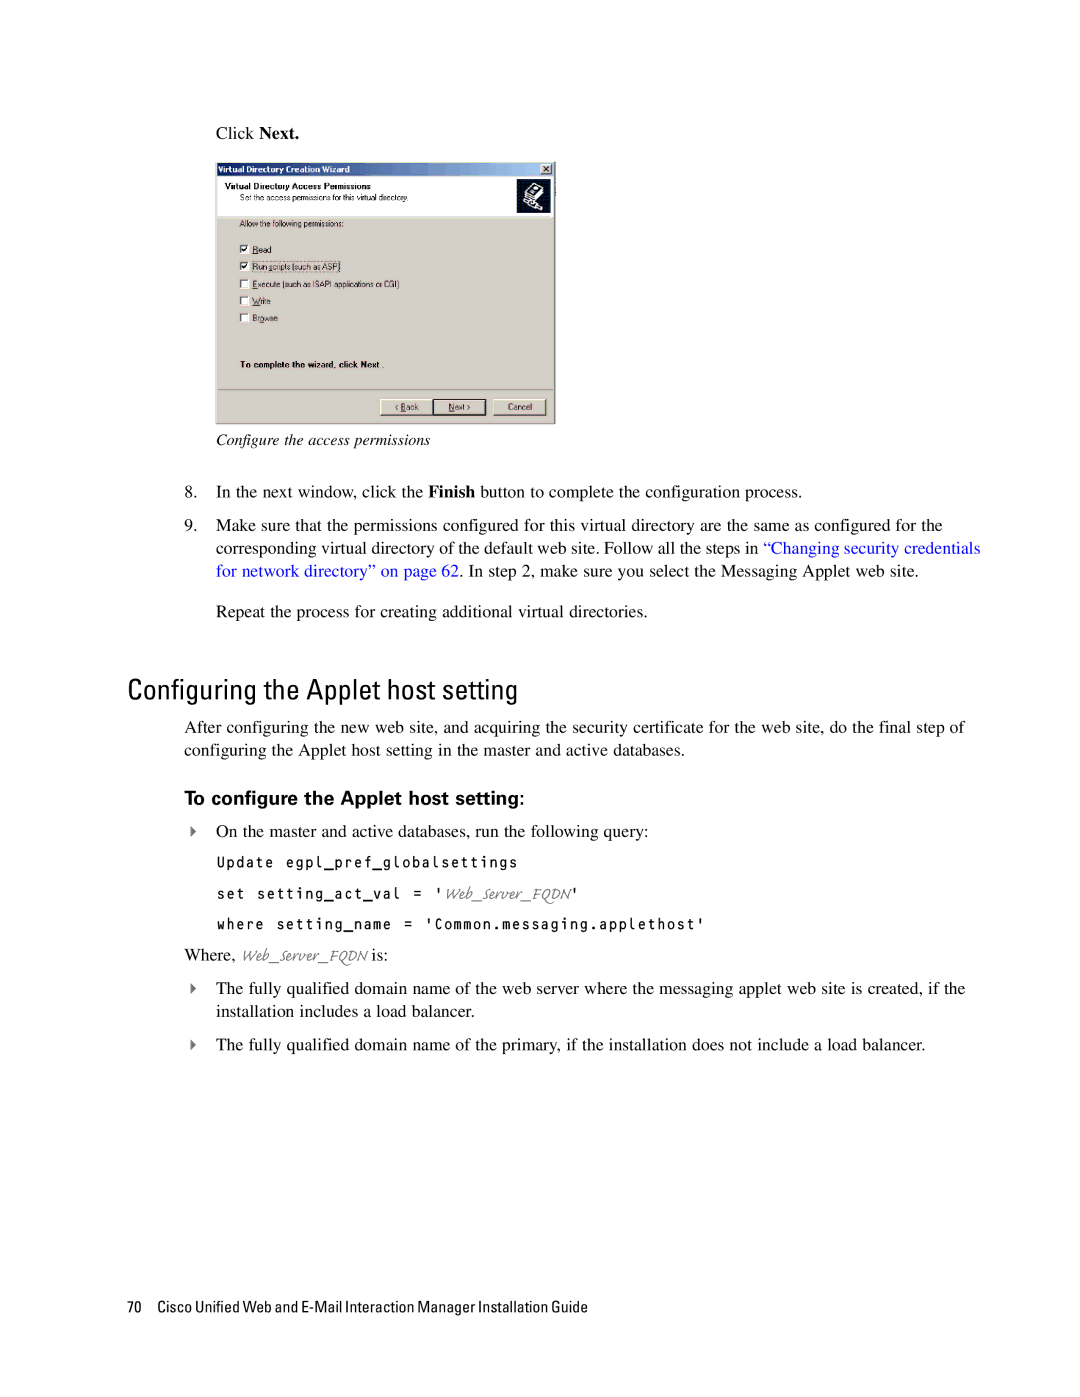
Click Next.
Configure the access permissions
8.In the next window, click the Finish button to complete the configuration process.
9.Make sure that the permissions configured for this virtual directory are the same as configured for the corresponding virtual directory of the default web site. Follow all the steps in “Changing security credentials for network directory” on page 62. In step 2, make sure you select the Messaging Applet web site.
Repeat the process for creating additional virtual directories.
Configuring the Applet host setting
After configuring the new web site, and acquiring the security certificate for the web site, do the final step of configuring the Applet host setting in the master and active databases.
To configure the Applet host setting:
On the master and active databases, run the following query:
Update egpl_pref_globalsettings
set setting_act_val = ‘Web_Server_FQDN’
where setting_name = ‘Common.messaging.applethost’
Where, Web_Server_FQDN is:
The fully qualified domain name of the web server where the messaging applet web site is created, if the installation includes a load balancer.
The fully qualified domain name of the primary, if the installation does not include a load balancer.
70 Cisco Unified Web and
