. . . . . . . . . . . . . . . . . . . . . . . . . . . . . .
2-4 Installation
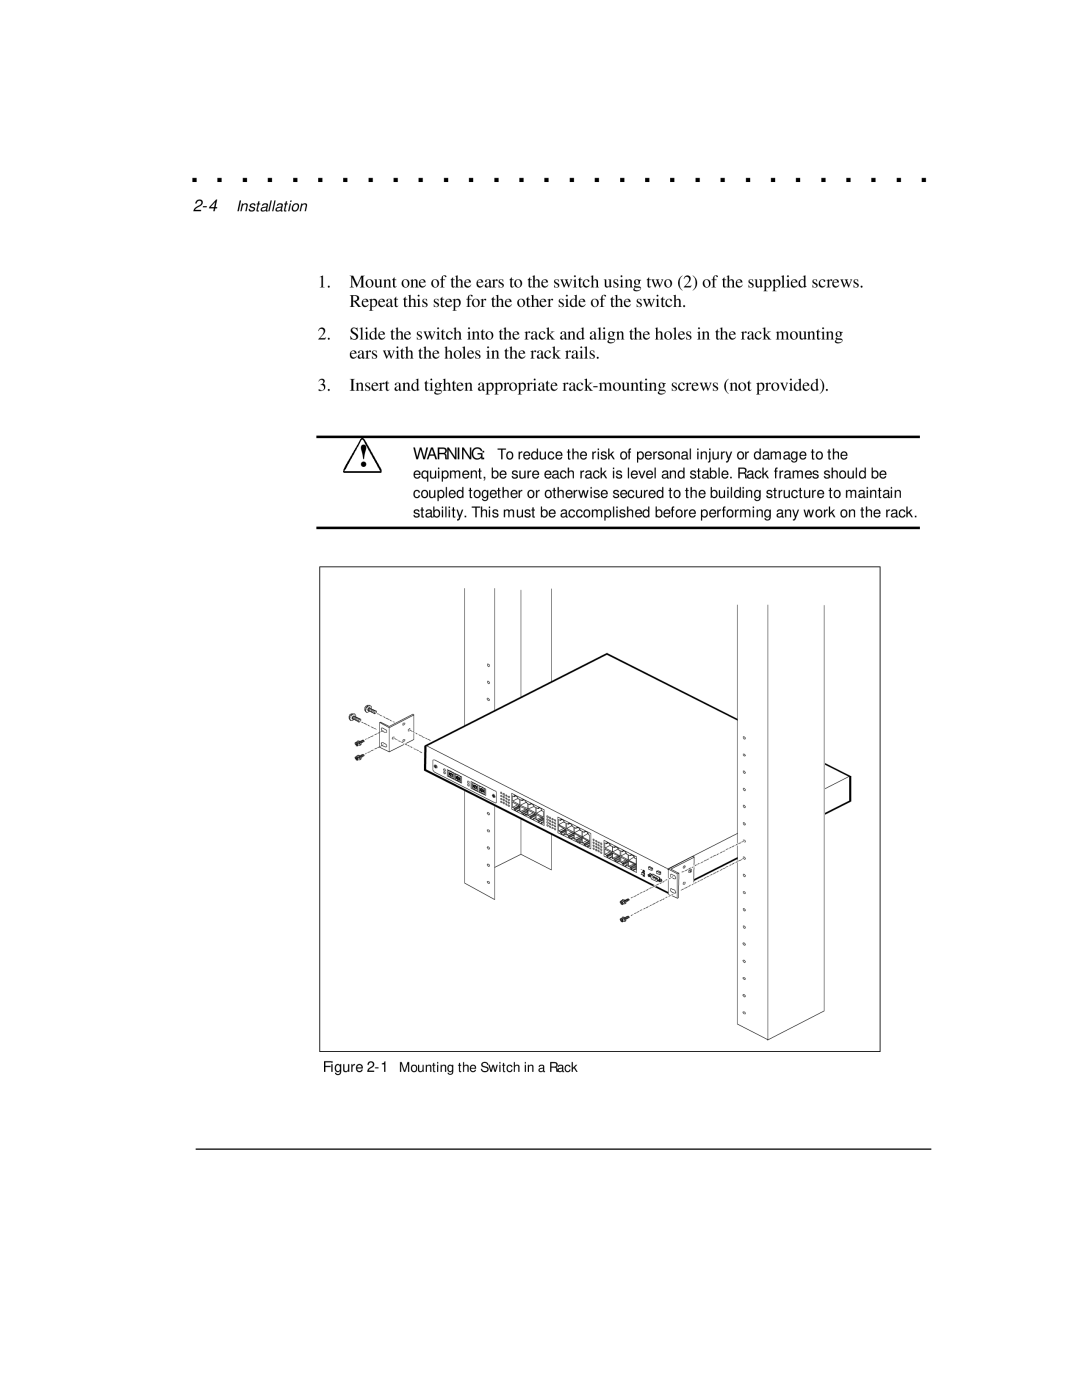
1.Mount one of the ears to the switch using two (2) of the supplied screws. Repeat this step for the other side of the switch.
2.Slide the switch into the rack and align the holes in the rack mounting ears with the holes in the rack rails.
3.Insert and tighten appropriate
!WARNING: To reduce the risk of personal injury or damage to the equipment, be sure each rack is level and stable. Rack frames should be coupled together or otherwise secured to the building structure to maintain stability. This must be accomplished before performing any work on the rack.
