315.21829 specifications
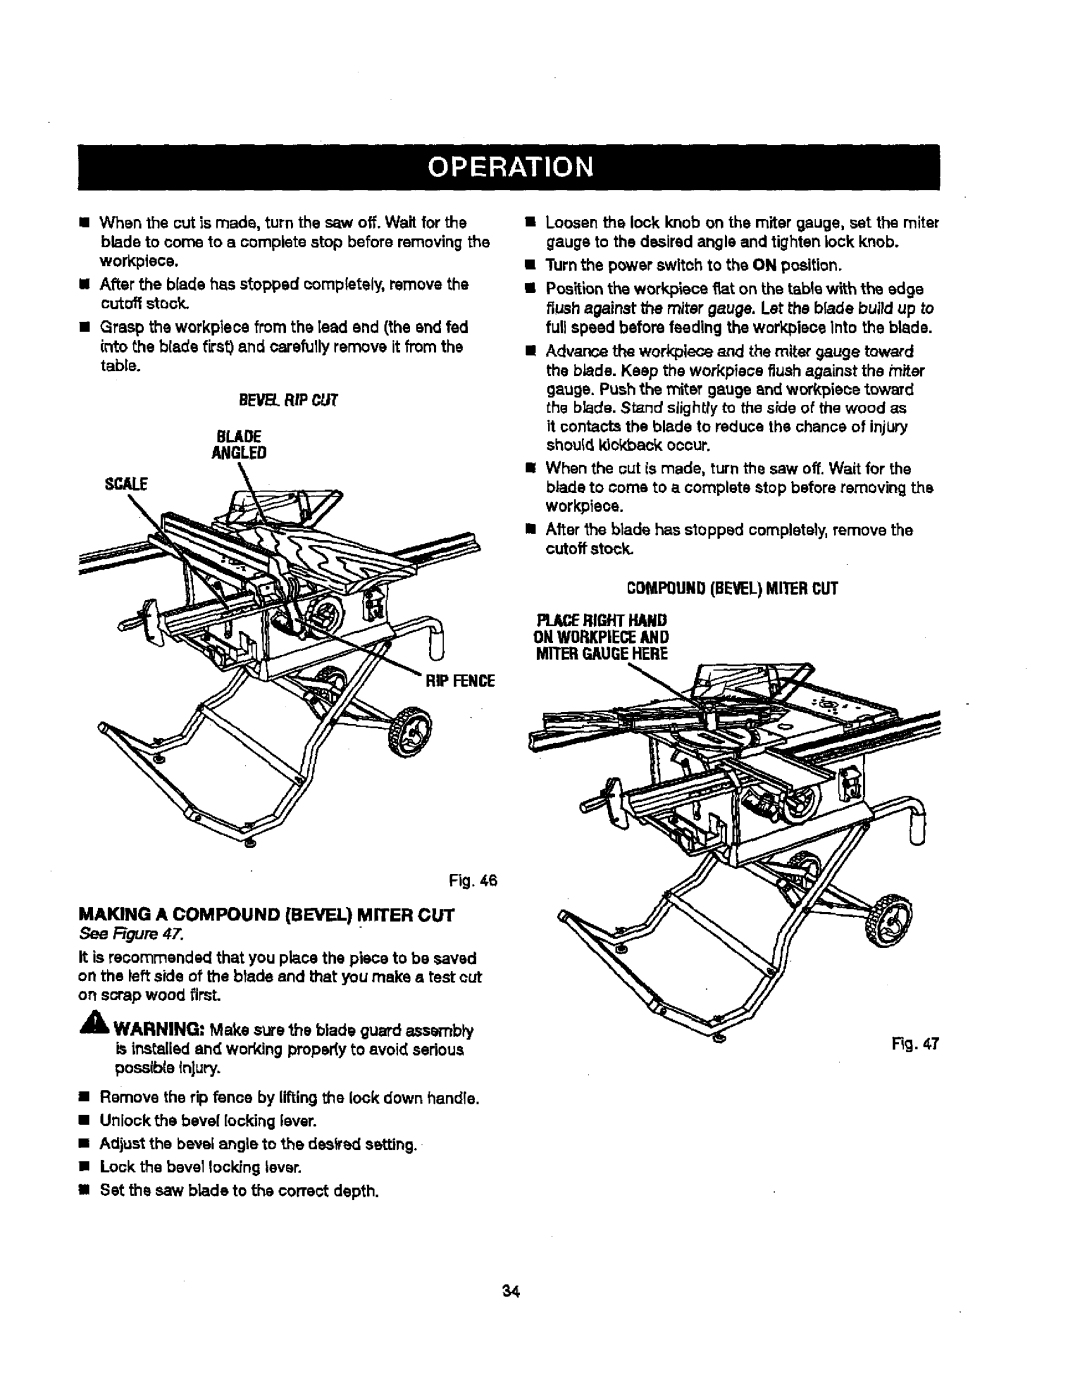
The Craftsman 315.21829 is a versatile and robust power tool designed for a variety of home improvement and woodworking tasks. Known for its reliability, this model is part of the Craftsman family, a brand that has built a reputation for offering user-friendly tools that provide high performance without compromising on safety and comfort.One of the standout features of the Craftsman 315.21829 is its powerful motor, delivering ample horsepower to tackle demanding jobs. Whether you are cutting, sanding, or drilling, this tool ensures efficient operation and quick results. The design reflects an emphasis on power and precision, enabling users to achieve professional-quality finishes.
The ergonomic design of the Craftsman 315.21829 includes a comfortable grip, which reduces fatigue during extended use. This aspect is particularly important for both DIY enthusiasts and professionals who often spend long hours working on projects. The lightweight nature of the tool also contributes to its ease of use, making it suitable for a wide range of applications around the home and workshop.
A key technological feature of the Craftsman 315.21829 is its variable speed control, allowing users to adjust the tool's speed according to the specific requirements of the task at hand. This flexibility enhances control and precision, especially when working with delicate materials or intricate designs. The built-in safety features provide added peace of mind, ensuring that the tool operates under safe conditions at all times.
Another highlight is the compatibility with a wide range of accessories, which enhances the versatility of the Craftsman 315.21829. Users can easily switch between tasks, whether they are drilling holes, driving screws, or finishing surfaces. This adaptability makes it a valuable addition to any toolkit.
Overall, the Craftsman 315.21829 stands out for its combination of power, versatility, and user-friendly design. It caters to both seasoned professionals and DIY novices, enabling a wide array of projects to be completed with ease and precision. With its robust features and reliable performance, this tool continues to be a favorite in the realm of home improvement and woodworking.

