w w w . d e l l . c o m s u p p o r t . d e l l . c o m
36
When the Remote Console Switch discovers a cascaded switch, the port numbering changes to accommodate each device under that switch. For example, if the switch is connected to ARI port 6, the switch port is listed as 06 and each device under it is numbered sequentially
NOTE: Changes made in the Device Modify dialog box are not saved until you click OK in the Devices dialog box.
To assign a device type:
1In the Devices dialog box, select the desired port number.
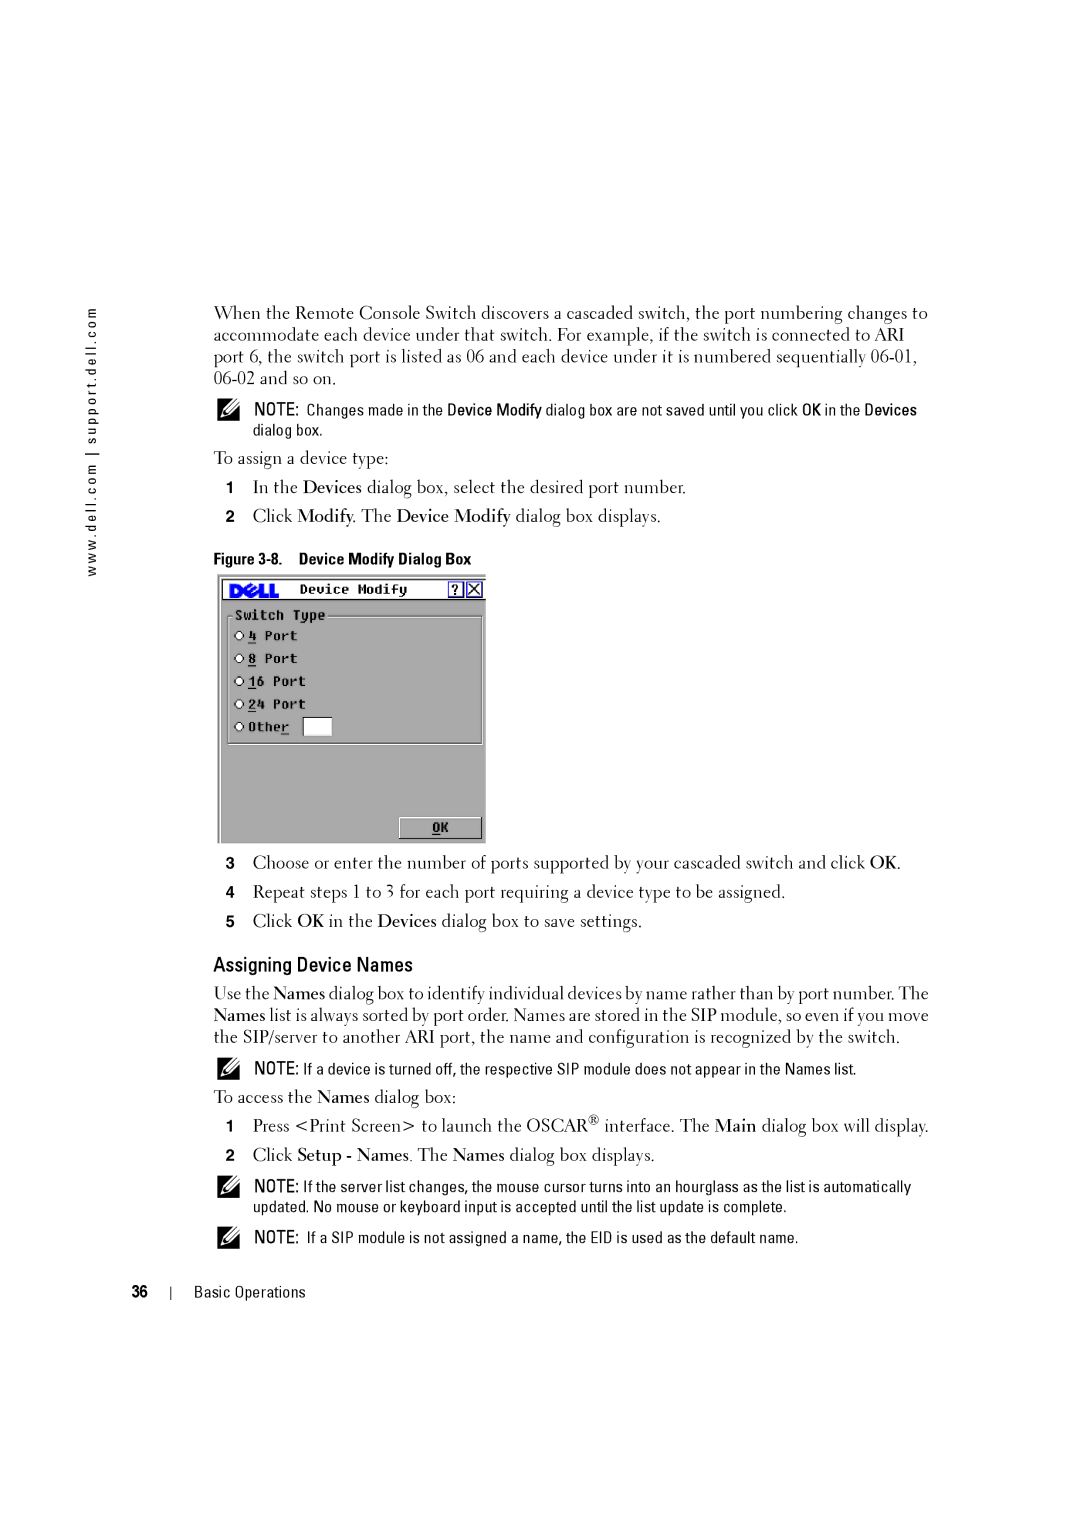
2Click Modify. The Device Modify dialog box displays.
Figure 3-8. Device Modify Dialog Box
3Choose or enter the number of ports supported by your cascaded switch and click OK.
4Repeat steps 1 to 3 for each port requiring a device type to be assigned.
5Click OK in the Devices dialog box to save settings.
Assigning Device Names
Use the Names dialog box to identify individual devices by name rather than by port number. The Names list is always sorted by port order. Names are stored in the SIP module, so even if you move the SIP/server to another ARI port, the name and configuration is recognized by the switch.
NOTE: If a device is turned off, the respective SIP module does not appear in the Names list.
To access the Names dialog box:
1Press <Print Screen> to launch the OSCAR® interface. The Main dialog box will display.
2Click Setup - Names. The Names dialog box displays.
NOTE: If the server list changes, the mouse cursor turns into an hourglass as the list is automatically updated. No mouse or keyboard input is accepted until the list update is complete.
NOTE: If a SIP module is not assigned a name, the EID is used as the default name.
Basic Operations