Connections and Setup
Connecting to a TV
1Connect an DISH DVI cable between the DISH DVI connection on the receiver and HDTV set or monitor.
2Turn on your receiver and TV using the front panel buttons.
3Confirm that you are getting a picture from the receiver. Consult your HDTV user’s guide if you need to change your HDTV to display from the Digital Audio/Video input.
4If you do not see a picture, see No Picture on the HDTV on page 70.
Note: In most cases connecting the Digital Audio/Video cable will provide
5Turn up the volume on your HDTV and confirm you have sound. If you don’t have sound, your system may require you to connect audio (red and white)
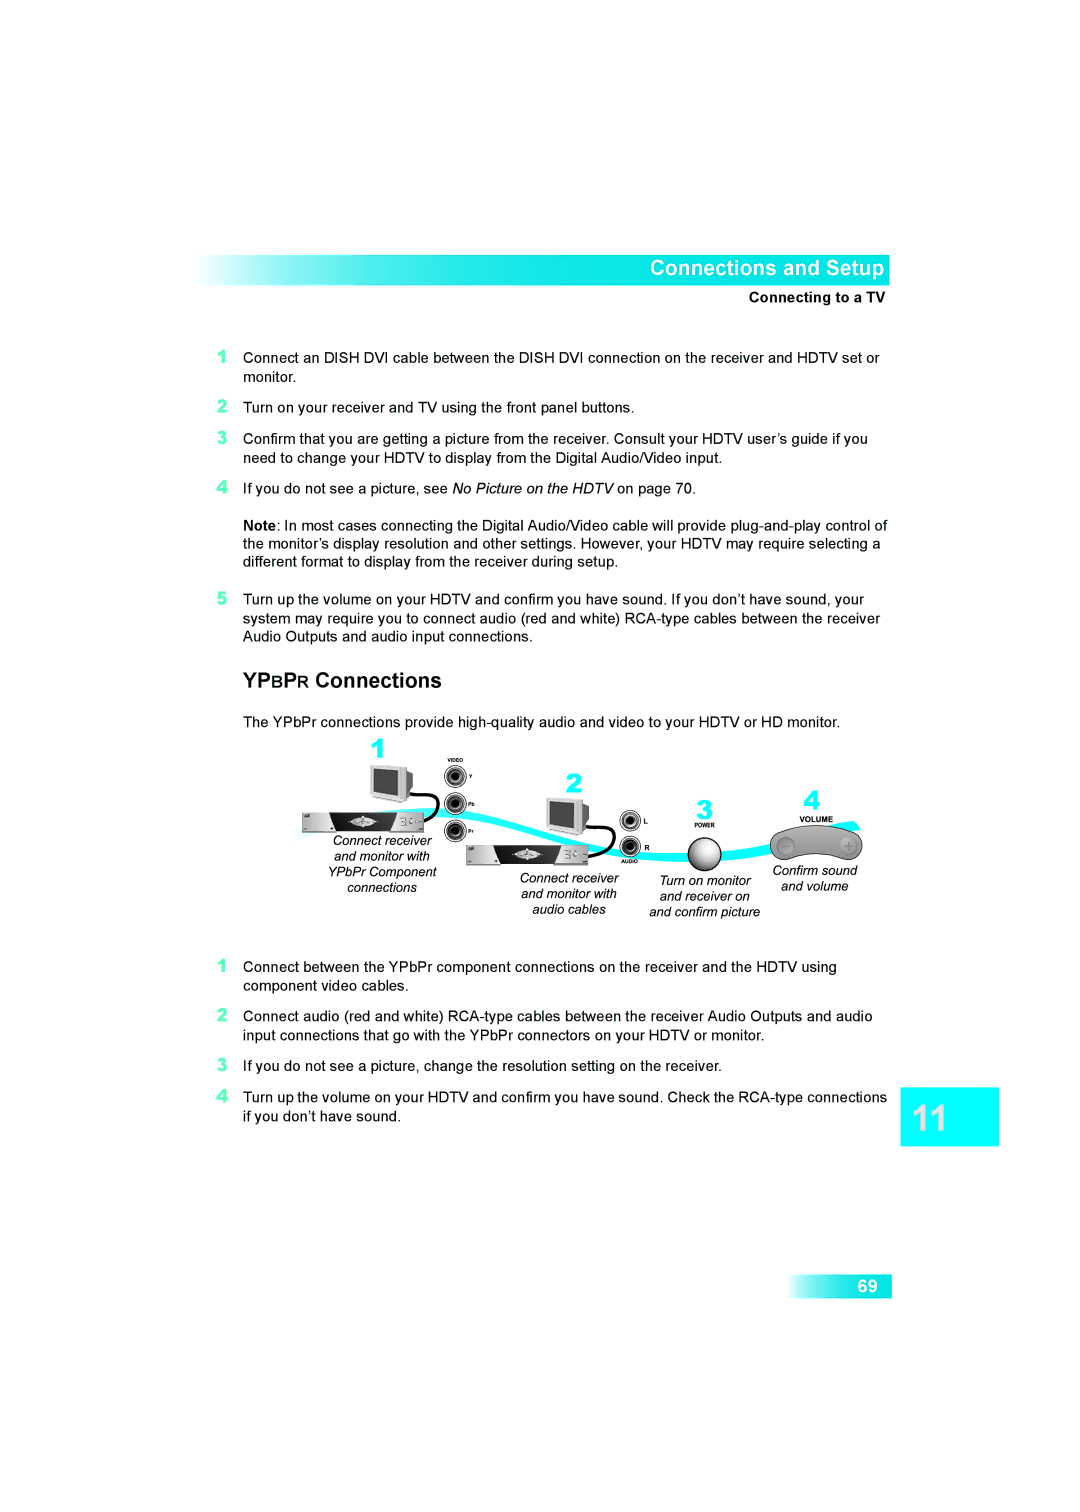
YPBPR Connections
The YPbPr connections provide
1Connect between the YPbPr component connections on the receiver and the HDTV using component video cables.
2Connect audio (red and white)
3If you do not see a picture, change the resolution setting on the receiver.
4Turn up the volume on your HDTV and confirm you have sound. Check the
if you don’t have sound.
69