Section 6 - Machine Operation

Machine Setup

The startup procedure given here is for a new machine that has just been installed.

1. Base Interface Cable

Attach the base interface cable from the rear of the base

to the back of the thruster housing as shown in Figures 3–7 and 3–8.

2. AC Power

Insert the AC power plug (refer to Figure 3–4) into a 240 VAC, 1–Phase NEMA type 6–20R receptacle rated at 20 Amps. The correct style outlet is shown in Figure 3–5. Do not alter the plug or receptacle in any way.

Refer to the section on Electrical Safety in Chapter 2 if you have any questions. Ensure the AC Power Switch is

in the OFF position (see Figure 3-6).

3. Attach Tooling

Attach the upper tooling to the hub and torque tightly.

The hub dimensions are given in Figure 3-2. The slot in

the hub is intended to accept a ¼-inch standard dowel pin assembled to the upper tool for repeatable mounting

orientation. Place the lower fixture on the base and

attach it loosely so it can be aligned later.

4. Adjust Thruster Position on Column

The rear support column of the Dual Servo Spin Welder features a threaded shaft for adjusting the overall height of the thruster head. The adjustments are shown

in Figure 3-7. The thruster height should be adjusted

properly to ensure that the weld head has enough travel

to perform the weld (within the 5-inch stroke limit),

and that the welded assembly can readily be removed

from the tooling. To adjust the position, complete the following steps:

a)Loosen the three rear nuts (which lock the head assembly in place). The nuts are 22mm wide, but a 7/8-inch socket will also fit.

b)Raise or lower the head by turning the adjustment lead screw on top, which is also a 22mm hex. The lead screw has 8 threads per inch, so 1 turn moves the head 1/8-inch

(3.18 mm).

c)Tighten the rear locking nuts.

IMPORTANT

The Dual Servo Spin Welder is capable of developing substantial torque and high rotational velocity. Keep your hands and body away from the tool head during operation. The spinning head is capable of inflict- ing serious injury. Never attempt to retrieve a part from a spinning tool head. A l w a y s w e a r a f a c e s h i e l d w h e n operating the Dual Servo Spin Welder. Be extreme- ly careful not to let long sleeves, necklaces or long hair become entangled in the Dual Servo Spin Welder during operation.

Always turn machine power OFF when instalaling or removing the spin tool.

isttoReset

Tw

ER

POW

INCYCLE

T

ABOR

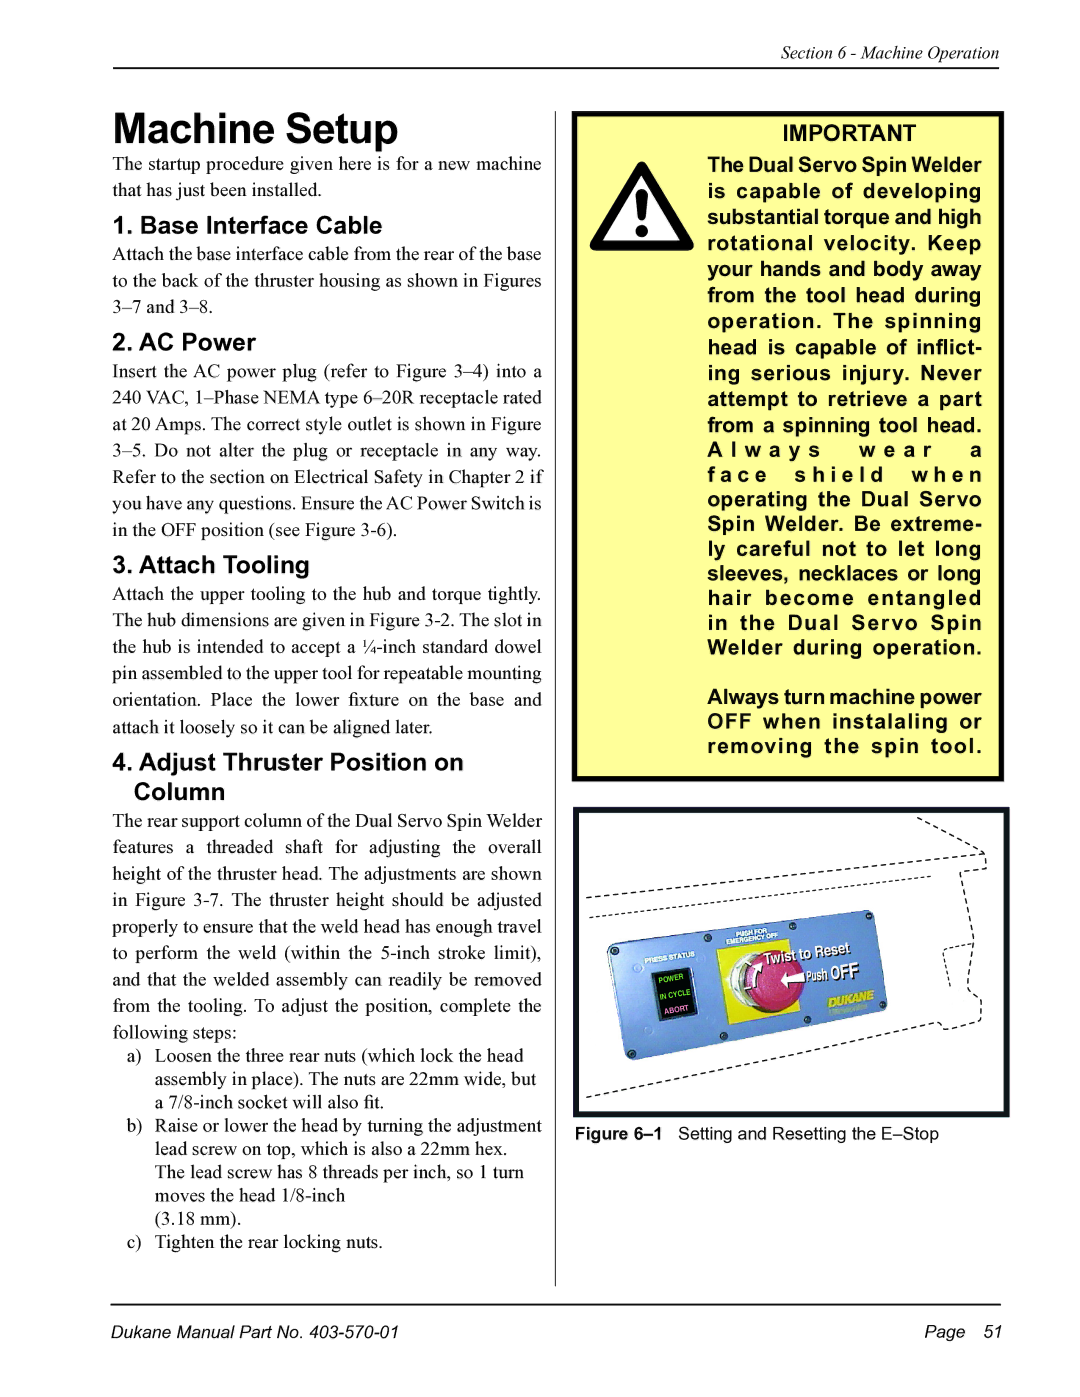
Figure 6–1Setting and Resetting the E–Stop

Dukane Manual Part No. 403-570-01

Page  51

Page 57
Image 57
Dukane 403570-01 Machine Setup, Base Interface Cable, AC Power, Attach Tooling, Adjust Thruster Position on Column

403570-01 specifications

The Dukane 403570-01 is a sophisticated ultrasonic welding machine renowned for its versatility and efficiency in various industrial applications. Designed with advanced technology, this model is favored in sectors such as automotive, medical, textiles, and consumer goods for its ability to provide consistent and reliable weld results.

One of the main features of the Dukane 403570-01 is its state-of-the-art ultrasonic transducer, which converts electrical energy into mechanical vibrations. This high-frequency sound wave technology allows for the joining of materials without the need for additional adhesives or fasteners, making it an environmentally friendly and cost-effective solution for manufacturers. The transducer operates at a frequency of 20 kHz, optimal for producing strong and durable welds.

In addition to its transducer, the 403570-01 is equipped with an advanced generator that provides precise control over the welding process. This generator adjusts the energy output based on the materials being welded and the specific application, ensuring optimal settings for each job. The machine also features a user-friendly control panel that allows operators to easily program and monitor welding parameters such as time, power, and pressure.

The 403570-01 is designed for ease of use and maintenance. Its modular design simplifies servicing and allows for quick replacement of components, ensuring minimum downtime. Additionally, the machine’s lightweight construction enhances portability, making it suitable for both dedicated production lines and on-the-spot repairs.

Another significant characteristic of the Dukane 403570-01 is its versatility in handling various materials, including plastics, metals, and composites. This flexibility opens up a wide array of welding applications, from assembling intricate medical devices to automotive components. Furthermore, it features integrated safety measures that protect both the operator and the machine, reducing the risk of accidents during operation.

In summary, the Dukane 403570-01 stands out due to its advanced ultrasonic technology, user-friendly controls, and versatility in handling various materials. With its robust design and efficient welding capabilities, it is an invaluable asset for manufacturers looking to enhance their production processes and maintain high-quality standards.