3.The Find Streets menu reappears with the street you're searching for in the First Street box. (In this example, it's 80th Street.)
4.Now fill in the second street. Press ↓ to SECOND STREETENT and the FIND BY NAME menu appears again. Just like before, there are two
options: A. You can spell out the second street in the top selection box. Press ↑ or ↓ to change the first letter, then press → to move the cursor to the next letter and repeat until the name is correct, then press
ENTENT. B. Or you can jump down to the lower box and pick the second street from the selection list. Press ENT, then press ↓ or ↑ to select a street from the list and press ENT.
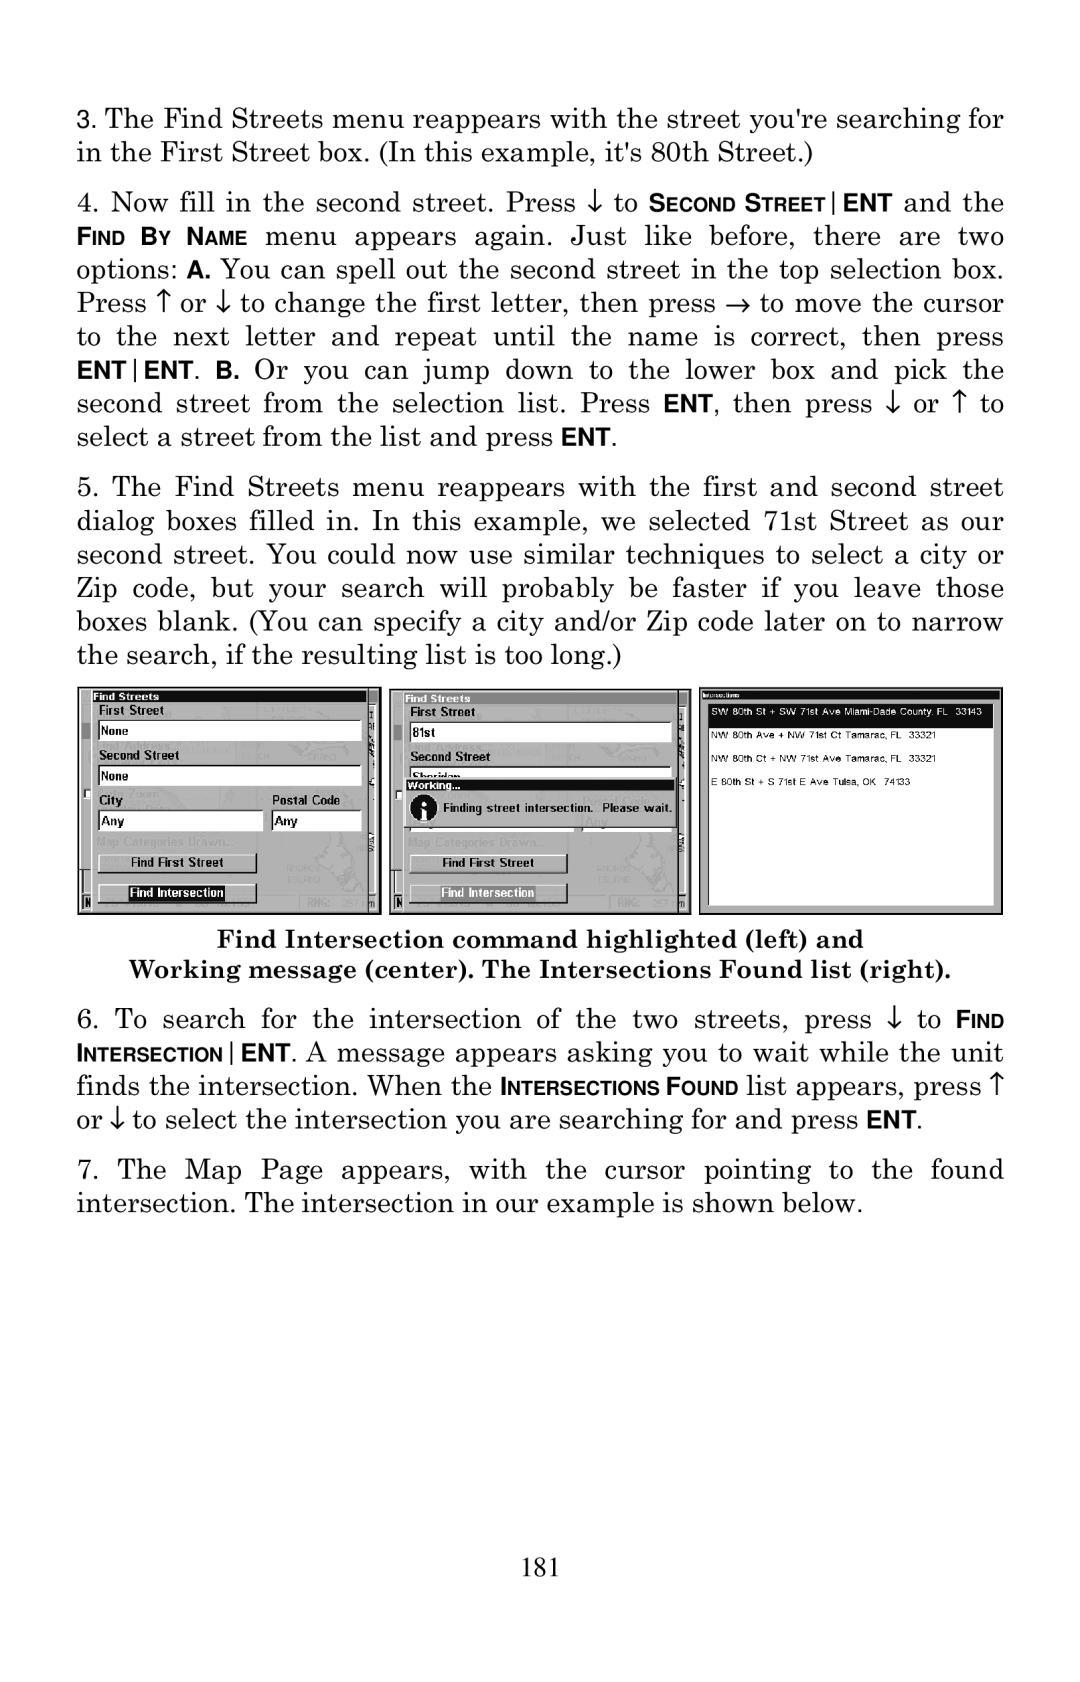
5.The Find Streets menu reappears with the first and second street dialog boxes filled in. In this example, we selected 71st Street as our second street. You could now use similar techniques to select a city or Zip code, but your search will probably be faster if you leave those boxes blank. (You can specify a city and/or Zip code later on to narrow the search, if the resulting list is too long.)
Find Intersection command highlighted (left) and
Working message (center). The Intersections Found list (right).
6.To search for the intersection of the two streets, press ↓ to FIND
INTERSECTIONENT. A message appears asking you to wait while the unit finds the intersection. When the INTERSECTIONS FOUND list appears, press ↑ or ↓ to select the intersection you are searching for and press ENT.
7.The Map Page appears, with the cursor pointing to the found intersection. The intersection in our example is shown below.
