ADJUSTING THE PRINTER SETTINGS
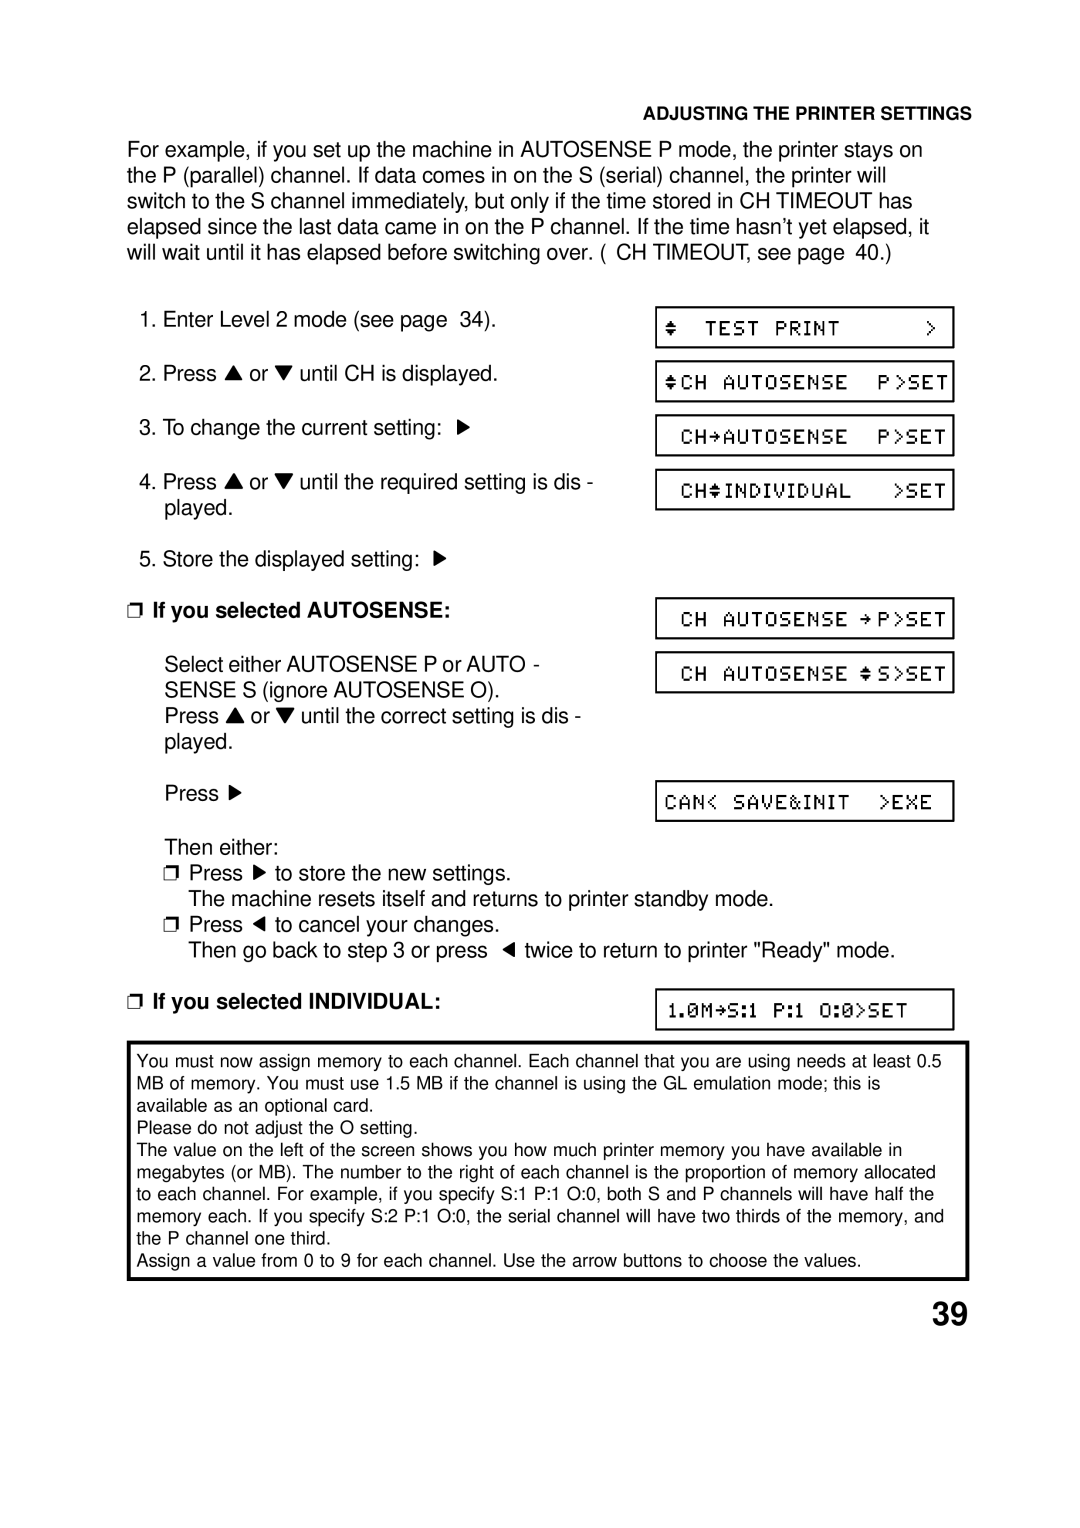
For example, if you set up the machine in AUTOSENSE P mode, the printer stays on the P (parallel) channel. If data comes in on the S (serial) channel, the printer will switch to the S channel immediately, but only if the time stored in CH TIMEOUT has elapsed since the last data came in on the P channel. If the time hasn’t yet elapsed, it will wait until it has elapsed before switching over. ( CH TIMEOUT, see page 40.)
1. Enter Level 2 mode (see page 34).
2. Press ![]() or
or ![]() until CH is displayed.
until CH is displayed.
3. To change the current setting:
4.Press ![]() or
or ![]() until the required setting is dis - played.
until the required setting is dis - played.
5.Store the displayed setting: ![]()
❐ If you selected AUTOSENSE:
Select either AUTOSENSE P or AUTO - SENSE S (ignore AUTOSENSE O).
Press ![]() or
or ![]() until the correct setting is dis - played.
until the correct setting is dis - played.
Press ![]()
Then either:
❐Press ![]() to store the new settings.
to store the new settings.
The machine resets itself and returns to printer standby mode.
❐Press ![]() to cancel your changes.
to cancel your changes.
Then go back to step 3 or press ![]() twice to return to printer "Ready" mode.
twice to return to printer "Ready" mode.
❐ If you selected INDIVIDUAL:
You must now assign memory to each channel. Each channel that you are using needs at least 0.5 MB of memory. You must use 1.5 MB if the channel is using the GL emulation mode; this is available as an optional card.
Please do not adjust the O setting.
The value on the left of the screen shows you how much printer memory you have available in megabytes (or MB). The number to the right of each channel is the proportion of memory allocated to each channel. For example, if you specify S:1 P:1 O:0, both S and P channels will have half the memory each. If you specify S:2 P:1 O:0, the serial channel will have two thirds of the memory, and the P channel one third.
Assign a value from 0 to 9 for each channel. Use the arrow buttons to choose the values.
39
