Projecting in Split Screen mode
You can use the Split Screen feature to simultaneously project two images from different video sources next to each other. You can control the Split Screen feature using the remote control or the projector menus.
The Split Screen feature is only available with certain combinations of video sources. Use the table below to determine which video source combinations are available.
| HDMI1 | HDMI2 | WirelessHD | Component | Video | PC |
|
|
|
|
|
|
|
HDMI1 | — | — | — | X | X | X |
|
|
|
|
|
|
|
HDMI2 | — | — | — | X | X | X |
|
|
|
|
|
|
|
WirelessHD | — | — | — | X | X | X |
|
|
|
|
|
|
|
Component | X | X | X | — | X | — |
|
|
|
|
|
|
|
Video | X | X | X | X | — | X |
|
|
|
|
|
|
|
PC | X | X | X | — | X | — |
|
|
|
|
|
|
|
Note: When you use the Split Screen feature, other projector features may not be available and some settings may be automatically applied to both images. Also, you can’t access Split Screen mode when 3D mode is enabled.
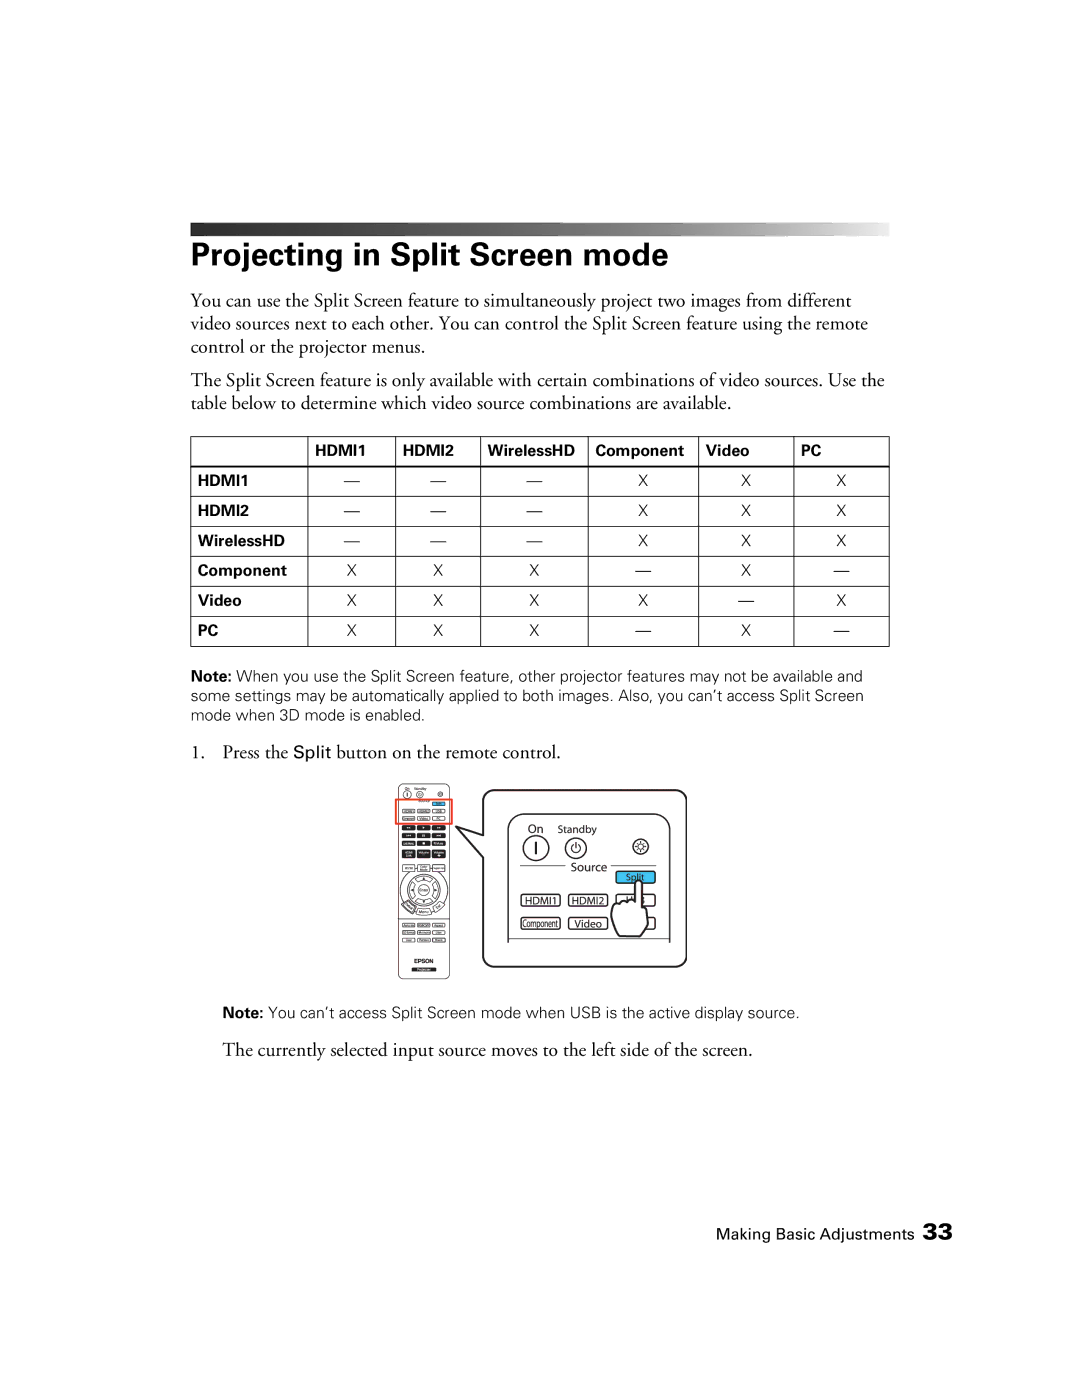
1. Press the Split button on the remote control.
Note: You can’t access Split Screen mode when USB is the active display source.
The currently selected input source moves to the left side of the screen.
Making Basic Adjustments 33