Communication and Control, cont’d
Example 3
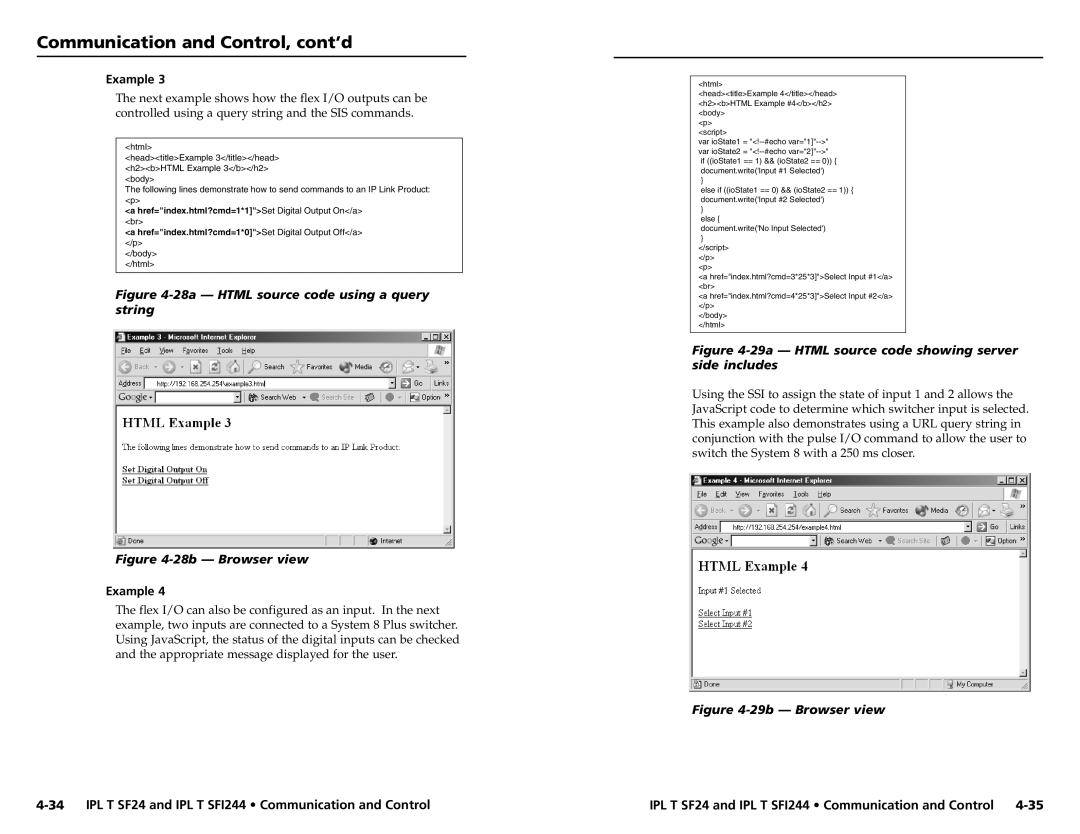
The next example shows how the flex I/O outputs can be controlled using a query string and the SIS commands.
<html>
<head><title>Example 3</title></head> <h2><b>HTML Example 3</b></h2> <body>
The following lines demonstrate how to send commands to an IP Link Product: <p>
<a href="index.html?cmd=1*1]">Set Digital Output On</a>
<br>
<a href="index.html?cmd=1*0]">Set Digital Output Off</a> </p>
</body>
</html>
Figure 4-28a — HTML source code using a query string
Figure 4-28b — Browser view
Example 4
The flex I/O can also be configured as an input. In the next example, two inputs are connected to a System 8 Plus switcher. Using JavaScript, the status of the digital inputs can be checked and the appropriate message displayed for the user.
<html>
<head><title>Example 4</title></head> <h2><b>HTML Example #4</b></h2> <body>
<p>
<script>
var ioState1 =
}
else if ((ioState1 == 0) && (ioState2 == 1)) { document.write('Input #2 Selected')
}
else {
document.write('No Input Selected')
}
</script>
</p>
<p>
<a href="index.html?cmd=3*25*3]">Select Input #1</a> <br>
<a href="index.html?cmd=4*25*3]">Select Input #2</a> </p>
</body>
</html>
Figure 4-29a — HTML source code showing server side includes
Using the SSI to assign the state of input 1 and 2 allows the JavaScript code to determine which switcher input is selected. This example also demonstrates using a URL query string in conjunction with the pulse I/O command to allow the user to switch the System 8 with a 250 ms closer.
Figure 4-29b — Browser view
IPL T SF24 and IPL T SFI244 • Communication and Control |
