User presets
Before storing any presets, first optimize the window images by setting the picture controls (contrast, brightness, tint, color), the sizing and positioning (horizontal and vertical), and the blanking (top, bottom, left, right). See the “Optimizing the Image” section.
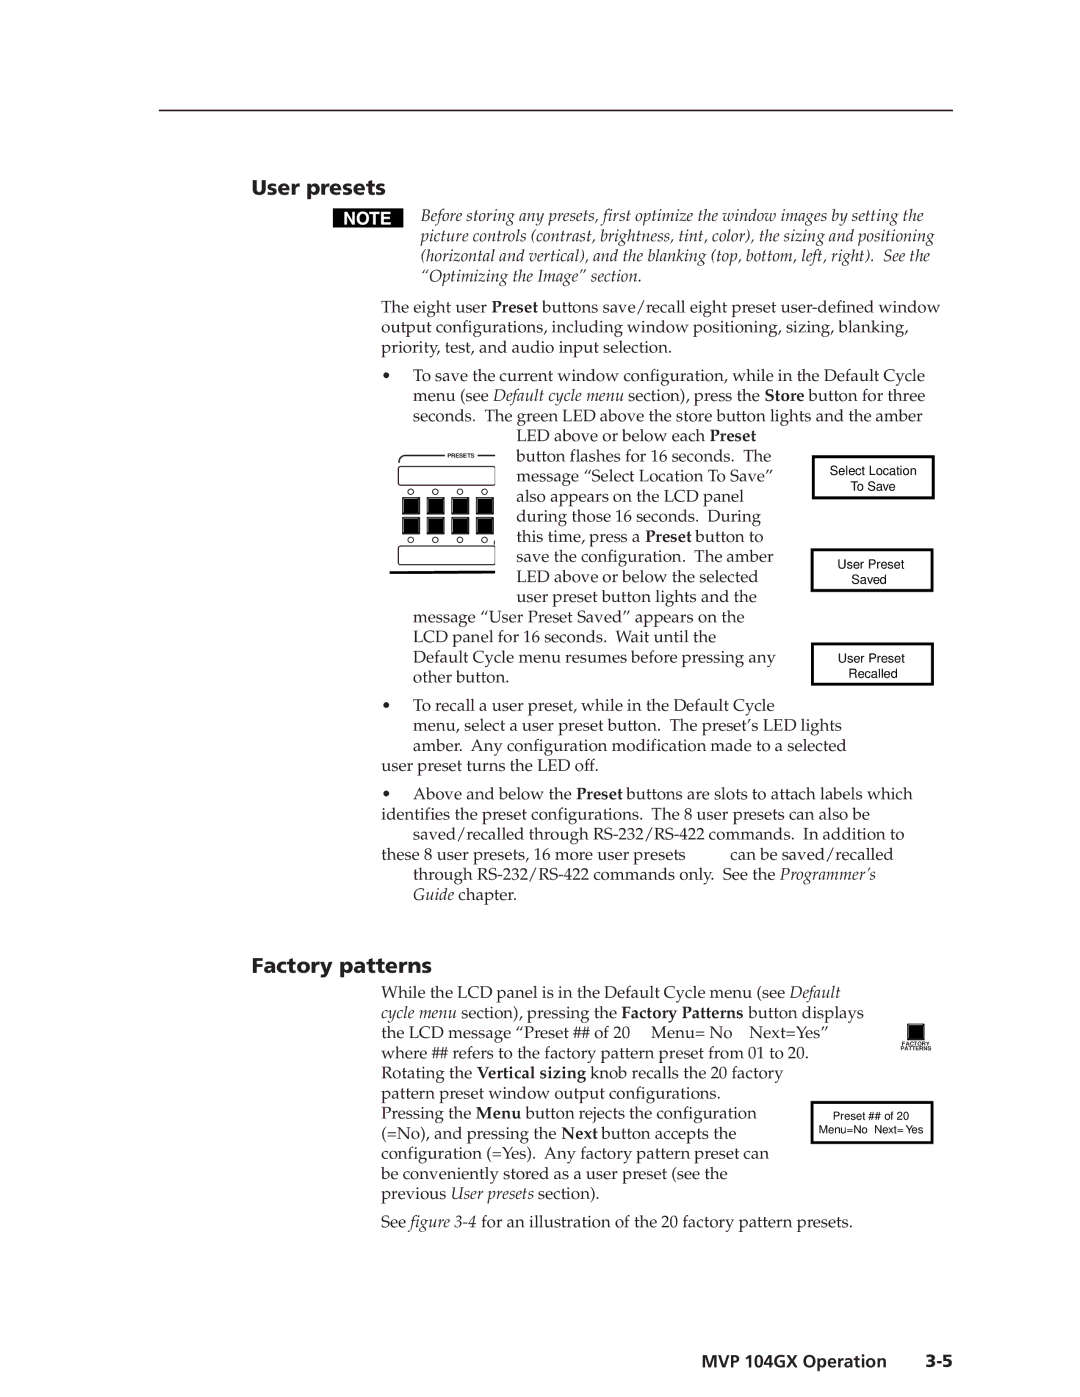
The eight user Preset buttons save/recall eight preset
•To save the current window configuration, while in the Default Cycle menu (see Default cycle menu section), press the Store button for three
seconds. The green LED above the store button lights and the amber LED above or below each Preset
PRESETS |
| button flashes for 16 seconds. The |
| |||
|
|
|
| Select Location | ||
|
|
|
| message “Select Location To Save” | ||
|
|
|
| To Save | ||
|
|
|
| also appears on the LCD panel | ||
|
|
|
|
| ||
|
|
|
|
| ||
|
|
|
| during those 16 seconds. During |
| |
|
|
|
|
| ||
|
|
|
|
| ||
|
|
|
| P this time, press a Preset button to |
| |
|
|
|
|
| ||
|
|
|
| save the configuration. The amber |
|
|
|
|
|
| User Preset | ||
|
|
|
| LED above or below the selected |
| |
|
|
|
|
| Saved | |
|
|
|
| user preset button lights and the |
|
|
|
|
|
|
| ||
message “User Preset Saved” appears on the LCD panel for 16 seconds. Wait until the Default Cycle menu resumes before pressing any other button.
•To recall a user preset, while in the Default Cycle
menu, select a user preset button. The preset’s LED lights
amber. Any configuration modification made to a selected user preset turns the LED off.
•Above and below the Preset buttons are slots to attach labels which identifies the preset configurations. The 8 user presets can also be
saved/recalled through
these 8 user presets, 16 more user presets can be saved/recalled through
Factory patterns
While the LCD panel is in the Default Cycle menu (see Default cycle menu section), pressing the Factory Patterns button displays the LCD message “Preset ## of 20 Menu= No Next=Yes”
where ## refers to the factory pattern preset from 01 to 20. | FACTORY |
PATTERNS | |
| |
Rotating the Vertical sizing knob recalls the 20 factory |
|
pattern preset window output configurations. |
|
Pressing the Menu button rejects the configuration | Preset ## of 20 |
(=No), and pressing the Next button accepts the | Menu=No Next= Yes |
| |
configuration (=Yes). Any factory pattern preset can |
|
be conveniently stored as a user preset (see the |
|
previous User presets section). |
|
See figure
MVP 104GX Operation |
