Digital Readout
The digital readout displays the current blade angle. Only set the readout after verifying that the 90° and 45° blade tilt stops are correctly posi- tioned.
To set the digital readout:
1.Ensure the power is connected and the 45° and 90° stop bolts are set (see Blade Tilt Stops on Page 51).
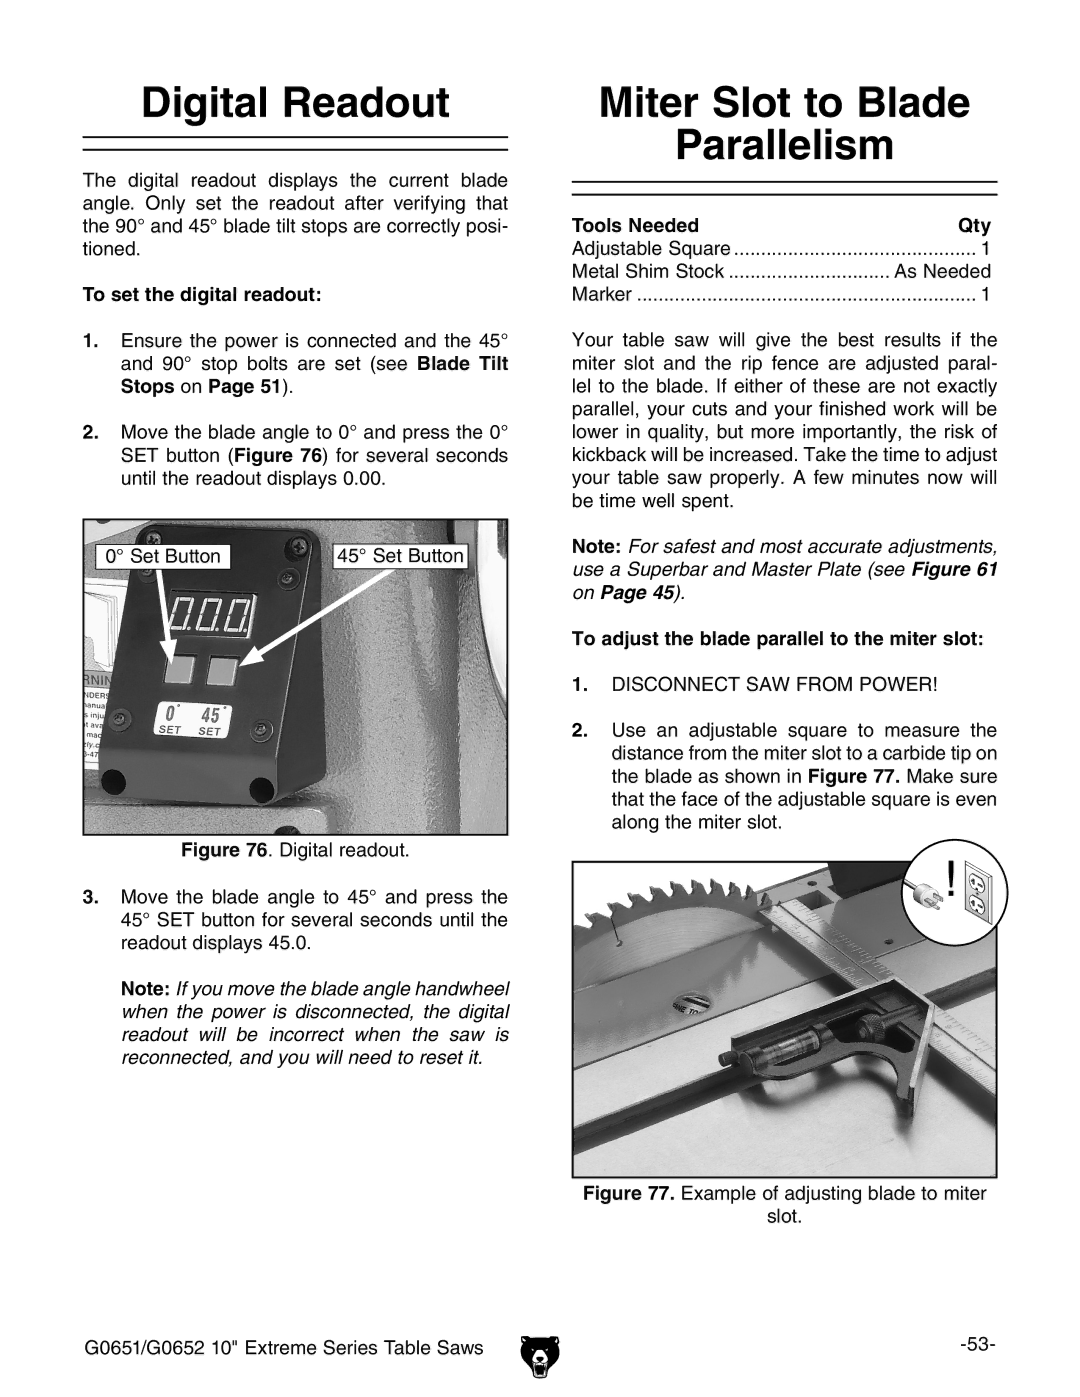
2.Move the blade angle to 0° and press the 0° SET button (Figure 76) for several seconds until the readout displays 0.00.
0° Set Button | 45° Set Button |
Figure 76. Digital readout.
3.Move the blade angle to 45° and press the 45° SET button for several seconds until the readout displays 45.0.
Note: If you move the blade angle handwheel when the power is disconnected, the digital readout will be incorrect when the saw is reconnected, and you will need to reset it.
Miter Slot to Blade
Parallelism
Tools Needed | Qty |
Adjustable Square | .............................................. 1 |
Metal Shim Stock | As Needed |
Marker | 1 |
Your table saw will give the best results if the miter slot and the rip fence are adjusted paral- lel to the blade. If either of these are not exactly parallel, your cuts and your finished work will be lower in quality, but more importantly, the risk of kickback will be increased. Take the time to adjust your table saw properly. A few minutes now will be time well spent.
Note: For safest and most accurate adjustments, use a Superbar and Master Plate (see Figure 61 on Page 45).
To adjust the blade parallel to the miter slot:
1.DISCONNECT SAW FROM POWER!
2.Use an adjustable square to measure the distance from the miter slot to a carbide tip on the blade as shown in Figure 77. Make sure that the face of the adjustable square is even along the miter slot.
Figure 77. Example of adjusting blade to miter
slot.
G0651/G0652 10" Extreme Series Table Saws |