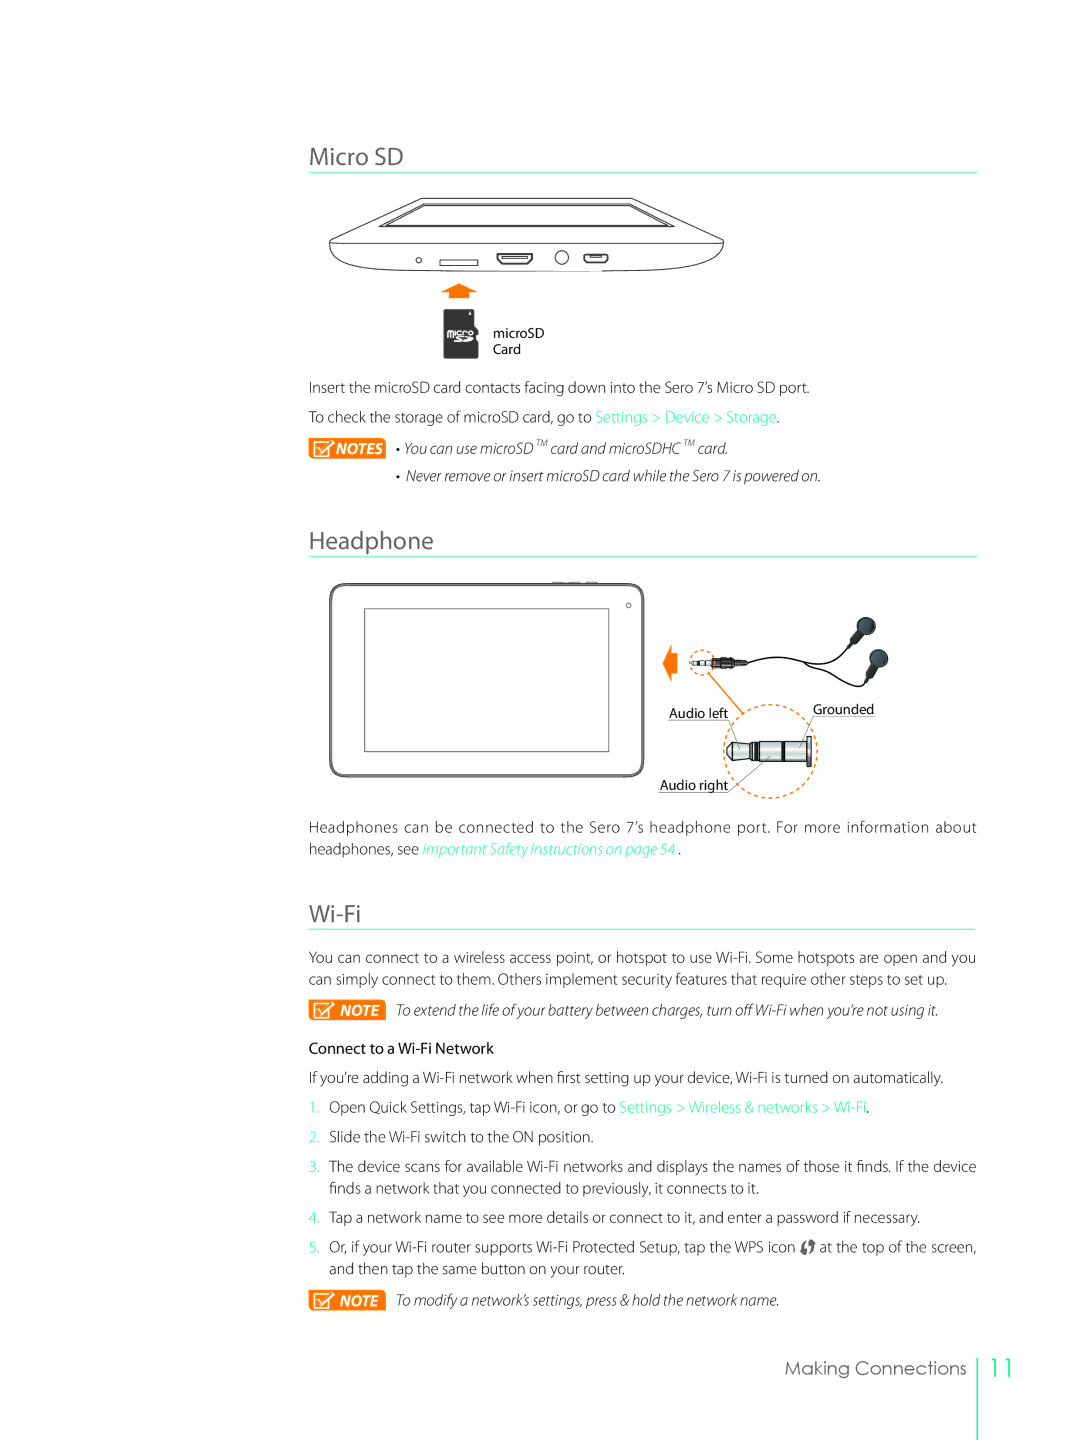
Micro SD
microSD Card
Insert the microSD card contacts facing down into the Sero 7’s Micro SD port.
To check the storage of microSD card, go to Settings > Device > Storage.
![]() NOTES • You can use microSD TM card and microSDHC TM card.
NOTES • You can use microSD TM card and microSDHC TM card.
• Never remove or insert microSD card while the Sero 7 is powered on.
Headphone
Audio left | Grounded |
Audio right
Headphones can be connected to the Sero 7’s headphone port. For more information about headphones, see Important Safety Instructions on page 54 .
Wi-Fi
You can connect to a wireless access point, or hotspot to use
![]() NOTE To extend the life of your battery between charges, turn off
NOTE To extend the life of your battery between charges, turn off
Connect to a
If you’re adding a
1.Open Quick Settings, tap
2.Slide the
3.The device scans for available
4.Tap a network name to see more details or connect to it, and enter a password if necessary.
5.Or, if your ![]() at the top of the screen, and then tap the same button on your router.
at the top of the screen, and then tap the same button on your router.
![]() NOTE To modify a network’s settings, press & hold the network name.
NOTE To modify a network’s settings, press & hold the network name.
Making Connections
11