Automation (cont'd)

Scene Setup Options

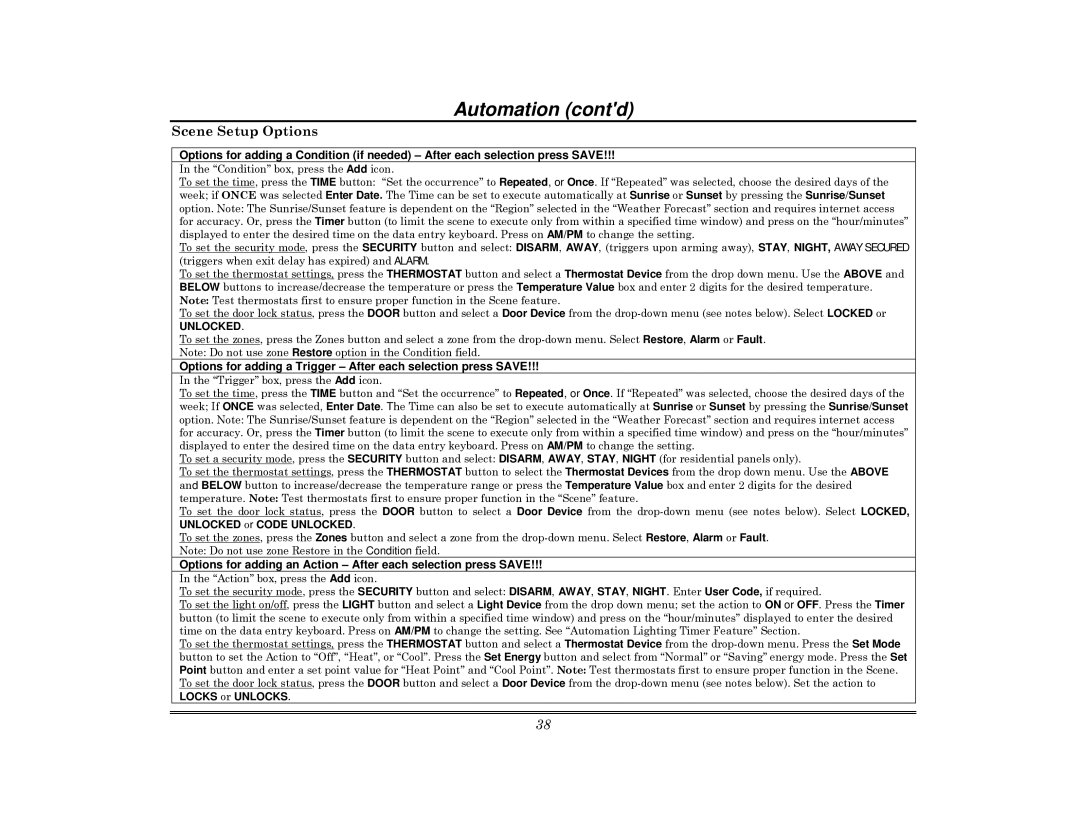
Options for adding a Condition (if needed) – After each selection press SAVE!!!

In the “Condition” box, press the Add icon.

To set the time, press the TIME button: “Set the occurrence” to Repeated, or Once. If “Repeated” was selected, choose the desired days of the week; if ONCE was selected Enter Date. The Time can be set to execute automatically at Sunrise or Sunset by pressing the Sunrise/Sunset option. Note: The Sunrise/Sunset feature is dependent on the “Region” selected in the “Weather Forecast” section and requires internet access for accuracy. Or, press the Timer button (to limit the scene to execute only from within a specified time window) and press on the “hour/minutes” displayed to enter the desired time on the data entry keyboard. Press on AM/PM to change the setting.

To set the security mode, press the SECURITY button and select: DISARM, AWAY, (triggers upon arming away), STAY, NIGHT, AWAY SECURED (triggers when exit delay has expired) and ALARM.

To set the thermostat settings, press the THERMOSTAT button and select a Thermostat Device from the drop down menu. Use the ABOVE and BELOW buttons to increase/decrease the temperature or press the Temperature Value box and enter 2 digits for the desired temperature. Note: Test thermostats first to ensure proper function in the Scene feature.

To set the door lock status, press the DOOR button and select a Door Device from the drop-down menu (see notes below). Select LOCKED or

UNLOCKED.

To set the zones, press the Zones button and select a zone from the drop-down menu. Select Restore, Alarm or Fault. Note: Do not use zone Restore option in the Condition field.

Options for adding a Trigger – After each selection press SAVE!!!

In the “Trigger” box, press the Add icon.

To set the time, press the TIME button and “Set the occurrence” to Repeated, or Once. If “Repeated” was selected, choose the desired days of the week; If ONCE was selected, Enter Date. The Time can also be set to execute automatically at Sunrise or Sunset by pressing the Sunrise/Sunset option. Note: The Sunrise/Sunset feature is dependent on the “Region” selected in the “Weather Forecast” section and requires internet access for accuracy. Or, press the Timer button (to limit the scene to execute only from within a specified time window) and press on the “hour/minutes” displayed to enter the desired time on the data entry keyboard. Press on AM/PM to change the setting.

To set a security mode, press the SECURITY button and select: DISARM, AWAY, STAY, NIGHT (for residential panels only).

To set the thermostat settings, press the THERMOSTAT button to select the Thermostat Devices from the drop down menu. Use the ABOVE and BELOW button to increase/decrease the temperature range or press the Temperature Value box and enter 2 digits for the desired temperature. Note: Test thermostats first to ensure proper function in the “Scene” feature.

To set the door lock status, press the DOOR button to select a Door Device from the drop-down menu (see notes below). Select LOCKED,

UNLOCKED or CODE UNLOCKED.

To set the zones, press the Zones button and select a zone from the drop-down menu. Select Restore, Alarm or Fault. Note: Do not use zone Restore in the Condition field.

Options for adding an Action – After each selection press SAVE!!!

In the “Action” box, press the Add icon.

To set the security mode, press the SECURITY button and select: DISARM, AWAY, STAY, NIGHT. Enter User Code, if required.

To set the light on/off, press the LIGHT button and select a Light Device from the drop down menu; set the action to ON or OFF. Press the Timer button (to limit the scene to execute only from within a specified time window) and press on the “hour/minutes” displayed to enter the desired time on the data entry keyboard. Press on AM/PM to change the setting. See “Automation Lighting Timer Feature” Section.

To set the thermostat settings, press the THERMOSTAT button and select a Thermostat Device from the drop-down menu. Press the Set Mode button to set the Action to “Off”, “Heat”, or “Cool”. Press the Set Energy button and select from “Normal” or “Saving” energy mode. Press the Set Point button and enter a set point value for “Heat Point” and “Cool Point”. Note: Test thermostats first to ensure proper function in the Scene. To set the door lock status, press the DOOR button and select a Door Device from the drop-down menu (see notes below). Set the action to

LOCKS or UNLOCKS.

38

Page 38
Image 38
Honeywell 800-08091V3 manual Scene Setup Options

800-08091V3 specifications

The Honeywell 800-08091V3 is a state-of-the-art control panel component that is recognized for its outstanding performance in the realm of security and monitoring systems. Designed to enhance the capabilities of Honeywell’s powerhouse security solutions, this product boasts a variety of features and technological advancements that ensure reliability and efficiency in protecting both residential and commercial properties.

One of the primary features of the Honeywell 800-08091V3 is its intuitive user interface, which allows for seamless navigation and easy access to critical information. The panel is designed with usability in mind, providing users with a straightforward means to monitor their security systems. This emphasis on user experience extends to the programming and customization options available, enabling users to tailor settings according to their specific needs.

Technologically, the Honeywell 800-08091V3 employs advanced communication protocols that ensure rapid data transmission and connectivity. It supports both wired and wireless communication, enhancing its versatility in various installations. This feature is particularly crucial for businesses or homeowners looking to implement a robust security system without the limitations of traditional wiring methods.

The Honeywell 800-08091V3 is also compatible with a wide range of security devices, including sensors, alarms, and surveillance cameras. This compatibility allows for an integrated system that can centralize control and monitoring, significantly improving response times and situational awareness. Its ability to interface with additional Honeywell products provides users with the flexibility to expand their security solutions as needs change.

In terms of characteristics, the Honeywell 800-08091V3 is designed for durability and longevity. It features a rugged construction that withstands environmental factors, making it suitable for both indoor and outdoor installations. Moreover, its power management capabilities ensure that the system remains operational during power outages, providing continuous protection without interruption.

Overall, the Honeywell 800-08091V3 exemplifies a commitment to innovation in security technology. Its key features, like an easy-to-use interface, advanced communication capabilities, extensive compatibility with other security devices, and robust construction, make it an ideal choice for those seeking a reliable and efficient security solution. Whether for home use or larger commercial applications, the Honeywell 800-08091V3 stands out as a prime example of modern security technology, ensuring peace of mind for users everywhere.