Chapter 4
Set the number of copies
You can set the number of copies that you want to print by using the Number of Copies option.
To set the number of copies from the control panel
1.Make sure you have paper loaded in the input tray.
2.Load your original print side down in the document feeder tray. Place the pages so that the top edge of the document goes in first.
3.In the Copy area, press Copy Menu repeatedly until Number of Copies appears.
4.Press ![]() or use the keypad to enter the number of copies, up to the maximum. (The maximum number of copies varies by model.)
or use the keypad to enter the number of copies, up to the maximum. (The maximum number of copies varies by model.)
![]() TIP: If you hold down either of the arrow buttons, the number of copies changes by increments of 5 to make it easier to set a large number of copies.
TIP: If you hold down either of the arrow buttons, the number of copies changes by increments of 5 to make it easier to set a large number of copies.
5.Press START COPY Black or START COPY Color.
Set the copy paper size
You can set the paper size on the HP Fax. The paper size you select should match what is loaded in your input tray.
To set the paper size from the control panel
1.In the Copy area, press Copy Menu repeatedly until Copy Paper Size appears.
2.Press ![]() until the appropriate paper size appears.
until the appropriate paper size appears.
3.Press START COPY Black or START COPY Color.
Set the copy paper type
You can set the paper type on the HP Fax.
To set the paper type for copies from the control panel
1.In the Copy area, press Copy Menu repeatedly until Paper Type appears.
2.Press ![]() until the appropriate paper type appears.
until the appropriate paper type appears.
3.Press START COPY Black or START COPY Color.
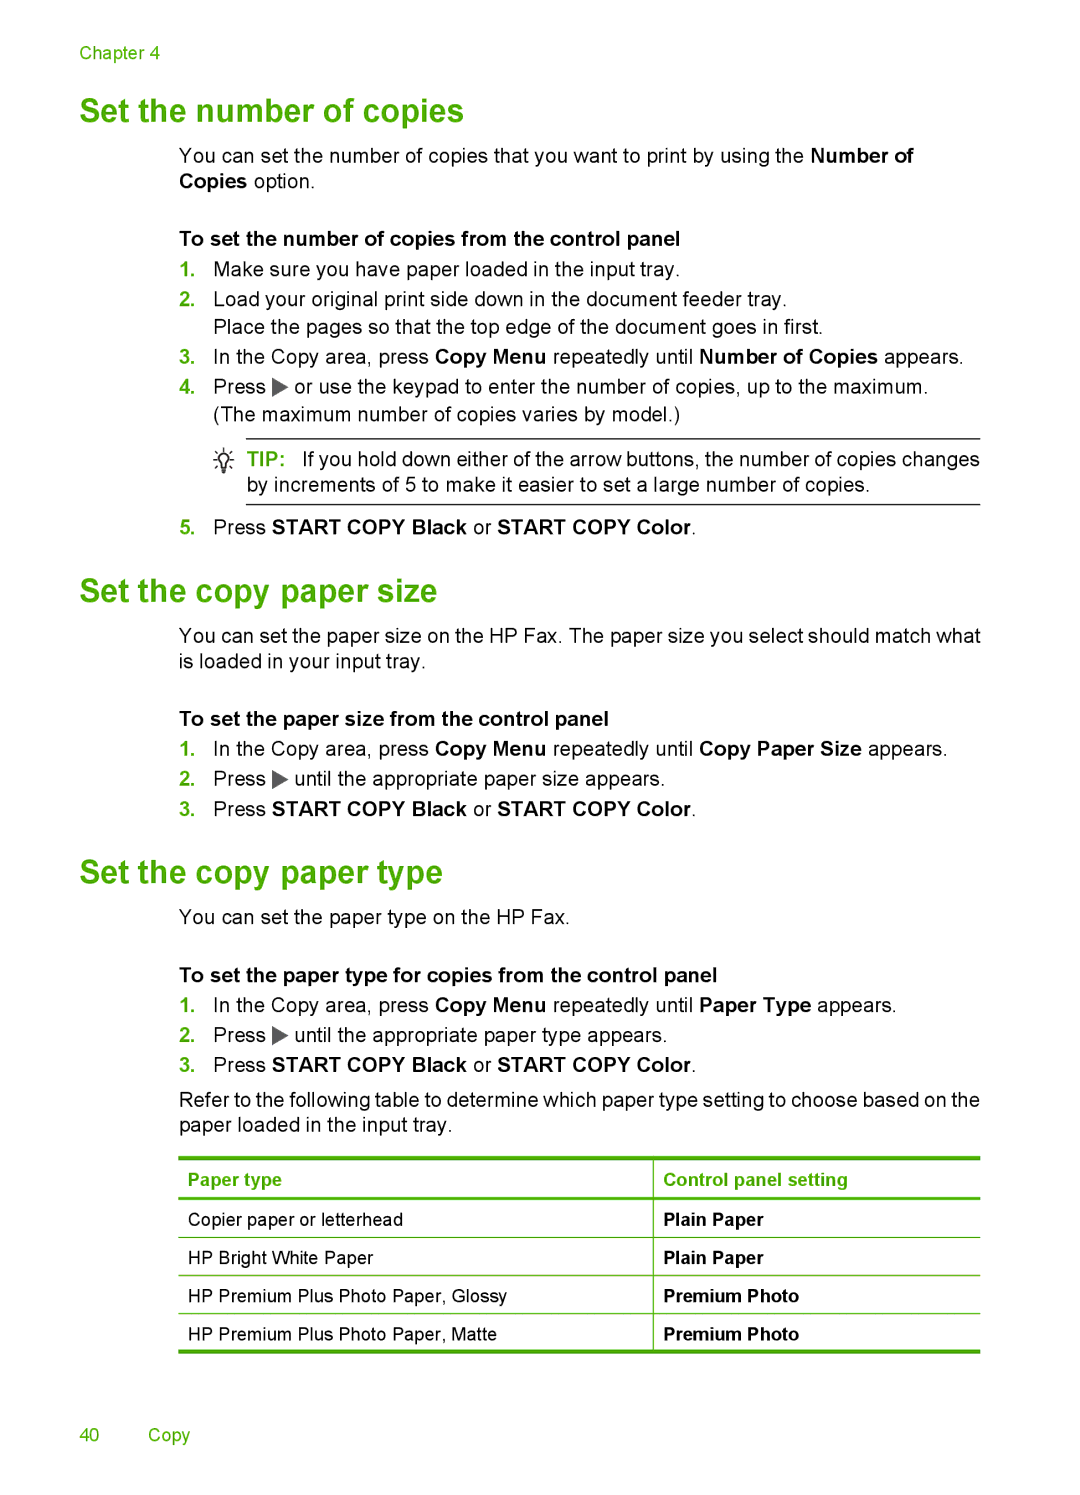
Refer to the following table to determine which paper type setting to choose based on the paper loaded in the input tray.
Paper type
Copier paper or letterhead
HP Bright White Paper
HP Premium Plus Photo Paper, Glossy
HP Premium Plus Photo Paper, Matte
Control panel setting
Plain Paper
Plain Paper
Premium Photo
Premium Photo
40 Copy
