Chapter 1
Load custom-size media
To load custom-size media
Use these instructions to load
![]() CAUTION: Use only
CAUTION: Use only
1.Lift the output tray.
2.Slide the paper width guide out as far as possible.
![]() NOTE: If you are loading larger sized media, pull up the front edge of the input tray to extend it.
NOTE: If you are loading larger sized media, pull up the front edge of the input tray to extend it.
3.Insert the media
![]() NOTE: Do not load paper while the printer is printing.
NOTE: Do not load paper while the printer is printing.
4.Slide the media guides in the tray until they touch the edge of the stack of media.
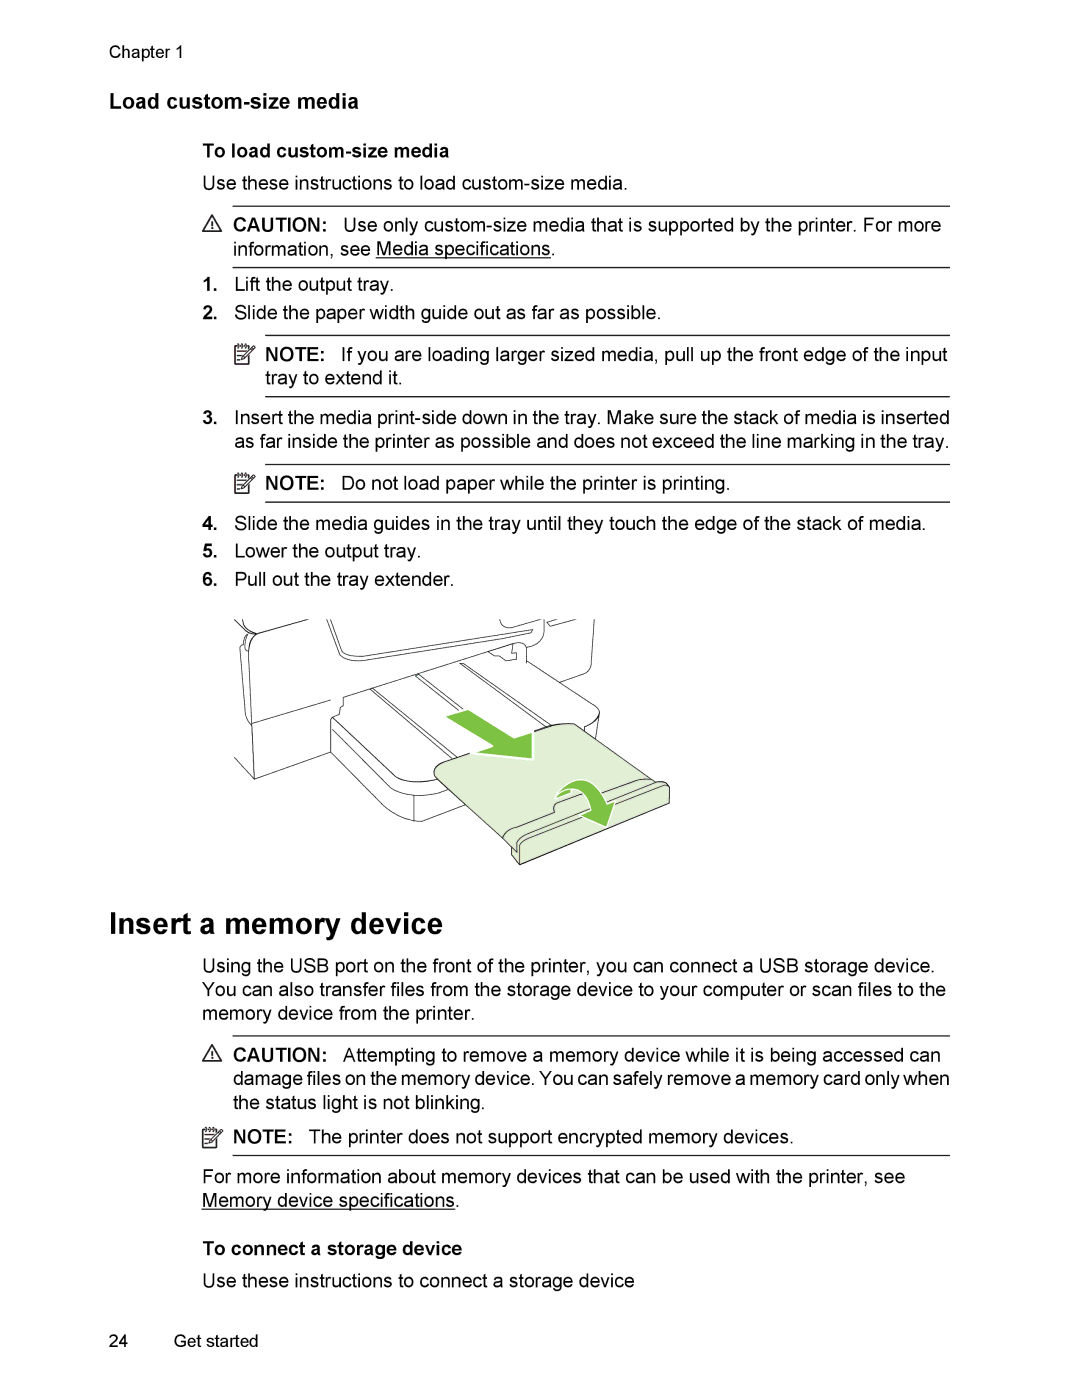
5.Lower the output tray.
6.Pull out the tray extender.
Insert a memory device
Using the USB port on the front of the printer, you can connect a USB storage device. You can also transfer files from the storage device to your computer or scan files to the memory device from the printer.
![]() CAUTION: Attempting to remove a memory device while it is being accessed can damage files on the memory device. You can safely remove a memory card only when the status light is not blinking.
CAUTION: Attempting to remove a memory device while it is being accessed can damage files on the memory device. You can safely remove a memory card only when the status light is not blinking.
![]() NOTE: The printer does not support encrypted memory devices.
NOTE: The printer does not support encrypted memory devices.
For more information about memory devices that can be used with the printer, see Memory device specifications.
To connect a storage device
Use these instructions to connect a storage device
24 Get started