1If the printer is off, press the POWER button on the printer’s control panel to turn the printer on.
2Load plain paper in the IN tray so the printer can print a calibration page after you install the print cartridges.
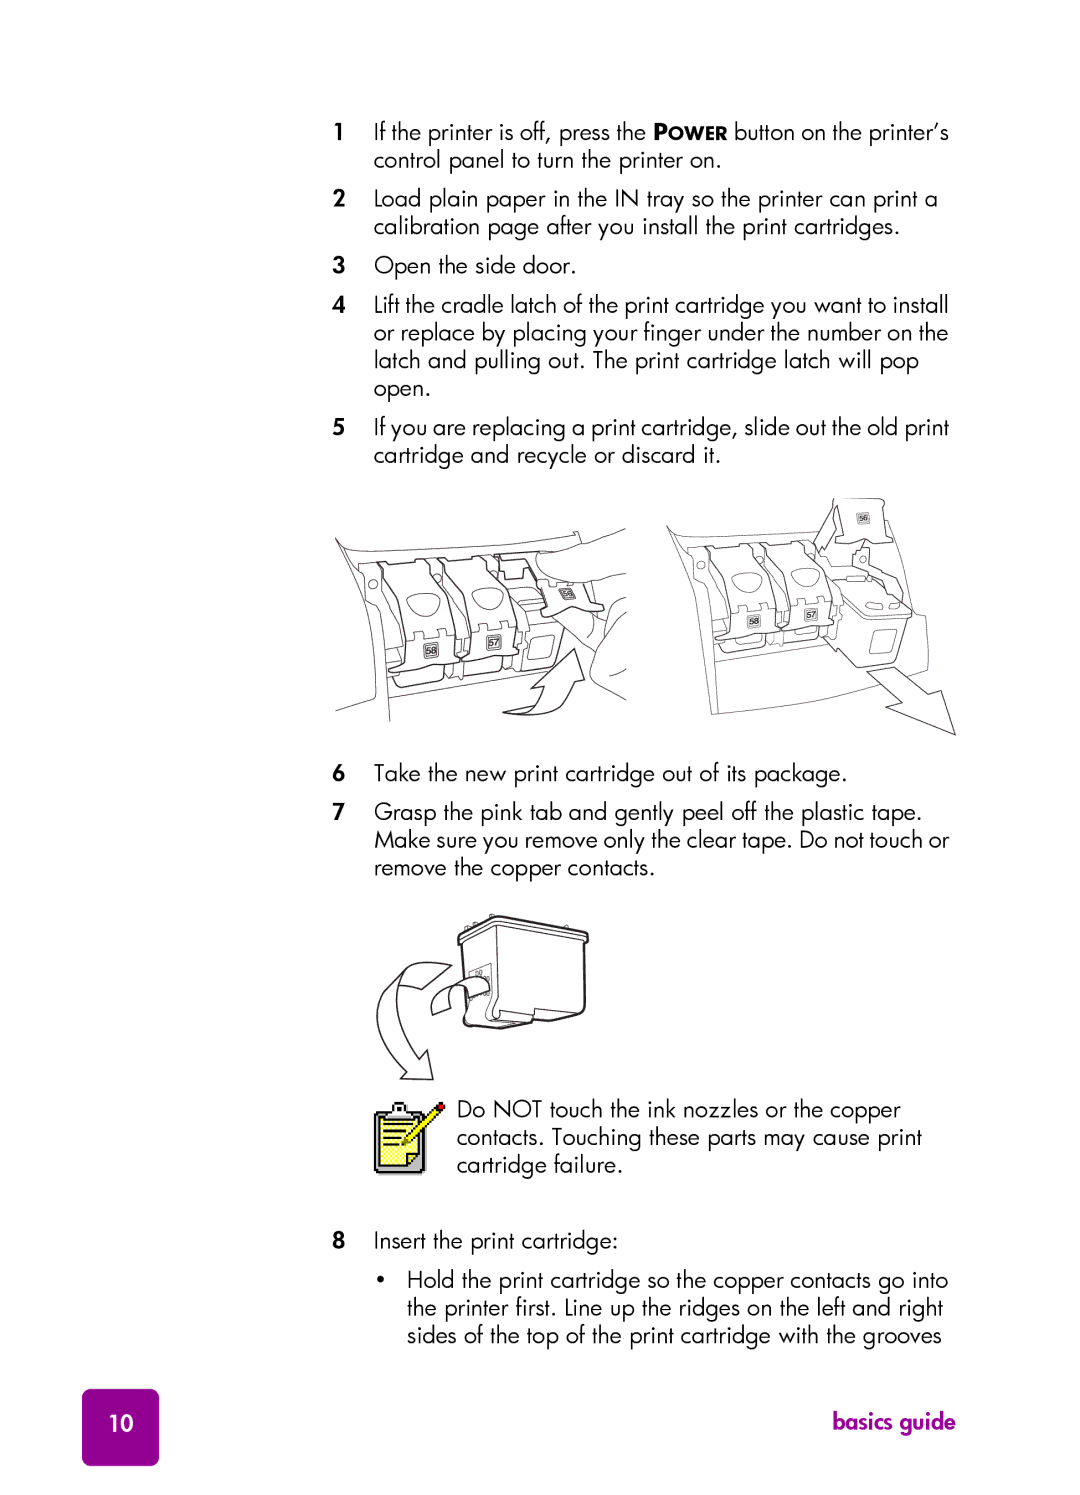
3Open the side door.
4Lift the cradle latch of the print cartridge you want to install or replace by placing your finger under the number on the latch and pulling out. The print cartridge latch will pop open.
5If you are replacing a print cartridge, slide out the old print cartridge and recycle or discard it.
56
56
57
58
57
58
6Take the new print cartridge out of its package.
7Grasp the pink tab and gently peel off the plastic tape. Make sure you remove only the clear tape. Do not touch or remove the copper contacts.
Do NOT touch the ink nozzles or the copper contacts. Touching these parts may cause print cartridge failure.
8Insert the print cartridge:
•Hold the print cartridge so the copper contacts go into the printer first. Line up the ridges on the left and right sides of the top of the print cartridge with the grooves
10 | basics guide |