Adding or replacing a full-size optical disc drive
1Remove the rails from the
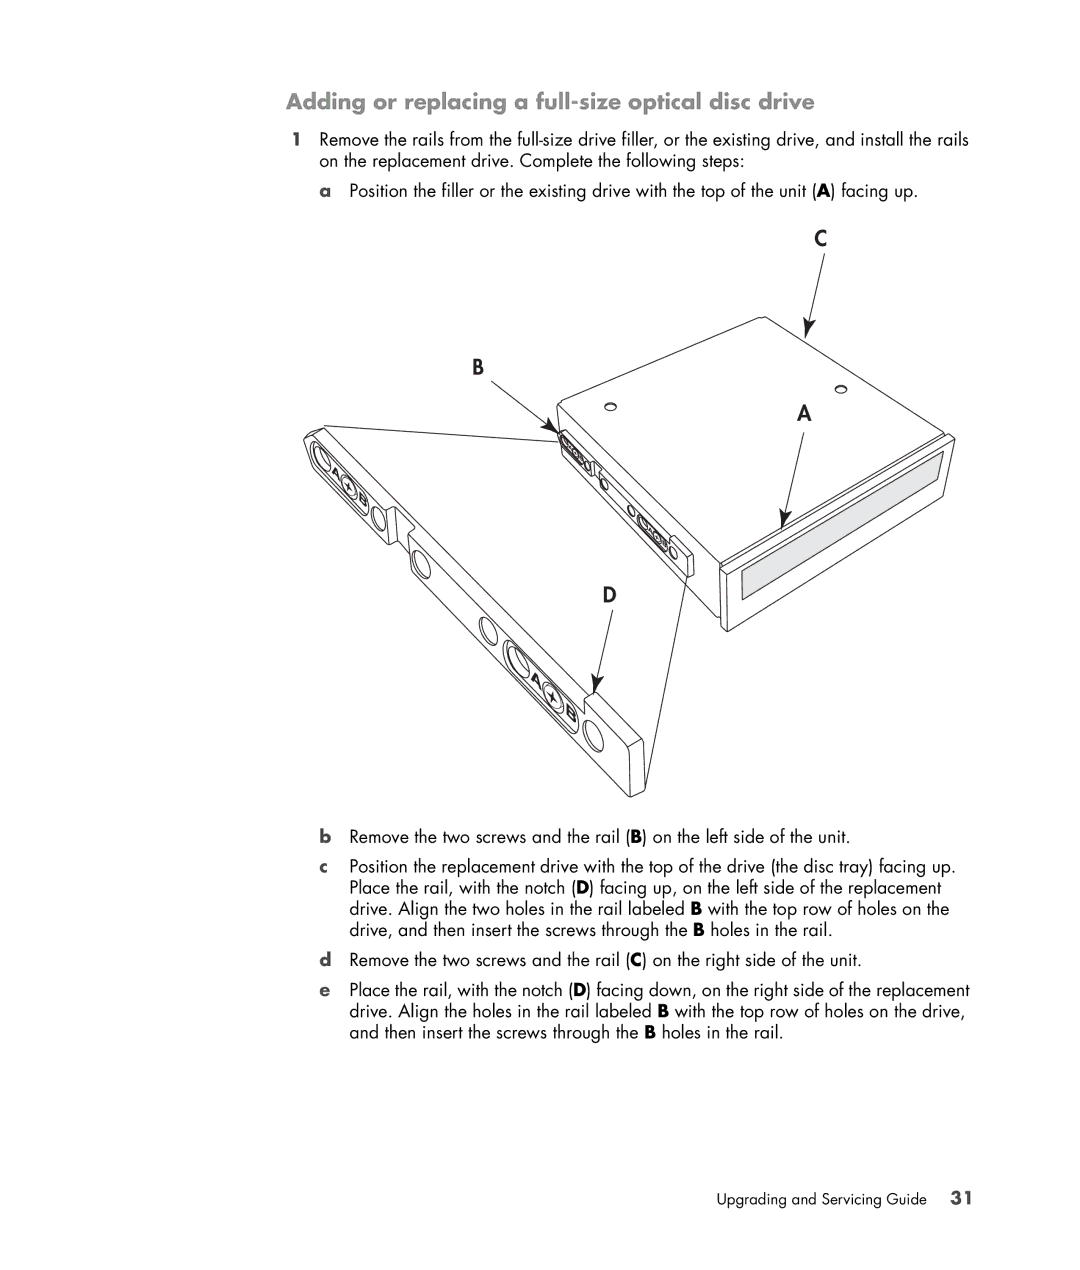
a Position the filler or the existing drive with the top of the unit (A) facing up.
C
B
A
D
bRemove the two screws and the rail (B) on the left side of the unit.
cPosition the replacement drive with the top of the drive (the disc tray) facing up. Place the rail, with the notch (D) facing up, on the left side of the replacement drive. Align the two holes in the rail labeled B with the top row of holes on the drive, and then insert the screws through the B holes in the rail.
dRemove the two screws and the rail (C) on the right side of the unit.
ePlace the rail, with the notch (D) facing down, on the right side of the replacement drive. Align the holes in the rail labeled B with the top row of holes on the drive, and then insert the screws through the B holes in the rail.