Manuals
/
HP
/
Baby
/
Doll
HP
Doll c7000
manual
Support and other resources
Models:
Doll c7000
1
90
103
103
Download
103 pages
40.47 Kb
87
88
89
90
91
92
93
94
Troubleshooting
Install
Insight Display errors
Onboard Administrator cabling
Single-phase AC configuration
Accessing local media devices
Connector Description
Enclosure Settings screen
Temperature requirements
Battery replacement notice
Page 90
Image 90
Support and other resources 90
Page 89
Page 91
Page 90
Image 90
Page 89
Page 91
Contents
HP BladeSystem c7000 Enclosure Setup and Installation Guide
Page
Contents
Support and other resources
Contents
Planning the installation
Verifying the pallet contents
Rack requirements
Rack-free environment requirements
Planning the installation
Space and airflow requirements
Temperature requirements
Power requirements
Grounding requirements
Component and LED identification
Enclosure front components
Power supply bay numbering Power supply LEDs
Device bay numbering
Location Discovery Services
HP BladeSystem Insight Display components
Enclosure rear components
Fan bay numbering
Onboard Administrator components
Fan LED
HP c7000 Onboard Administrator with KVM components
UID LED
Interconnect bay numbering
VGA
Installation
Installation overview
Disassembling the enclosure
Installation
Installation
Rack-free installation
Rack installation
Installing the rack rails
Measuring with the rack template
Installing the enclosure into the rack
Installation
Installing the rear cage into the enclosure
Component installation
Installing a power supply
Installation
Installing blades
Installing a full-height blade
Installation
Installation
Removing a device bay shelf
Creating a full-height device bay blank
Installation
Installing a half-height blade
Installation
Installation
Accessing a server blade with local KVM
Accessing local media devices
Installing fans
USB diskette drive Description
Installation
Installing Onboard Administrator modules
Installation
Installing interconnect modules
Installation
Mapping to interconnect ports
Mapping half-height blades
Mapping full-height blades
Mapping BL2x220c Blades
Mapping the BL680c G7 Blade
Bay-to-bay crosslinks
Device bay crosslinks
Removing interconnect bay dividers
Cabling and powering up the enclosure
Onboard Administrator cabling
Cabling the enclosure
Connector Description
Enclosure link cabling
Cabling a PC to the enclosure service port
Powering up the enclosure
Single-phase AC configuration
Cabling the network to the enclosure
Cabling and powering up the enclosure
Page
PDU installation
Cabling and powering up the enclosure
Three-phase AC configuration
Running the Insight Display installation steps
HP BladeSystem Insight Display
Insight Display overview
HP BladeSystem Insight Display
HP BladeSystem Insight Display
HP BladeSystem Insight Display
Navigating the Insight Display
Health Summary screen
HP BladeSystem Insight Display
HP BladeSystem Insight Display
Enclosure Settings screen
Enclosure Info screen
Blade and Port Info screen
Turn Enclosure UID On/Off screen
HP BladeSystem Insight Display
Chat Mode screen
View User Note screen
Important safety information
Troubleshooting
Troubleshooting resources
Symbols on equipment
Troubleshooting
Insight Display errors
Power errors
Configuration errors
Cooling errors
Location errors
Device failure errors
Troubleshooting
HP contact information
Support and other resources
Before you contact HP
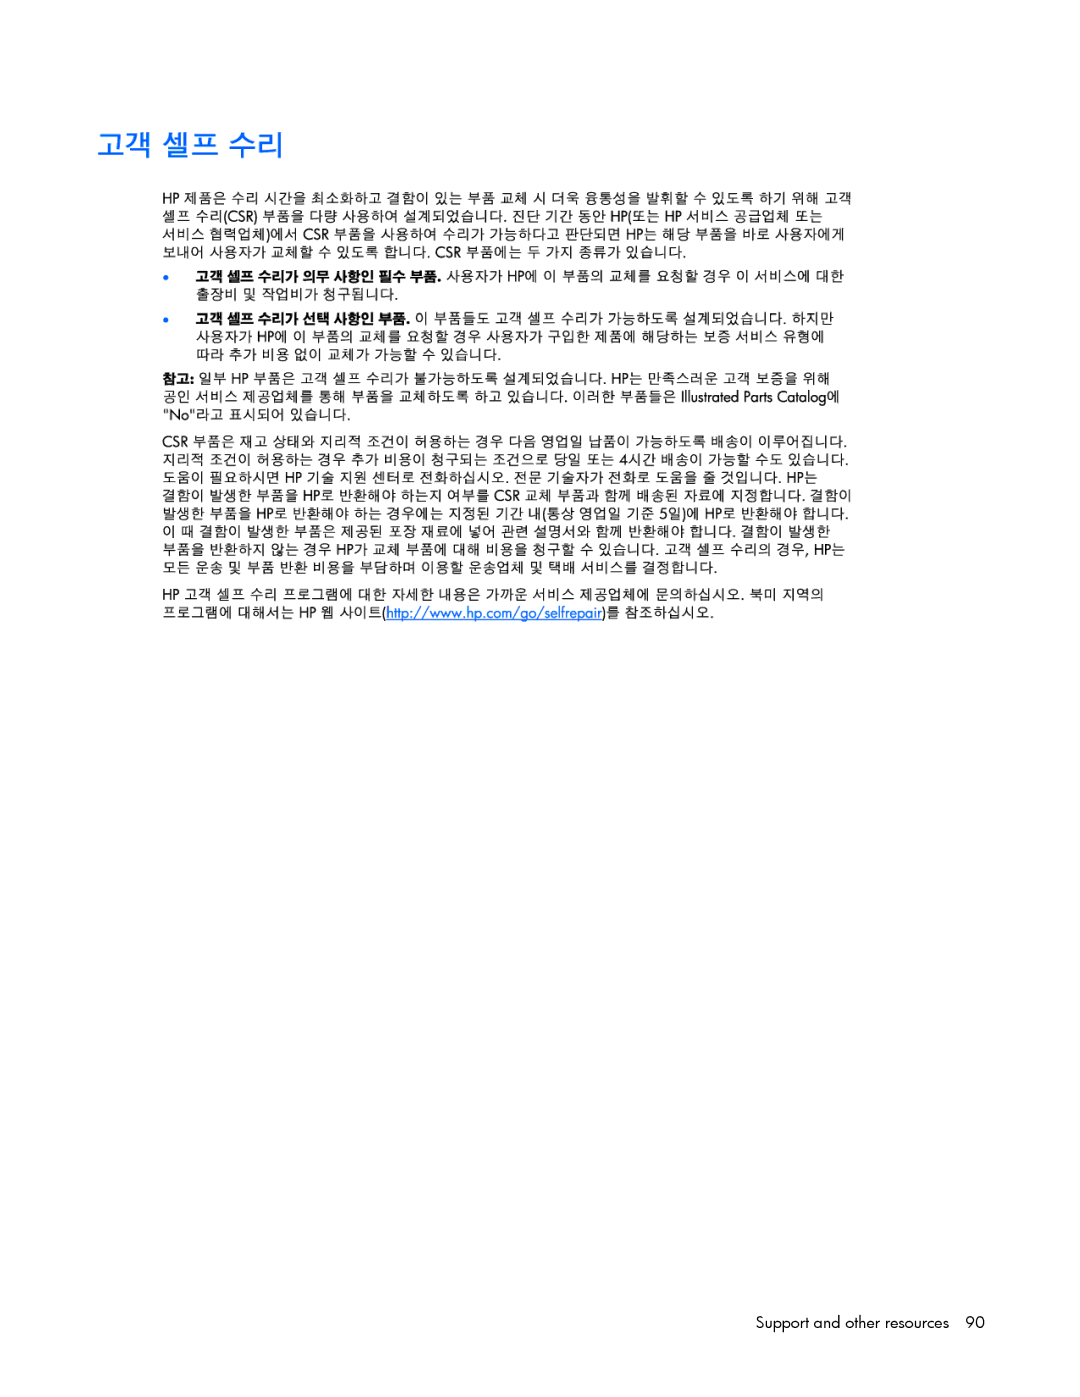
Customer Self Repair
Réparation par le client CSR
Riparazione da parte del cliente
Reparaciones del propio cliente
Reparo feito pelo cliente
Support and other resources
Support and other resources
Support and other resources
Regulatory compliance notices
Regulatory compliance identification numbers
Federal Communications Commission notice
Modifications
Cables
Canadian notice Avis Canadien
European Union regulatory notice
Japanese notice Bsmi notice Korean notice
Battery replacement notice
Chinese notice
Laser compliance
Taiwan battery recycling notice
Power cord statement for Japan
Electrostatic discharge
Preventing electrostatic discharge
Grounding methods to prevent electrostatic discharge
Acronyms and abbreviations
USB
Documentation feedback
Index
HP BladeSystem Insight Display errors
Static electricity
Top
Page
Image
Contents