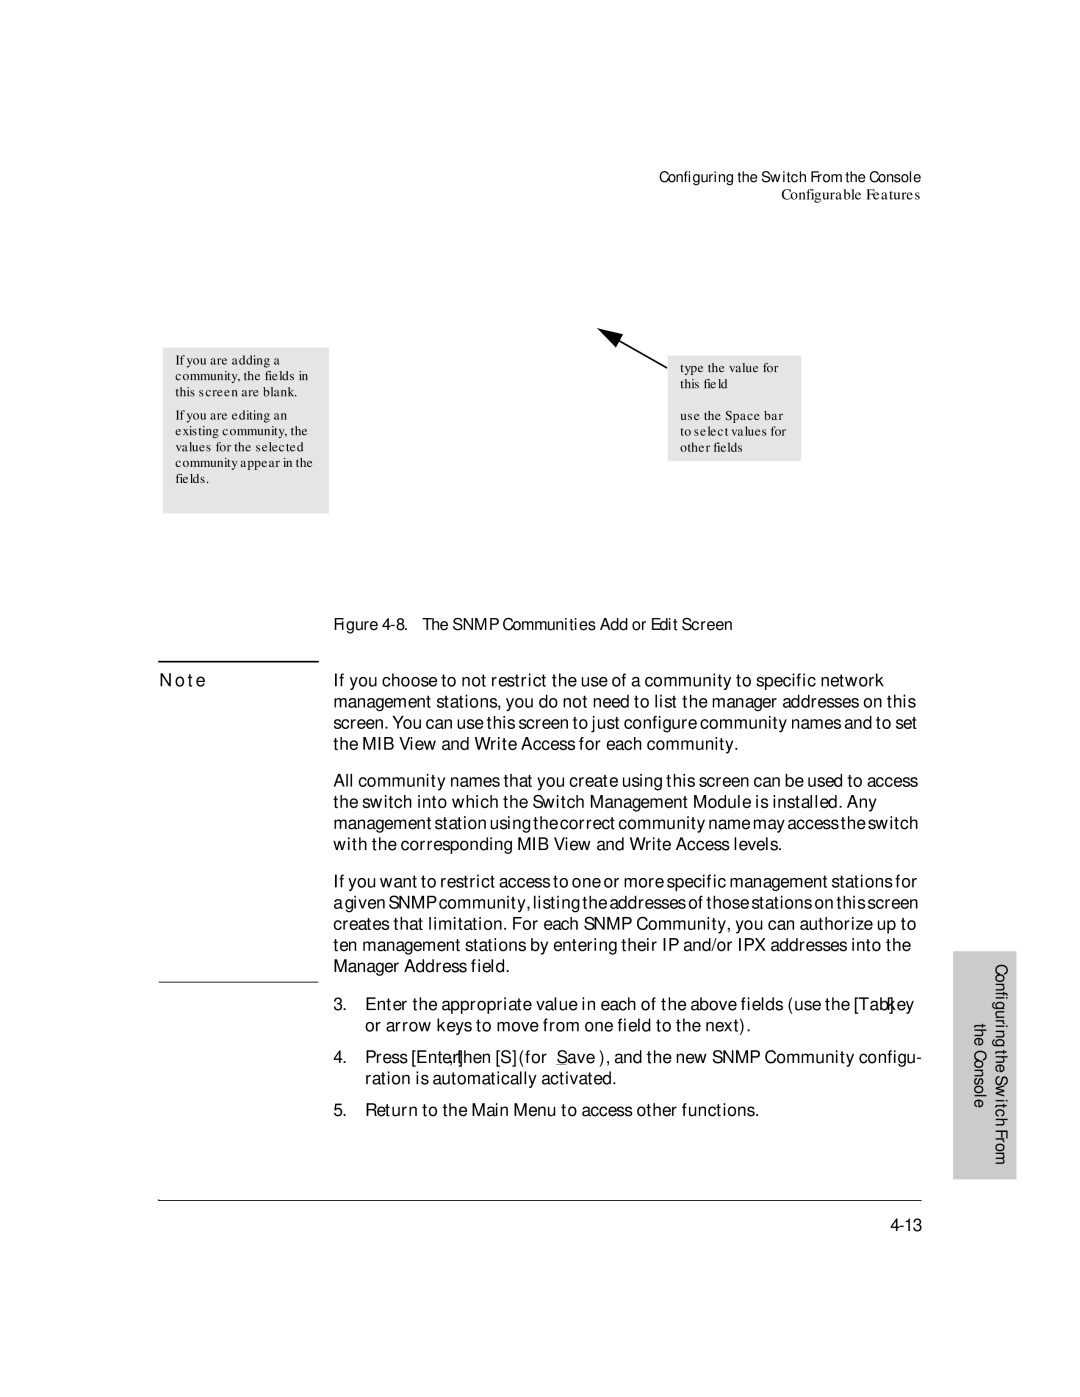
If you are adding a community, the fields in this screen are blank.
If you are editing an existing community, the values for the selected community appear in the fields.
Configuring the Switch From the Console
Configurable Features
type the value for this field
use the Space bar to select values for other fields
| Figure | |
|
| |
N o t e | If you choose to not restrict the use of a community to specific network | |
| management stations, you do not need to list the manager addresses on this | |
| screen. You can use this screen to just configure community names and to set | |
| the MIB View and Write Access for each community. | |
| All community names that you create using this screen can be used to access | |
| the switch into which the Switch Management Module is installed. Any | |
| management station using the correct community name may access the switch | |
| with the corresponding MIB View and Write Access levels. | |
| If you want to restrict access to one or more specific management stations for | |
| a given SNMP community, listing the addresses of those stations on this screen | |
| creates that limitation. For each SNMP Community, you can authorize up to | |
| ten management stations by entering their IP and/or IPX addresses into the | |
| Manager Address field. | |
| 3. Enter the appropriate value in each of the above fields (use the [Tab] key | |
| ||
|
| or arrow keys to move from one field to the next). |
| 4. | Press [Enter], then [S] (for Save), and the new SNMP Community configu- |
|
| ration is automatically activated. |
| 5. | Return to the Main Menu to access other functions. |