Using muvee autoProducer on the Desktop
Getting started on the desktop
To open muvee autoProducer (select models only):
1Close or minimize Media Center.
2Click Start ![]() on the taskbar.
on the taskbar.
3Select All Programs, muvee Technologies, muvee autoProducer, and then muvee autoProducer to open muvee autoProducer.
4Open a project by selecting, from the File menu, either New Project or Open Project.
5Select one of the button options:
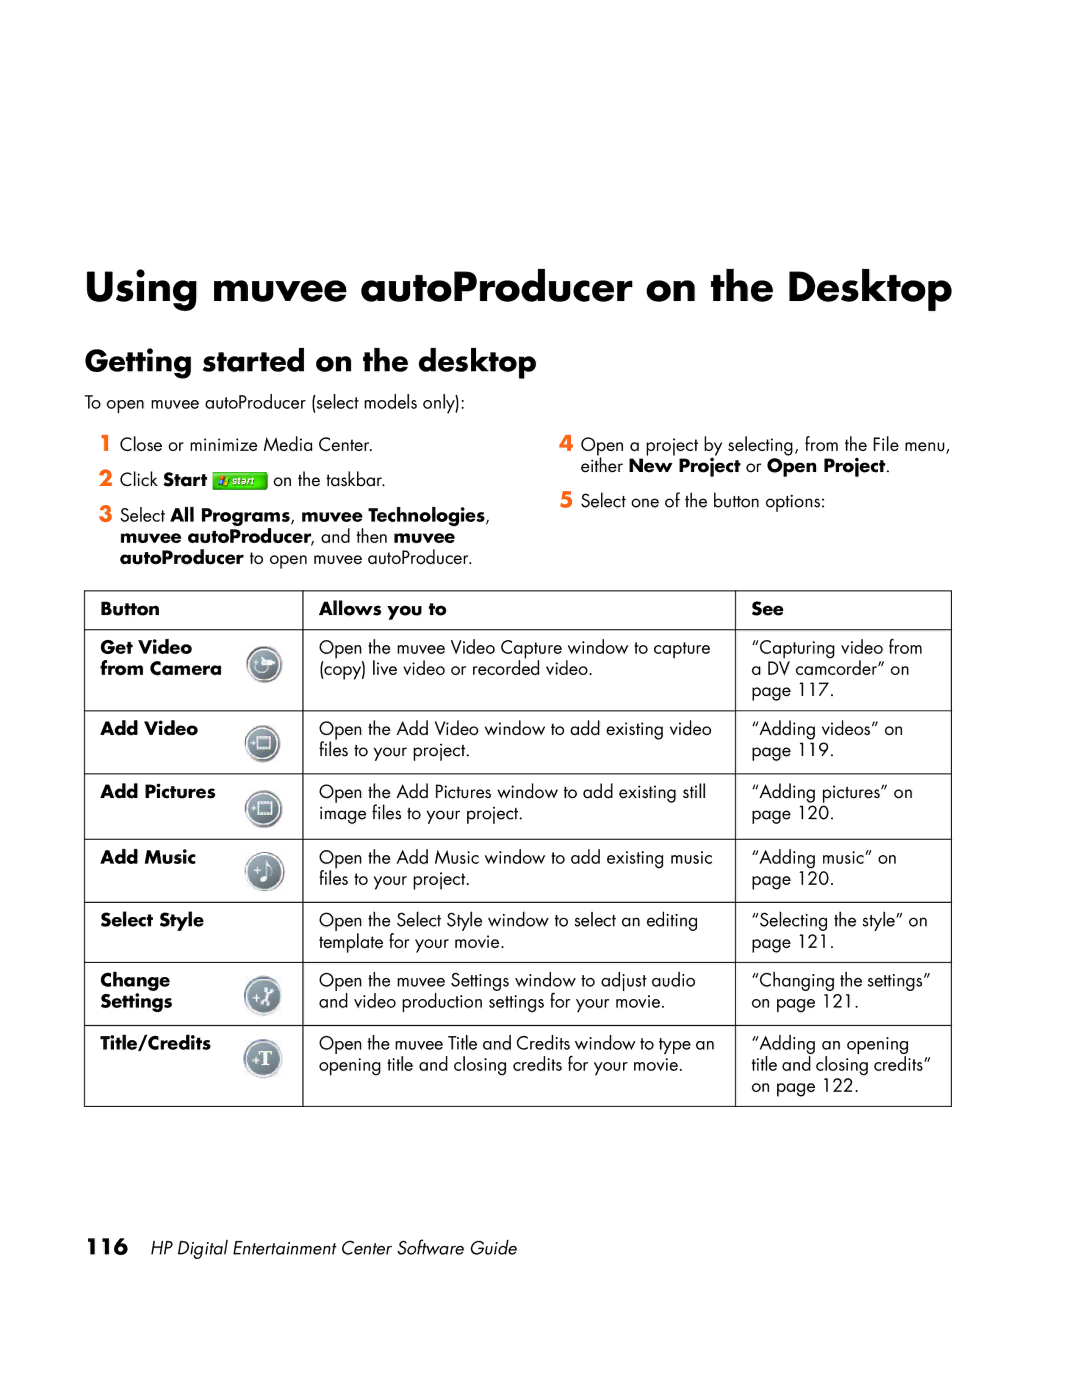
Button | Allows you to | See |
|
|
|
Get Video | Open the muvee Video Capture window to capture | “Capturing video from |
from Camera | (copy) live video or recorded video. | a DV camcorder” on |
|
| page 117. |
|
|
|
Add Video | Open the Add Video window to add existing video | “Adding videos” on |
| files to your project. | page 119. |
|
|
|
Add Pictures | Open the Add Pictures window to add existing still | “Adding pictures” on |
| image files to your project. | page 120. |
|
|
|
Add Music | Open the Add Music window to add existing music | “Adding music” on |
| files to your project. | page 120. |
|
|
|
Select Style | Open the Select Style window to select an editing | “Selecting the style” on |
| template for your movie. | page 121. |
|
|
|
Change | Open the muvee Settings window to adjust audio | “Changing the settings” |
Settings | and video production settings for your movie. | on page 121. |
|
|
|
Title/Credits | Open the muvee Title and Credits window to type an | “Adding an opening |
| opening title and closing credits for your movie. | title and closing credits” |
|
| on page 122. |
|
|
|
