4.Once you have determined the best satellite to use, move the antenna stand to the correct elevation angle
using the integrated protractor. Recall that the elevation angle is indicated on the wMMI home page. With the elevation angle correctly set, place the ThurayaIP on a flat surface with the
antenna facing in the direction of the satellite as | Protractor |
determined in step 3. |
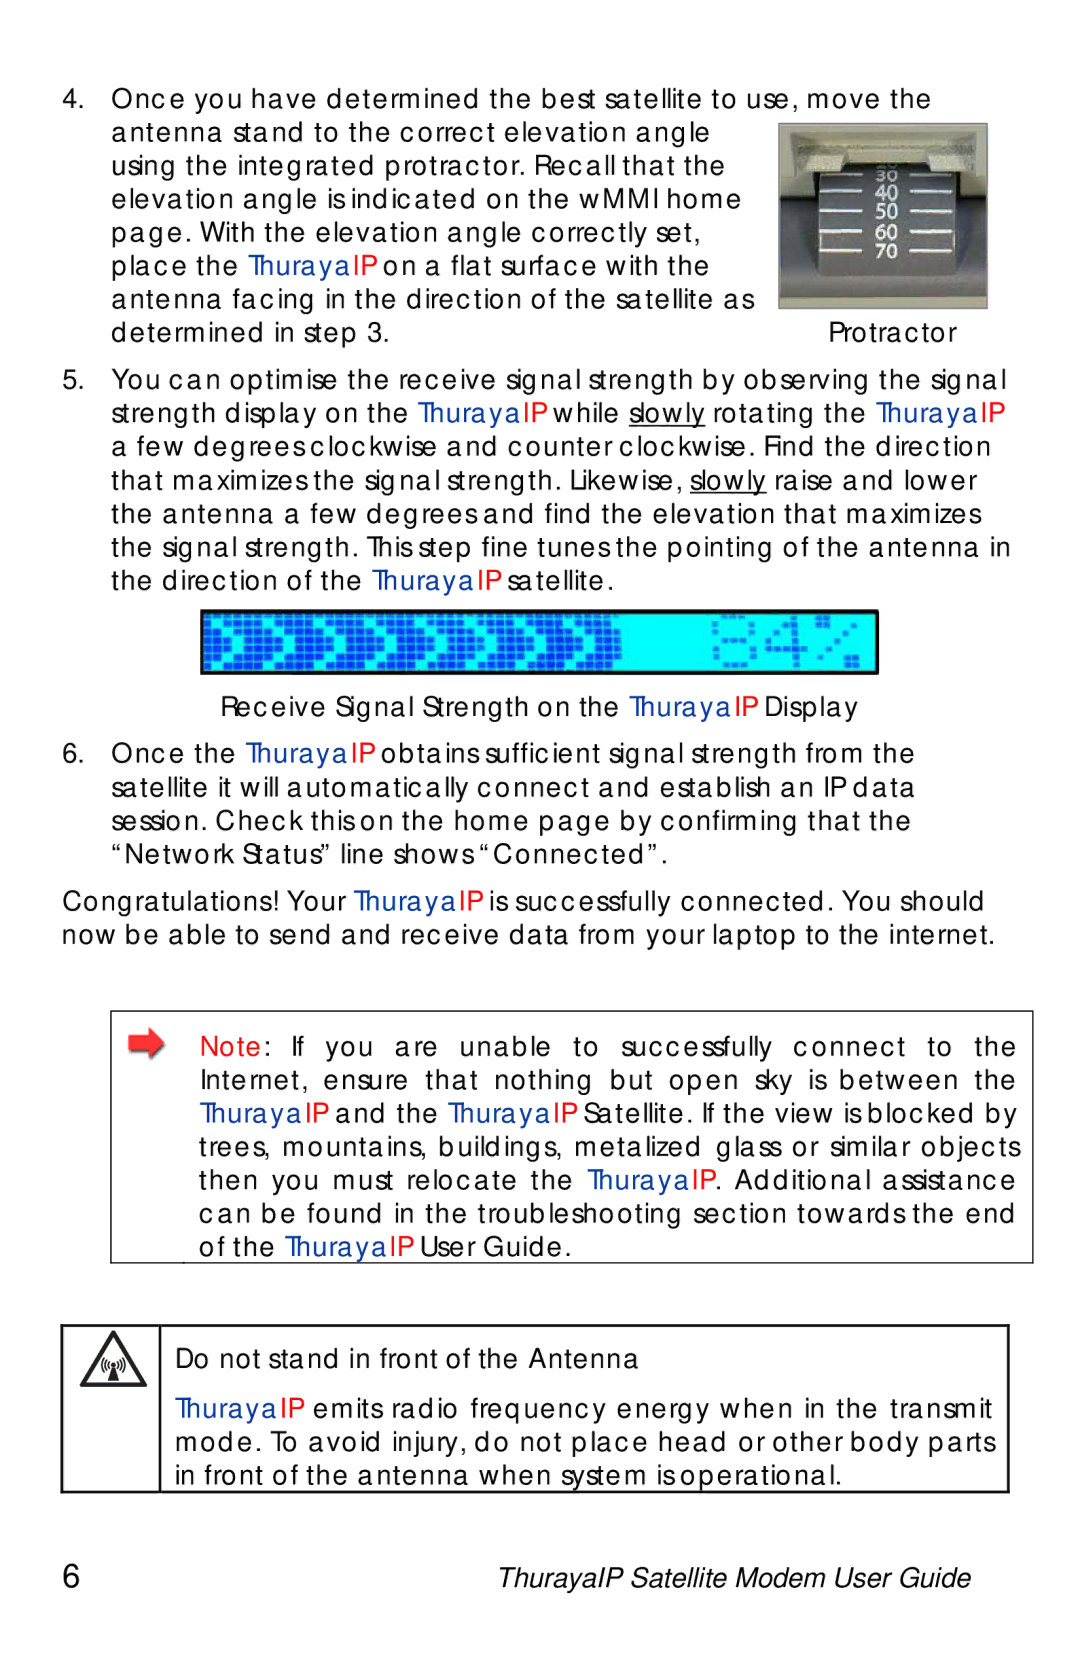
5.You can optimise the receive signal strength by observing the signal strength display on the ThurayaIP while slowly rotating the ThurayaIP a few degrees clockwise and counter clockwise. Find the direction that maximizes the signal strength. Likewise, slowly raise and lower the antenna a few degrees and find the elevation that maximizes the signal strength. This step fine tunes the pointing of the antenna in the direction of the ThurayaIP satellite.
Receive Signal Strength on the ThurayaIP Display
6.Once the ThurayaIP obtains sufficient signal strength from the satellite it will automatically connect and establish an IP data session. Check this on the home page by confirming that the “Network Status” line shows “Connected”.
Congratulations! Your ThurayaIP is successfully connected. You should now be able to send and receive data from your laptop to the internet.
Note: If you are unable to successfully connect to the Internet, ensure that nothing but open sky is between the ThurayaIP and the ThurayaIP Satellite. If the view is blocked by trees, mountains, buildings, metalized glass or similar objects then you must relocate the ThurayaIP. Additional assistance can be found in the troubleshooting section towards the end of the ThurayaIP User Guide.
Do not stand in front of the Antenna
ThurayaIP emits radio frequency energy when in the transmit mode. To avoid injury, do not place head or other body parts in front of the antenna when system is operational.
6 | ThurayaIP Satellite Modem User Guide |