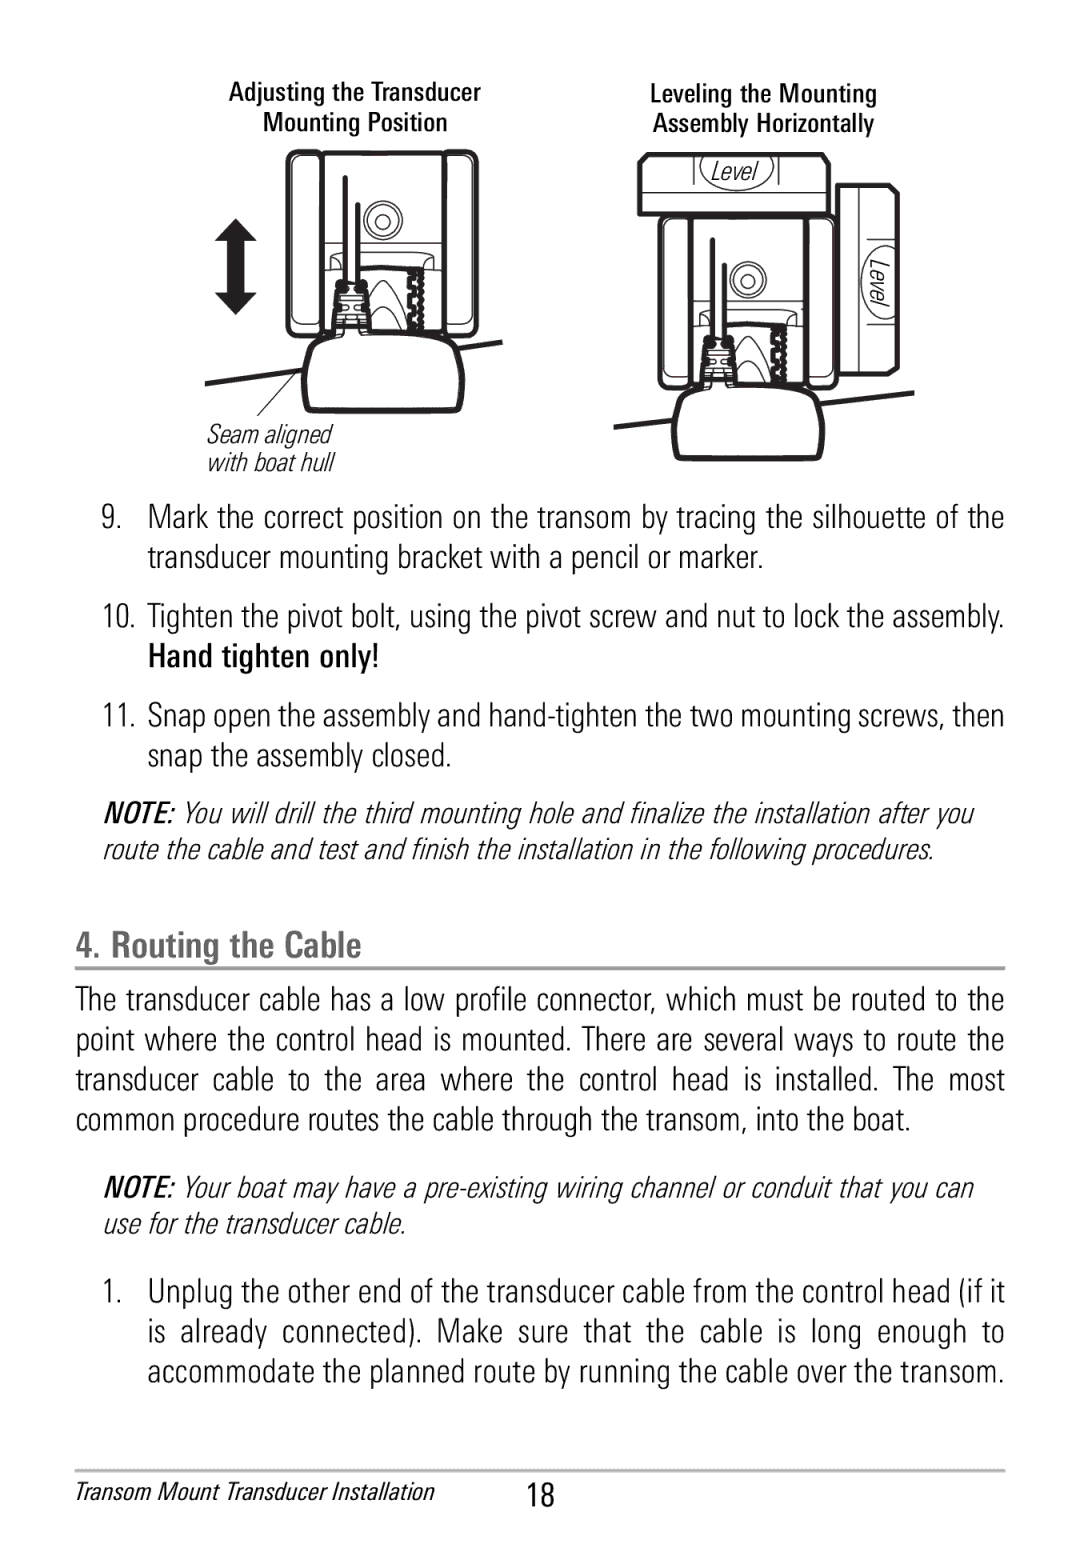
Adjusting the Transducer | Leveling the Mounting |
Mounting Position | Assembly Horizontally |
| Level |
Level
Seam aligned with boat hull
9.Mark the correct position on the transom by tracing the silhouette of the transducer mounting bracket with a pencil or marker.
10.Tighten the pivot bolt, using the pivot screw and nut to lock the assembly. Hand tighten only!
11.Snap open the assemblyand
NOTE: You will drill the third mounting hole and finalize the installation after you route the cable and test and finish the installation in the following procedures.
4. Routing the Cable
The transducer cable has a low profile connector, which must be routed to the point where the control head is mounted. There are several ways to route the transducer cable to the area where the control head is installed. The most common procedureroutes the cable through the transom, into the boat.
NOTE: Your boat may have a
1.Unplug the other end of the transducer cable from the control head (if it is already connected). Make sure that the cable is long enough to accommodate the planned route by running the cable over the transom.
Transom Mount Transducer Installation | 18 |