3. Installation
3.1 Preparations
1.If the lawn in the proposed working area is taller than 4", mow it using a normal lawn mower. Then collect the clippings.
2.Read carefully through all the steps before the installation.
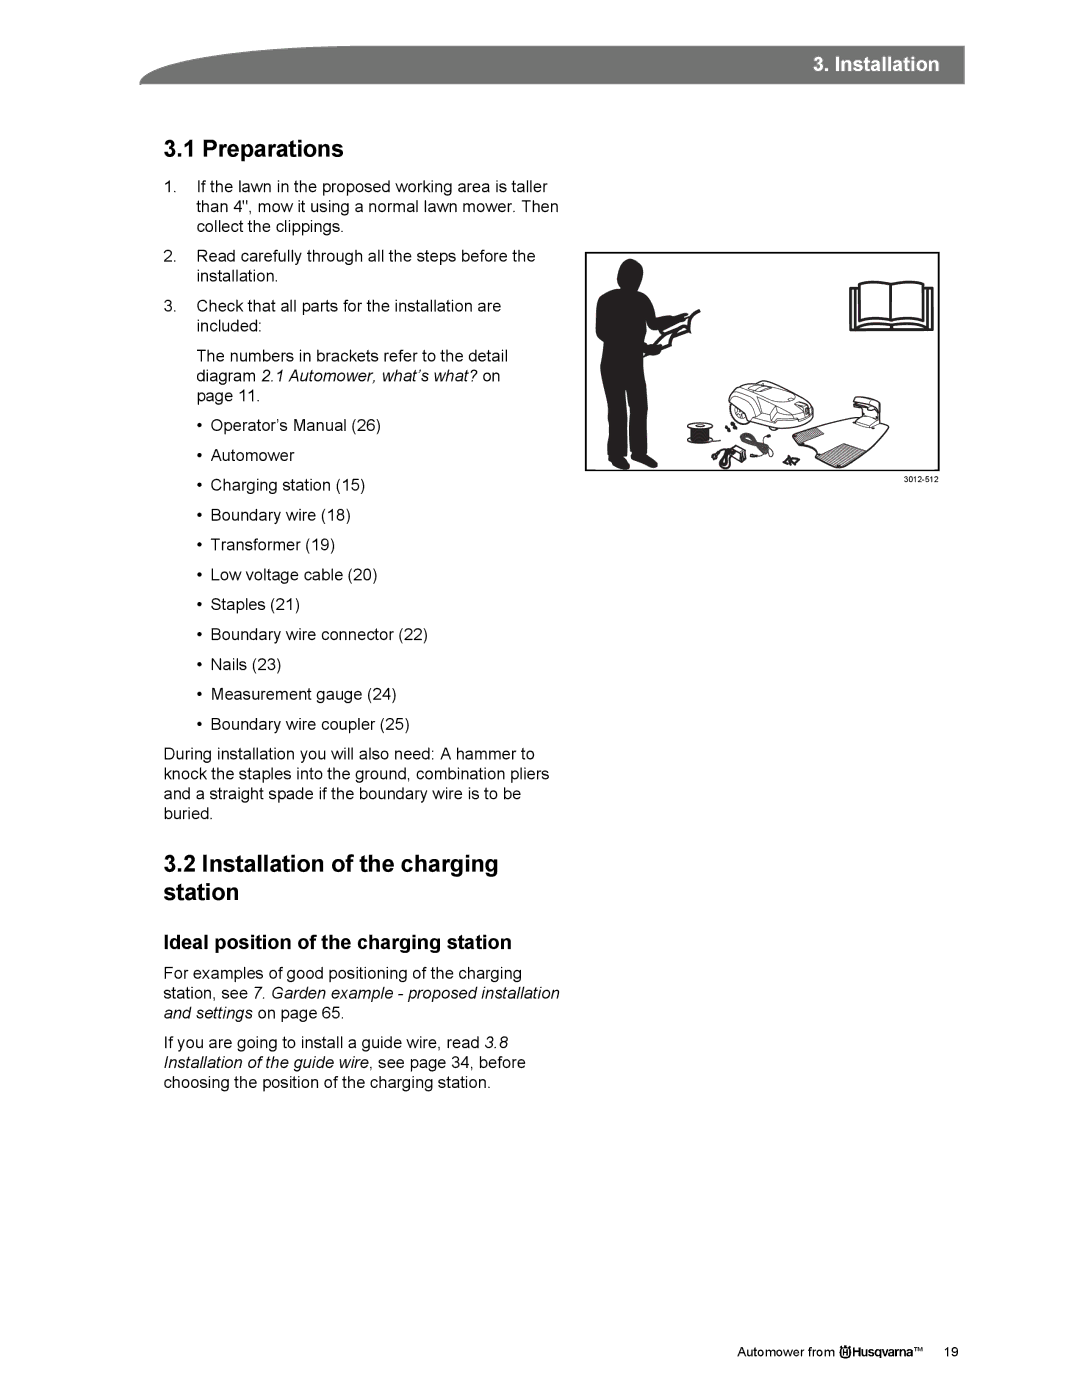
3.Check that all parts for the installation are included:
The numbers in brackets refer to the detail diagram 2.1 Automower, what’s what? on page 11.
•Operator’s Manual (26)
•Automower
•Charging station (15)
•Boundary wire (18)
•Transformer (19)
•Low voltage cable (20)
•Staples (21)
•Boundary wire connector (22)
•Nails (23)
•Measurement gauge (24)
•Boundary wire coupler (25)
During installation you will also need: A hammer to knock the staples into the ground, combination pliers and a straight spade if the boundary wire is to be buried.
3.2Installation of the charging station
Ideal position of the charging station
For examples of good positioning of the charging station, see 7. Garden example - proposed installation and settings on page 65.
If you are going to install a guide wire, read 3.8 Installation of the guide wire, see page 34, before choosing the position of the charging station.
Automower from | ™ 19 |