1.Press the Eject/Load button.
2.Look at the illustrations and compare them to your loading tray.
vIf your loading tray looks like the left illustration, insert the CD carefully so that the edges of the CD are underneath the tabs on the loading tray. These plastic tabs cover the edges of the CD and hold it in place. The tabs are attached to the tray itself and cannot be moved.
vIf your loading tray looks like the right illustration, insert the CD into the tray, and gently push the movable tab forward to hold the CD in place.
3.Close the loading tray by pressing the Eject/Load button, or by gently pushing the tray in.
Ejecting a CD manually
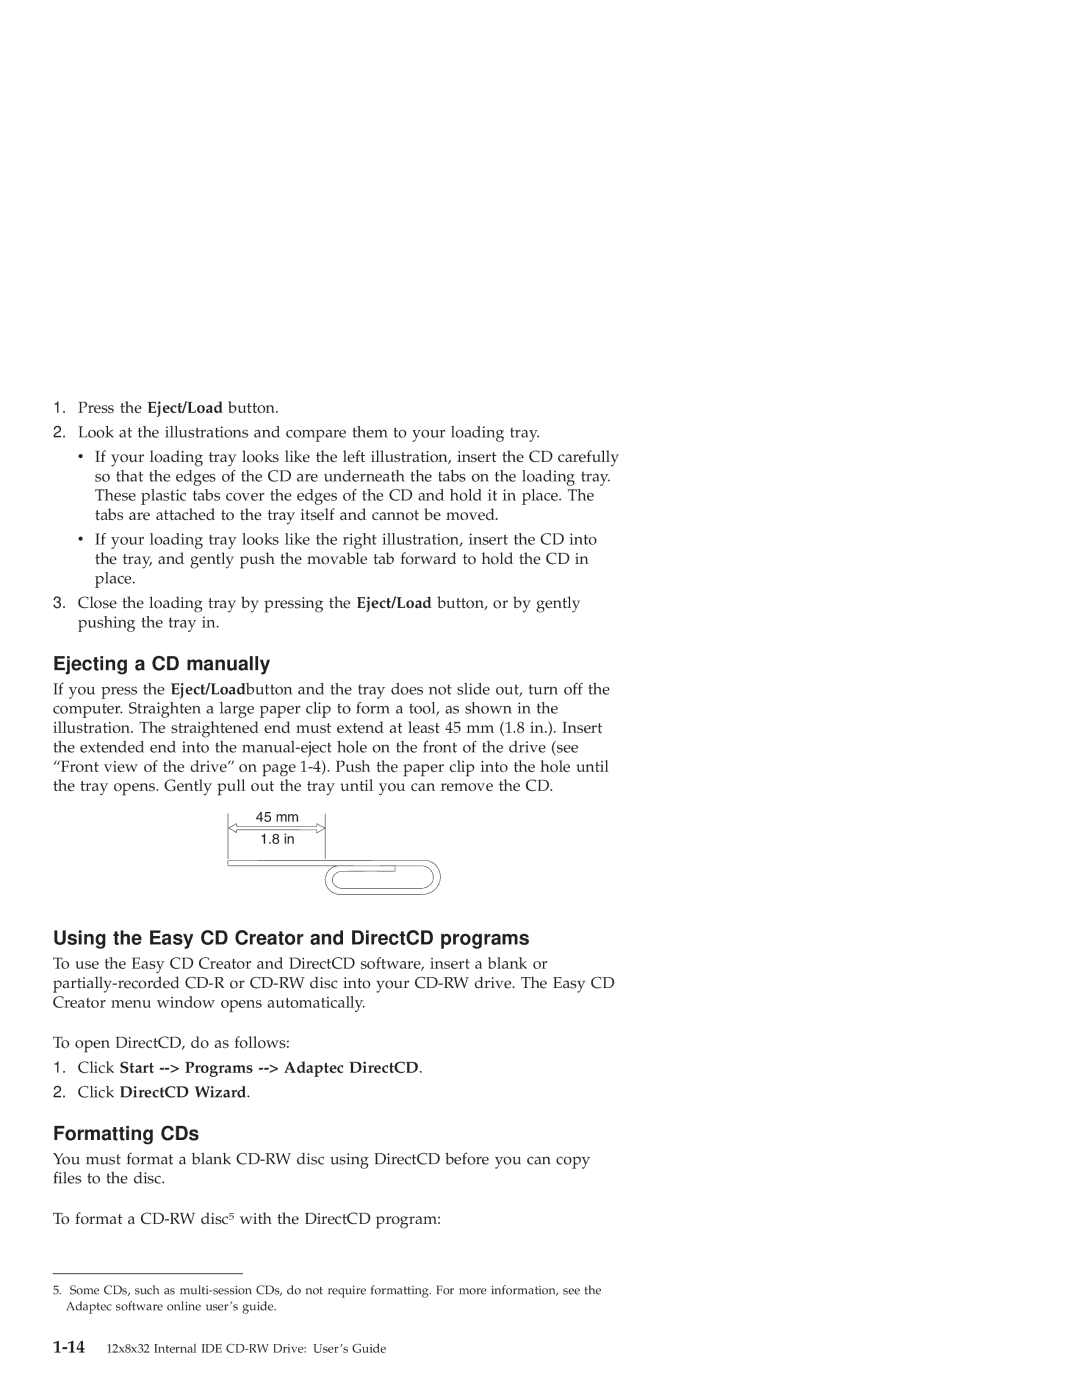
If you press the Eject/Loadbutton and the tray does not slide out, turn off the computer. Straighten a large paper clip to form a tool, as shown in the illustration. The straightened end must extend at least 45 mm (1.8 in.). Insert the extended end into the
45mm
1.8in
Using the Easy CD Creator and DirectCD programs
To use the Easy CD Creator and DirectCD software, insert a blank or
To open DirectCD, do as follows:
1.Click Start
2.Click DirectCD Wizard.
Formatting CDs
You must format a blank
To format a
5.Some CDs, such as