30

 EN
EN 


 V
V
 IDEO
IDEO CA
CA PTURE (cont.)
INTERVAL CAPTURE
The Interval Capture mode is best suited for capturing images at set intervals from a camcorder.
Preparation
•Make sure all units are properly connected (☞ p. 12).
•Insert a tape into the video source unit. Click "Image Format" in
"Field Picture" in the Capture Mode (☞ p. 32).
|
| ||
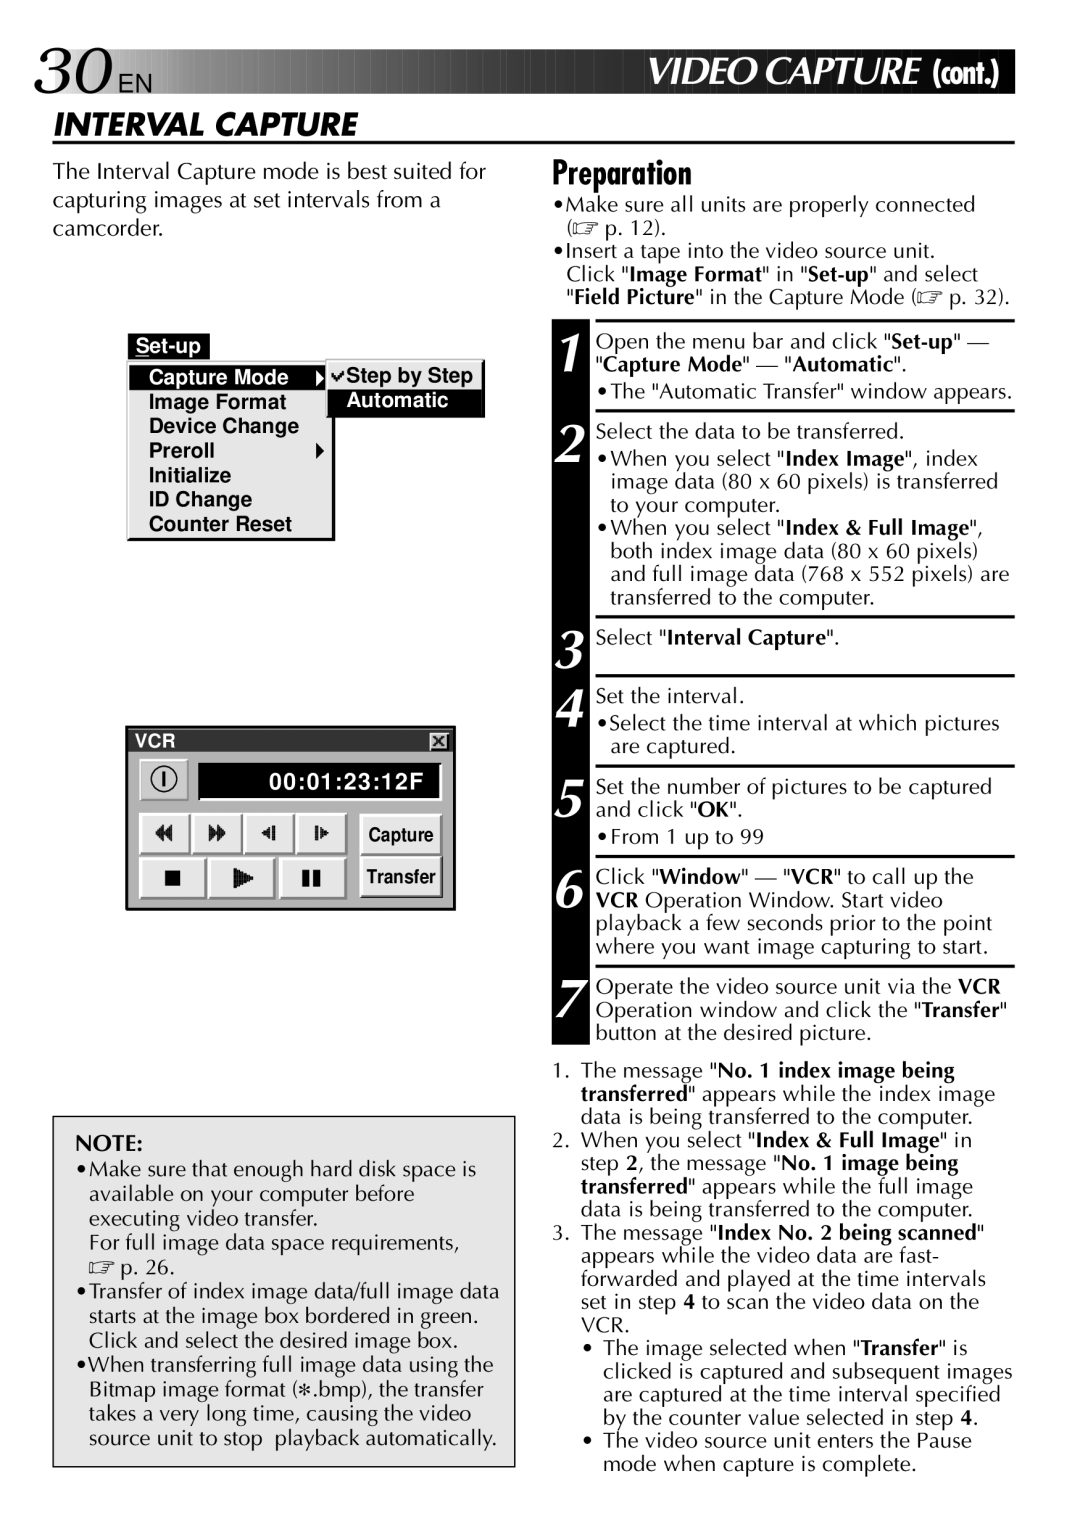
Capture Mode | Step by Step | ||
Image Format | Automatic | ||
Device Change |
| ||
Preroll |
| ||
Initialize |
| ||
ID Change |
| ||
Counter Reset |
| ||
VCR |
|
I | 00:01:23:12F |
Capture
Transfer |
NOTE:
•Make sure that enough hard disk space is available on your computer before executing video transfer.
For full image data space requirements,
☞p. 26.
•Transfer of index image data/full image data starts at the image box bordered in green. Click and select the desired image box.
•When transferring full image data using the Bitmap image format (9.bmp), the transfer takes a very long time, causing the video source unit to stop playback automatically.
1 Open the menu bar and click
•The "Automatic Transfer" window appears.
2 Select the data to be transferred. •When you select "Index Image", index
image data (80 x 60 pixels) is transferred to your computer.
•When you select "Index & Full Image", both index image data (80 x 60 pixels) and full image data (768 x 552 pixels) are transferred to the computer.
3 Select "Interval Capture".
4 Set the interval.
•Select the time interval at which pictures are captured.
5 Set the number of pictures to be captured and click "OK".
•From 1 up to 99
6 Click "Window" — "VCR" to call up the VCR Operation Window. Start video playback a few seconds prior to the point where you want image capturing to start.
7 Operate the video source unit via the VCR Operation window and click the "Transfer" button at the desired picture.
1.The message "No. 1 index image being transferred" appears while the index image data is being transferred to the computer.
2.When you select "Index & Full Image" in step 2, the message "No. 1 image being transferred" appears while the full image data is being transferred to the computer.
3.The message "Index No. 2 being scanned" appears while the video data are fast- forwarded and played at the time intervals set in step 4 to scan the video data on the VCR.
•The image selected when "Transfer" is clicked is captured and subsequent images are captured at the time interval specified by the counter value selected in step 4.
•The video source unit enters the Pause mode when capture is complete.