4: Configuration
Viewing Print Jobs on the xPrintServer User Interface
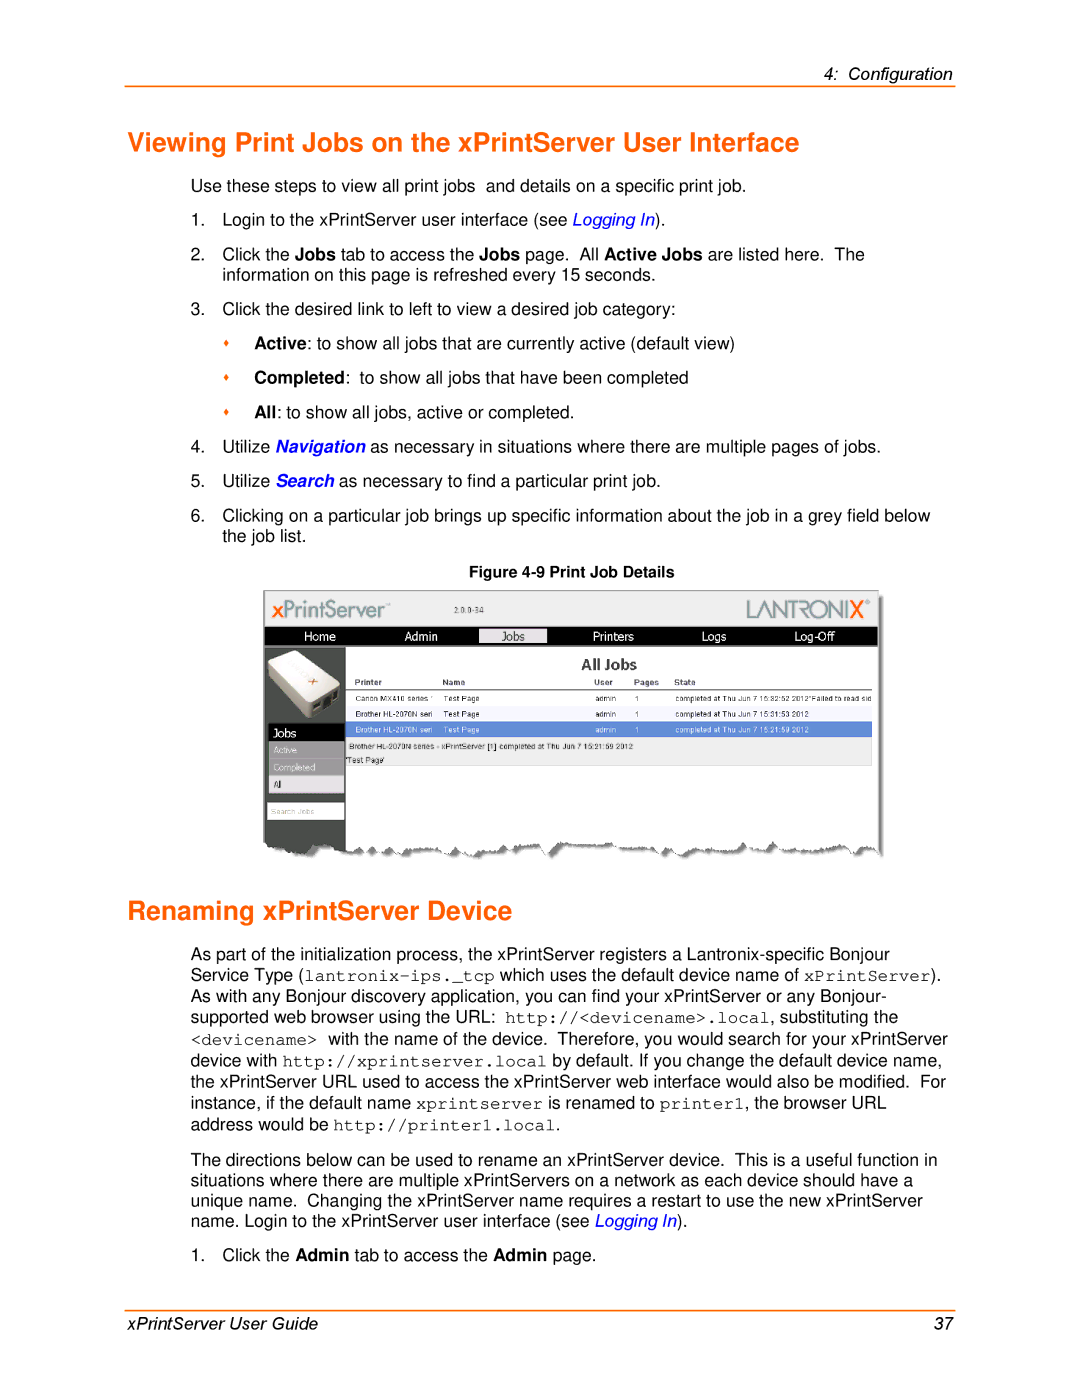
Use these steps to view all print jobs and details on a specific print job.
1.Login to the xPrintServer user interface (see Logging In).
2.Click the Jobs tab to access the Jobs page. All Active Jobs are listed here. The information on this page is refreshed every 15 seconds.
3.Click the desired link to left to view a desired job category:
Active: to show all jobs that are currently active (default view)
Completed: to show all jobs that have been completed
All: to show all jobs, active or completed.
4.Utilize Navigation as necessary in situations where there are multiple pages of jobs.
5.Utilize Search as necessary to find a particular print job.
6.Clicking on a particular job brings up specific information about the job in a grey field below the job list.
Figure 4-9 Print Job Details
Renaming xPrintServer Device
As part of the initialization process, the xPrintServer registers a
The directions below can be used to rename an xPrintServer device. This is a useful function in situations where there are multiple xPrintServers on a network as each device should have a unique name. Changing the xPrintServer name requires a restart to use the new xPrintServer name. Login to the xPrintServer user interface (see Logging In).
1. Click the Admin tab to access the Admin page.
xPrintServer User Guide | 37 |
