MSS User Guide | 3: Getting Started |
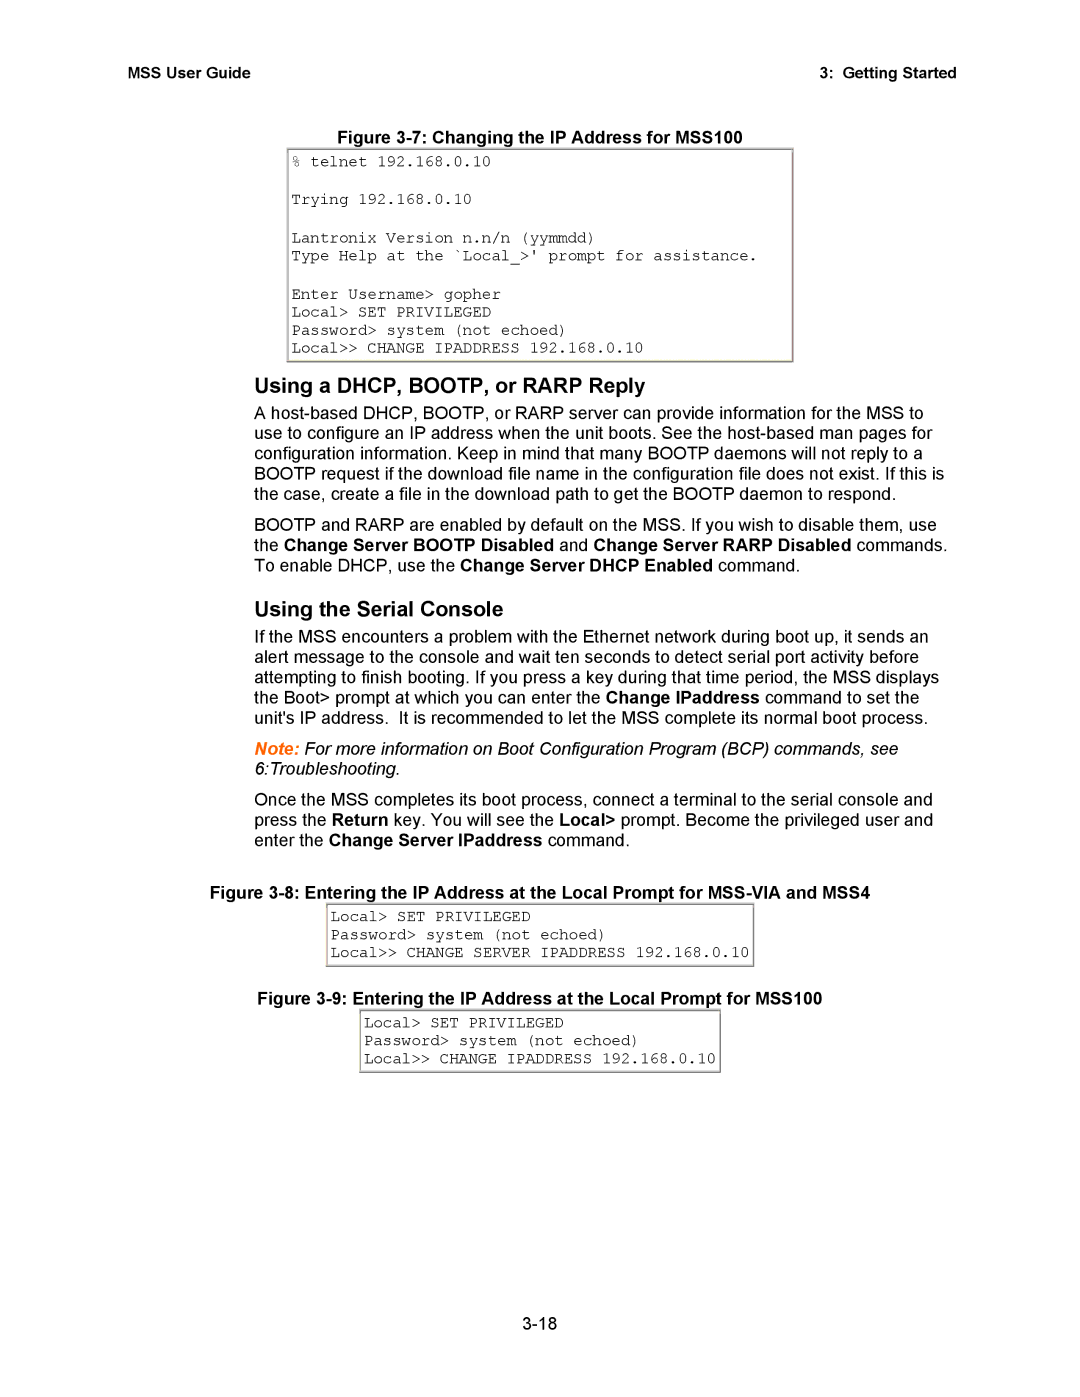
Figure 3-7: Changing the IP Address for MSS100
%telnet 192.168.0.10 Trying 192.168.0.10
Lantronix Version n.n/n (yymmdd)
Type Help at the `Local_>' prompt for assistance.
Enter Username> gopher
Local> SET PRIVILEGED
Password> system (not echoed)
Local>> CHANGE IPADDRESS 192.168.0.10
Using a DHCP, BOOTP, or RARP Reply
A
BOOTP and RARP are enabled by default on the MSS. If you wish to disable them, use the Change Server BOOTP Disabled and Change Server RARP Disabled commands. To enable DHCP, use the Change Server DHCP Enabled command.
Using the Serial Console
If the MSS encounters a problem with the Ethernet network during boot up, it sends an alert message to the console and wait ten seconds to detect serial port activity before attempting to finish booting. If you press a key during that time period, the MSS displays the Boot> prompt at which you can enter the Change IPaddress command to set the unit's IP address. It is recommended to let the MSS complete its normal boot process.
Note: For more information on Boot Configuration Program (BCP) commands, see 6:Troubleshooting.
Once the MSS completes its boot process, connect a terminal to the serial console and press the Return key. You will see the Local> prompt. Become the privileged user and enter the Change Server IPaddress command.
Figure 3-8: Entering the IP Address at the Local Prompt for MSS-VIA and MSS4
Local> SET PRIVILEGED
Password> system (not echoed)
Local>> CHANGE SERVER IPADDRESS 192.168.0.10
Figure 3-9: Entering the IP Address at the Local Prompt for MSS100
Local> SET PRIVILEGED
Password> system (not echoed)
Local>> CHANGE IPADDRESS 192.168.0.10