Using Advanced Configuration
![]() Important: This functionality is only available with a Lenovo Online Data Backup server license.
Important: This functionality is only available with a Lenovo Online Data Backup server license.
For information on how to share files and folders on another computer, see the computer's operating system help.
1.Click the File System tab.
2.
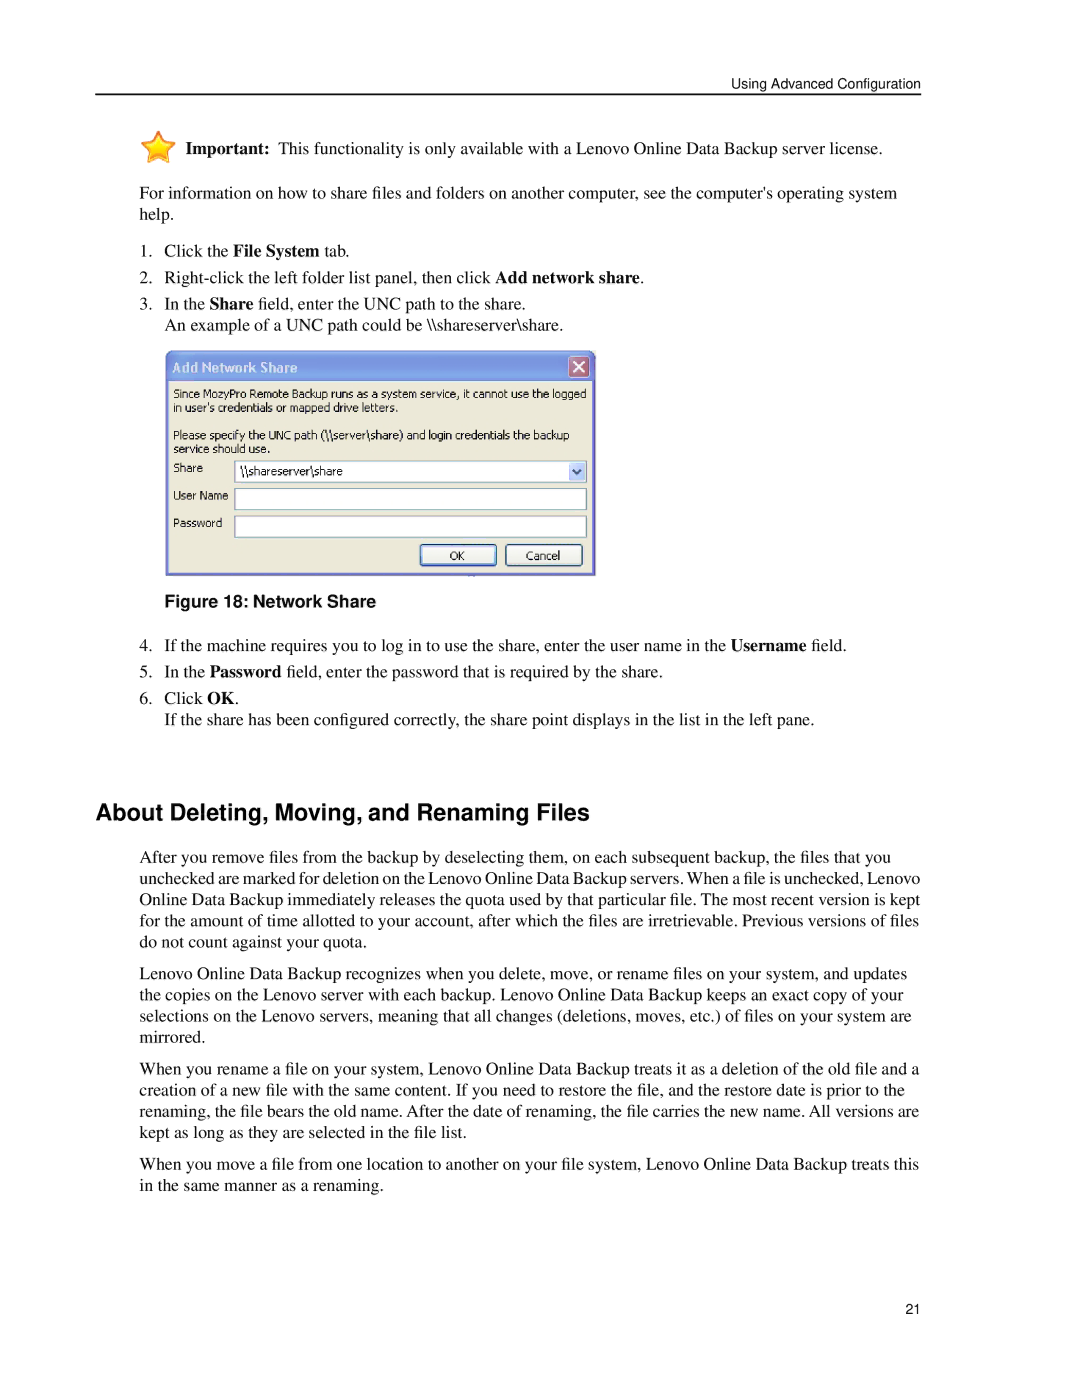
3.In the Share field, enter the UNC path to the share.
An example of a UNC path could be \\shareserver\share.
Figure 18: Network Share
4.If the machine requires you to log in to use the share, enter the user name in the Username field.
5.In the Password field, enter the password that is required by the share.
6.Click OK.
If the share has been configured correctly, the share point displays in the list in the left pane.
About Deleting, Moving, and Renaming Files
After you remove files from the backup by deselecting them, on each subsequent backup, the files that you unchecked are marked for deletion on the Lenovo Online Data Backup servers. When a file is unchecked, Lenovo Online Data Backup immediately releases the quota used by that particular file. The most recent version is kept for the amount of time allotted to your account, after which the files are irretrievable. Previous versions of files do not count against your quota.
Lenovo Online Data Backup recognizes when you delete, move, or rename files on your system, and updates the copies on the Lenovo server with each backup. Lenovo Online Data Backup keeps an exact copy of your selections on the Lenovo servers, meaning that all changes (deletions, moves, etc.) of files on your system are mirrored.
When you rename a file on your system, Lenovo Online Data Backup treats it as a deletion of the old file and a creation of a new file with the same content. If you need to restore the file, and the restore date is prior to the renaming, the file bears the old name. After the date of renaming, the file carries the new name. All versions are kept as long as they are selected in the file list.
When you move a file from one location to another on your file system, Lenovo Online Data Backup treats this in the same manner as a renaming.
21