Installing Lenovo Online Data Backup
Installing the Lenovo Online Data Backup Client
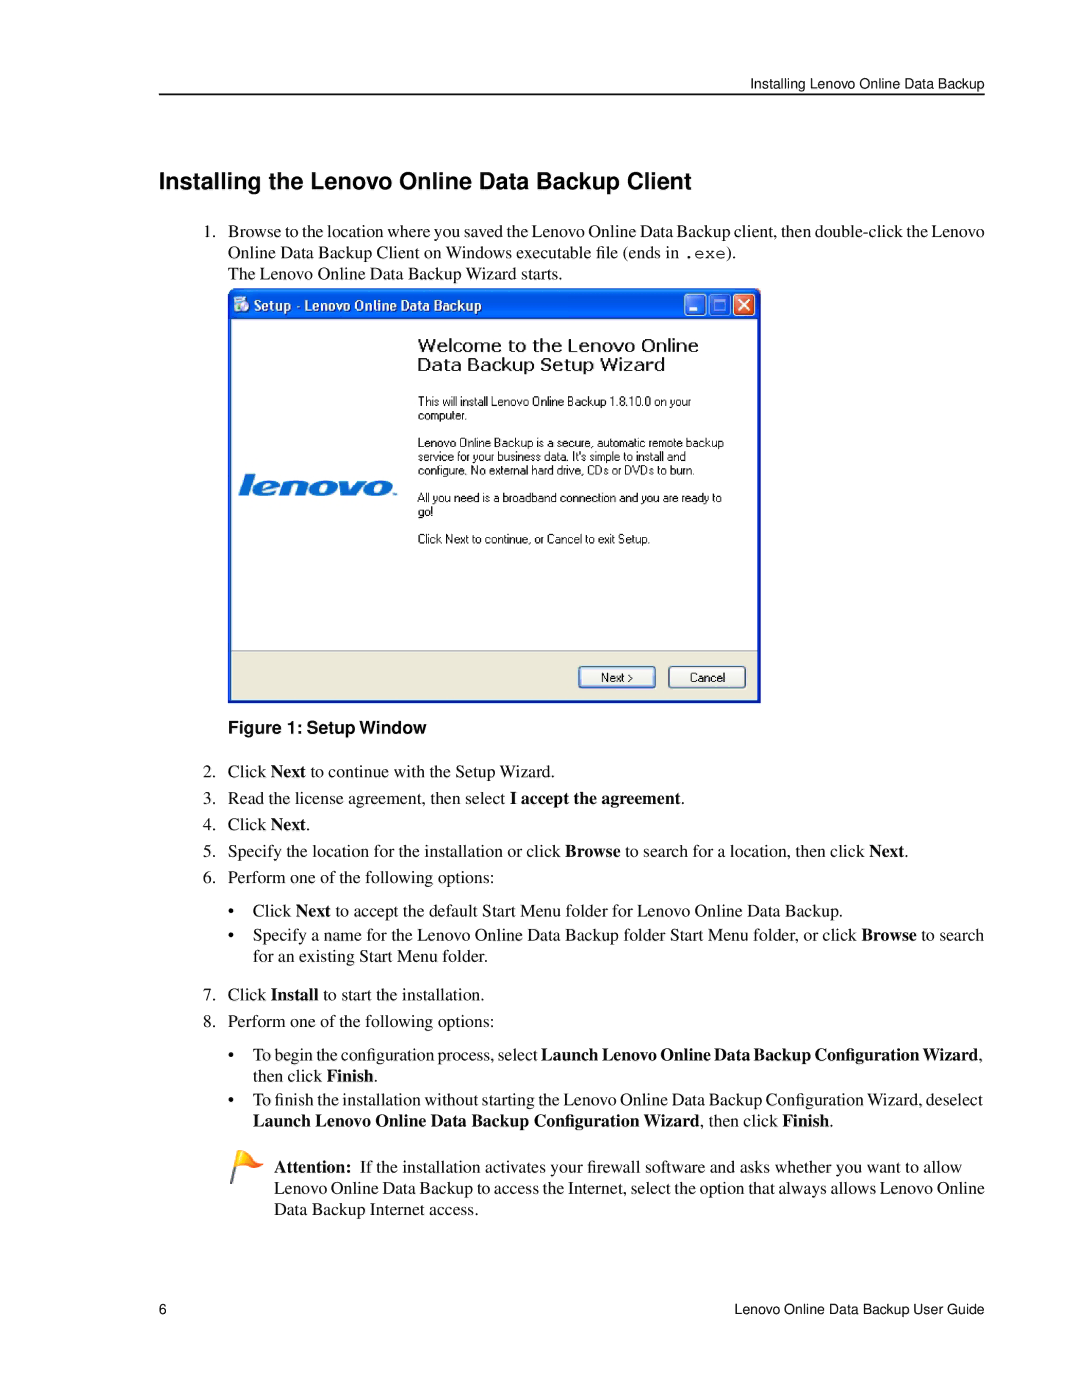
1.Browse to the location where you saved the Lenovo Online Data Backup client, then
The Lenovo Online Data Backup Wizard starts.
Figure 1: Setup Window
2.Click Next to continue with the Setup Wizard.
3.Read the license agreement, then select I accept the agreement.
4.Click Next.
5.Specify the location for the installation or click Browse to search for a location, then click Next.
6.Perform one of the following options:
•Click Next to accept the default Start Menu folder for Lenovo Online Data Backup.
•Specify a name for the Lenovo Online Data Backup folder Start Menu folder, or click Browse to search for an existing Start Menu folder.
7.Click Install to start the installation.
8.Perform one of the following options:
•To begin the configuration process, select Launch Lenovo Online Data Backup Configuration Wizard, then click Finish.
•To finish the installation without starting the Lenovo Online Data Backup Configuration Wizard, deselect Launch Lenovo Online Data Backup Configuration Wizard, then click Finish.
Attention: If the installation activates your firewall software and asks whether you want to allow Lenovo Online Data Backup to access the Internet, select the option that always allows Lenovo Online Data Backup Internet access.
6 | Lenovo Online Data Backup User Guide |
