Restoring Files
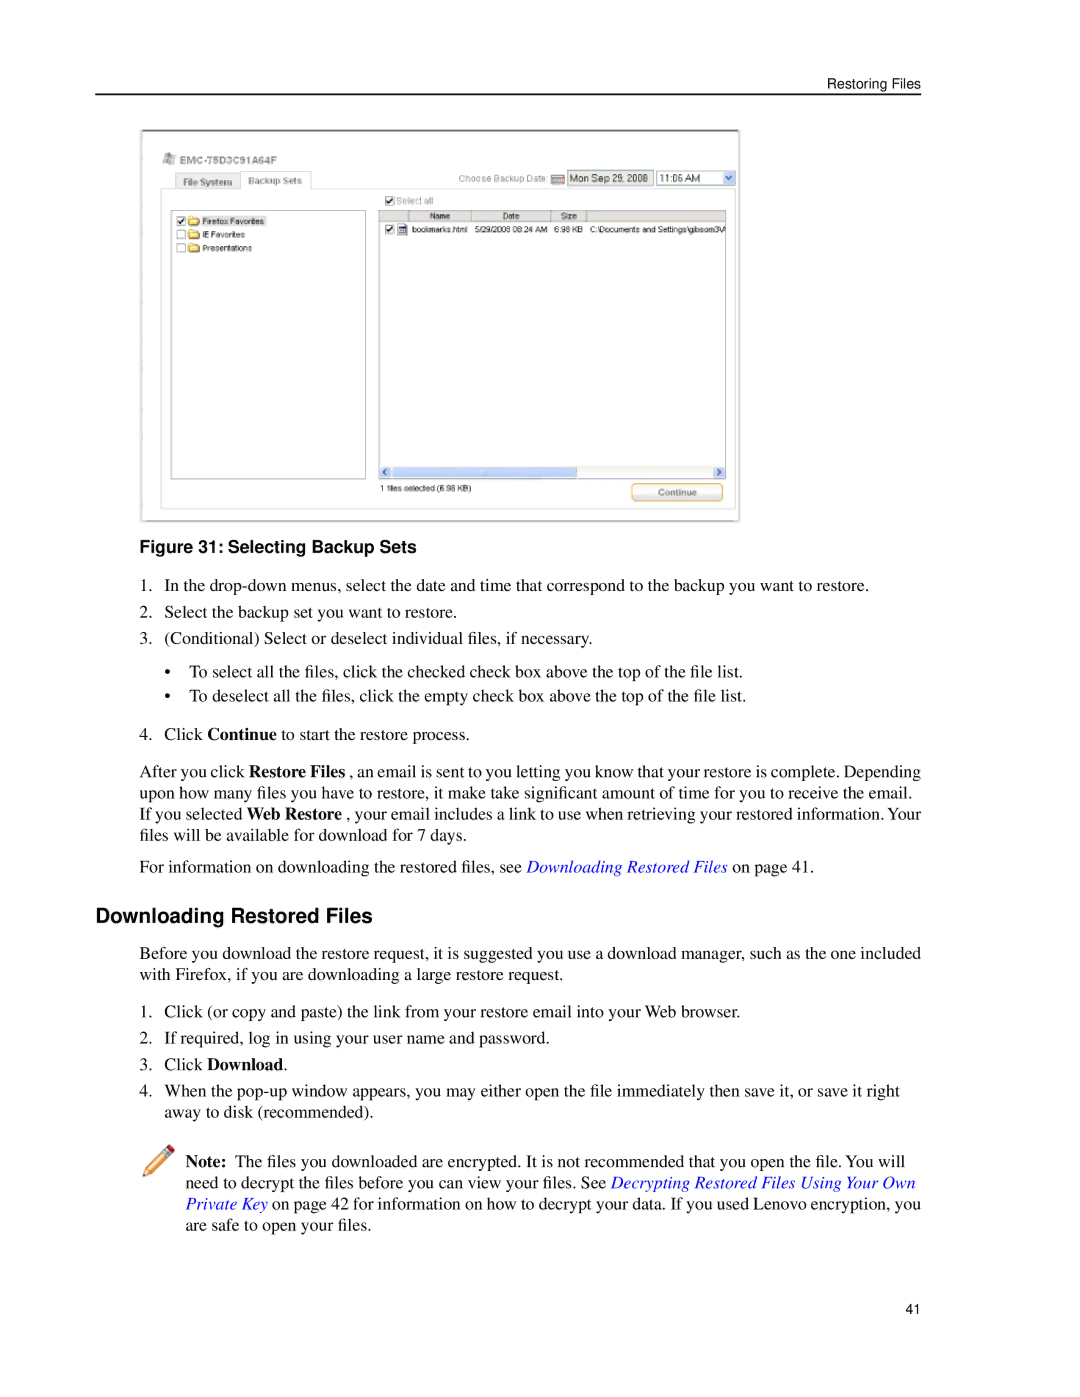
Figure 31: Selecting Backup Sets
1.In the
2.Select the backup set you want to restore.
3.(Conditional) Select or deselect individual files, if necessary.
•To select all the files, click the checked check box above the top of the file list.
•To deselect all the files, click the empty check box above the top of the file list.
4.Click Continue to start the restore process.
After you click Restore Files , an email is sent to you letting you know that your restore is complete. Depending upon how many files you have to restore, it make take significant amount of time for you to receive the email. If you selected Web Restore , your email includes a link to use when retrieving your restored information. Your files will be available for download for 7 days.
For information on downloading the restored files, see Downloading Restored Files on page 41.
Downloading Restored Files
Before you download the restore request, it is suggested you use a download manager, such as the one included with Firefox, if you are downloading a large restore request.
1.Click (or copy and paste) the link from your restore email into your Web browser.
2.If required, log in using your user name and password.
3.Click Download.
4.When the
Note: The files you downloaded are encrypted. It is not recommended that you open the file. You will need to decrypt the files before you can view your files. See Decrypting Restored Files Using Your Own Private Key on page 42 for information on how to decrypt your data. If you used Lenovo encryption, you are safe to open your files.
41