Main
 taining
 th
th e
e prin
prin t
t er
er


Maintaining print cartridges
Installing print cartridges
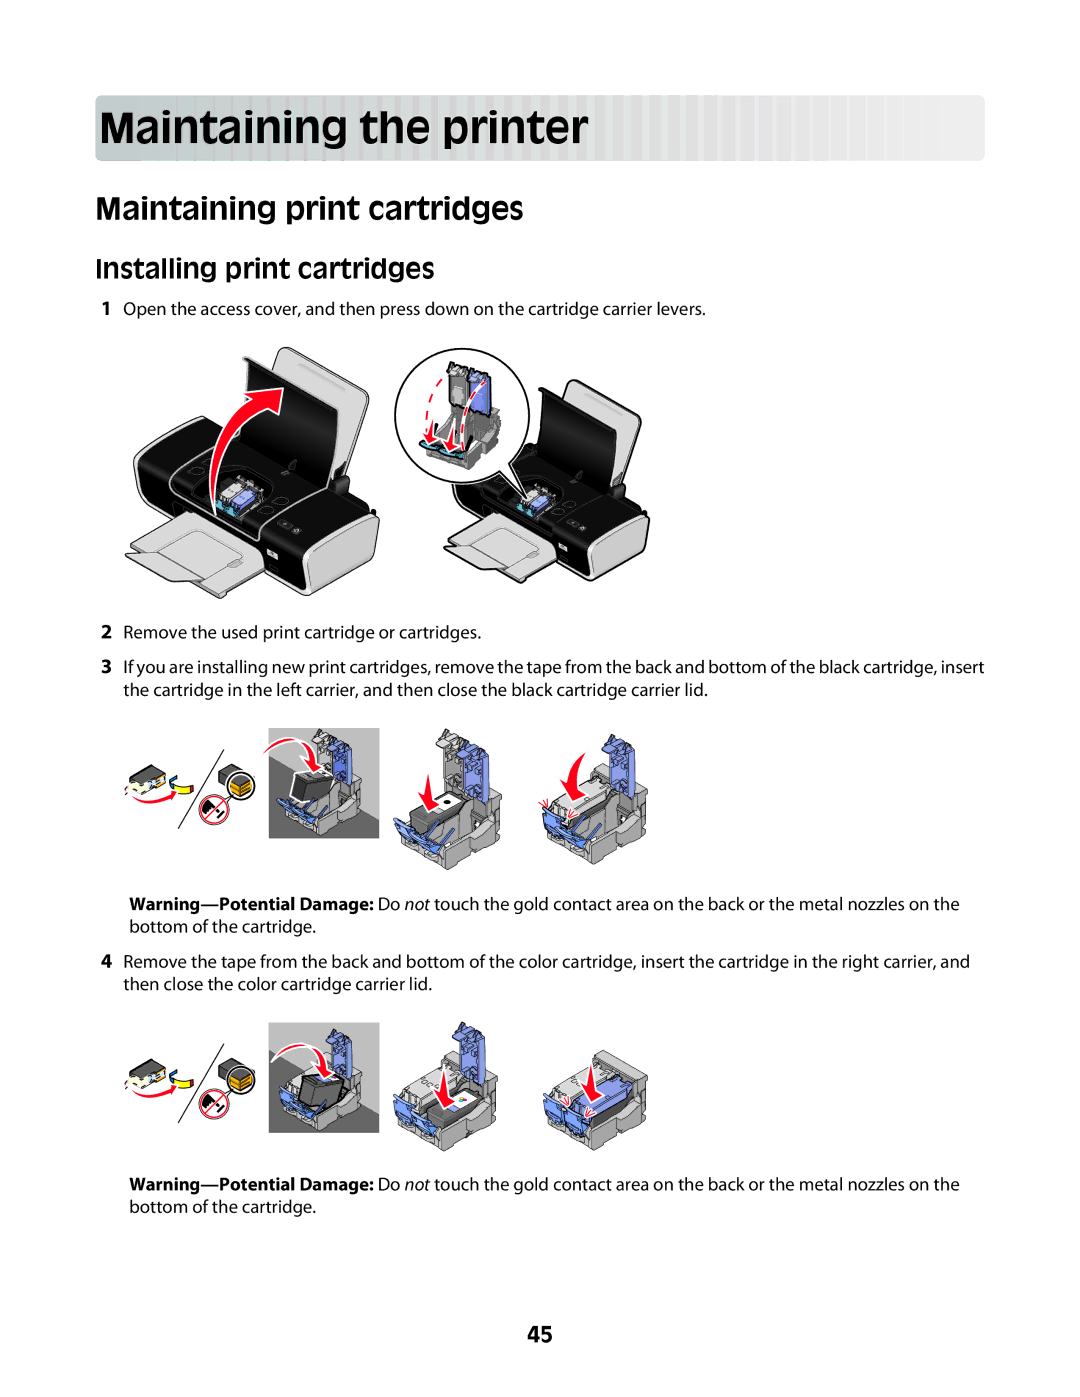
1Open the access cover, and then press down on the cartridge carrier levers.
WI![]()
F
WI
F
I
I
2Remove the used print cartridge or cartridges.
3If you are installing new print cartridges, remove the tape from the back and bottom of the black cartridge, insert the cartridge in the left carrier, and then close the black cartridge carrier lid.
4Remove the tape from the back and bottom of the color cartridge, insert the cartridge in the right carrier, and then close the color cartridge carrier lid.
45