Section 2 | SOFTWARE INSTALLATION |
PLEASE NOTE: Some IBM ThinkPads® by default have the serial port disabled and instead the port is used for infrared. The following information describes the procedure to disable the infrared feature and enable the serial port. Follow the instructions below to use COM1 to communicate with the PowerWave. More instructions at the end discuss how to use other ports, if necessary.
The following information can also be found at the IBM website at
How to enable the external serial port on your ThinkPad
SYMPTOM:
The ThinkPad is not communicating with the PowerWave serial device.
CONFIGURATION:
Any ThinkPad trying to utilize the external serial port using any applicable operating systems.
RESOLUTION:
By default, currently available ThinkPads come with the external serial port disabled and Infrared enabled on COM 1. To use the serial port on COM 1 you must either disable infrared or change infrared so that it uses alternate resources. If you are not using infrared for printing or file sharing it is recommended that it be disabled.
To disable infrared and enable the serial port on COM 1 do the following:
1.
2.Locate the Infrared button located on the
(Note: If you hold your mouse pointer over any of the icons in this configuration screen the button will be identified at the bottom in the status window.)
3.Change Infrared from "Enable" to "Disable" and click "OK".
4.Locate the serial port icon and click it once.
5.Select serial port "enable" and insure that the COM PORT setting is "COM 1" and click "OK".
6.Shut down and restart the computer.
More Information:
There are many different combinations of port settings that are possible. The following table indicates the standard settings for the four available COM Ports:
COM 1 03F8 4 | COM 2 02F8 3 |
COM 3 03E8 4 | COM 4 02E8 3 |
Please note that COM 1 and 3 share IRQ 4 and COM 2 and 4 share IRQ 3. You can not configure multiple devices to the same IRQ.
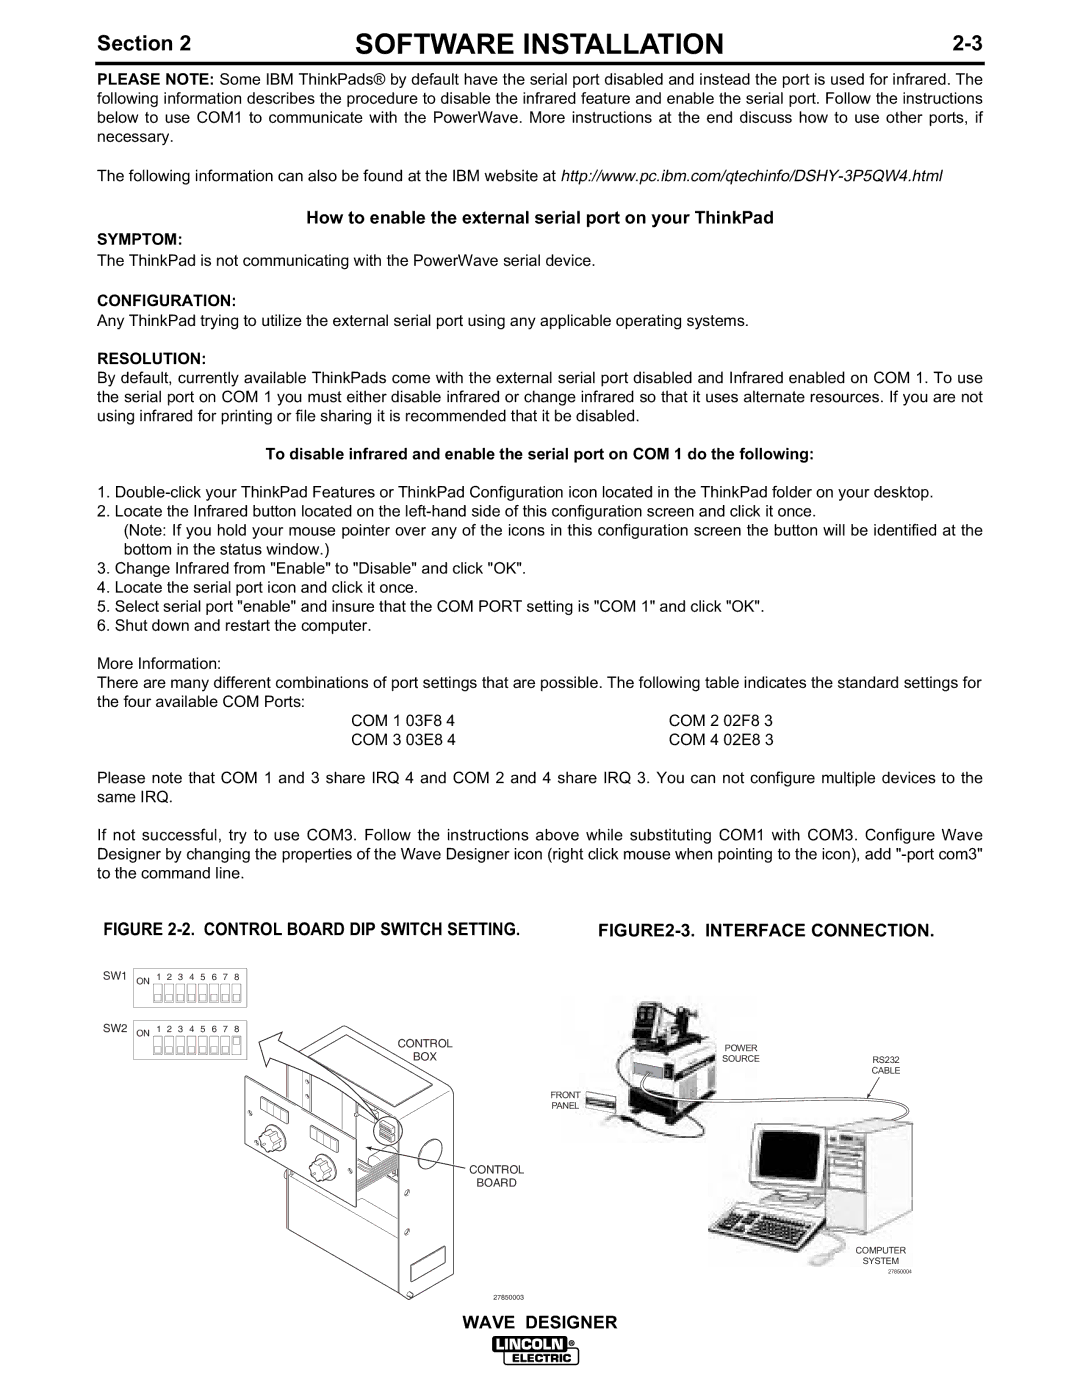
If not successful, try to use COM3. Follow the instructions above while substituting COM1 with COM3. Configure Wave Designer by changing the properties of the Wave Designer icon (right click mouse when pointing to the icon), add
FIGURE |
| |||||||||
SW1 ON | 1 | 2 | 3 | 4 | 5 | 6 | 7 | 8 |
|
|
SW2 ON | 1 | 2 | 3 | 4 | 5 | 6 | 7 | 8 |
|
|
|
|
|
|
|
|
|
| CONTROL | POWER |
|
|
|
|
|
|
|
|
| BOX |
| |
|
|
|
|
|
|
|
| SOURCE | RS232 | |
|
|
|
|
|
|
|
|
|
| CABLE |
|
|
|
|
|
|
|
|
| FRONT |
|
|
|
|
|
|
|
|
|
| PANEL |
|
CONTROL
BOARD
COMPUTER
SYSTEM
27850004
27850003
WAVE DESIGNER
