TEST PROCEDURE
1.Disconnect main AC input power to the machine.
2.Disconnect Plugs J3 and J6 from the G2332 Control Board. This electrically isolates the SCR bridge assembly. See Figure F.2.
J3 | |||||
|
| REMOVE | |||
| |||||
| G2332 |
|
|
| PLUGS J3 & J6 |
|
|
|
|
| |
|
|
| |||
|
|
|
|
|
|
|
|
|
|
|
|
J9
J6
J4
J5
J1 | J7 | J10 |
|
|
![]()
![]()
![]() J2
J2
FIGURE F.2 - Remove Plugs J3 and J6 to Perform Static SCR Rectifier Assembly Test.
3.Verify that the capacitors have com- pletely discharged with an Analog
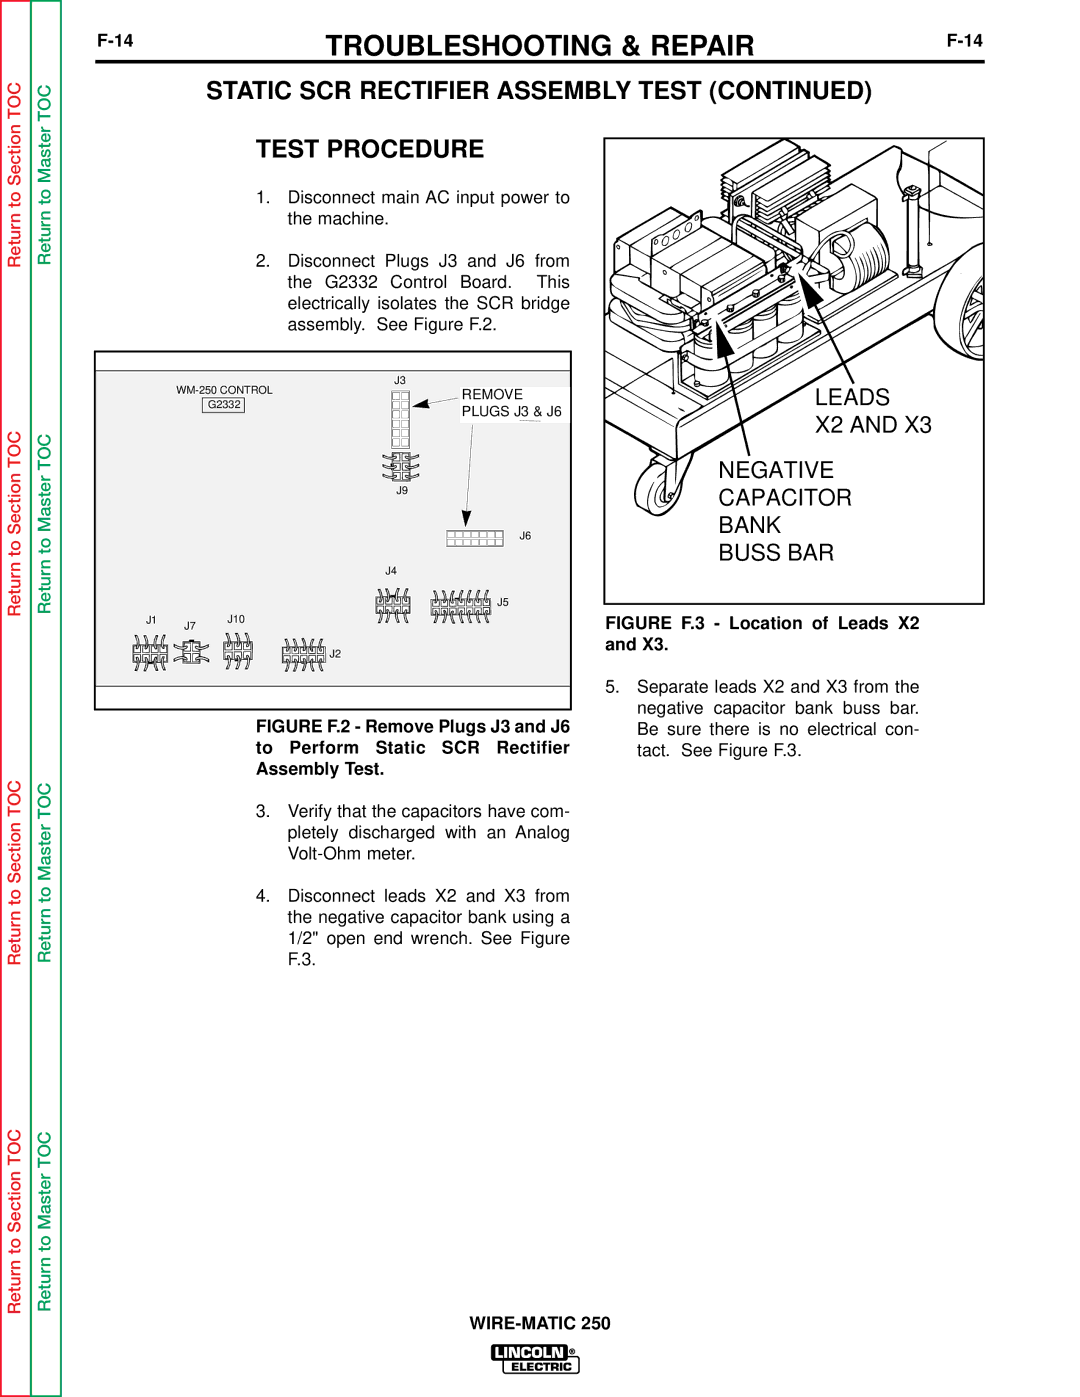
4.Disconnect leads X2 and X3 from the negative capacitor bank using a 1/2" open end wrench. See Figure F.3.
LEADS |
X2 AND X3 |
NEGATIVE |
CAPACITOR |
BANK |
BUSS BAR |
FIGURE F.3 - Location of Leads X2 and X3.
5.Separate leads X2 and X3 from the negative capacitor bank buss bar. Be sure there is no electrical con- tact. See Figure F.3.