ACCESSORIES | ||
|
|
Return to Section TOC
Return to Section TOC
Return to Section TOC
Return to Section TOC
Return to Master TOC
Return to Master TOC
Return to Master TOC
Return to Master TOC
MAKING SPOT AND STITCH WELDS WITH TIMER KIT INSTALLED
TO MAKE SPOT PLUG WELDS:
The SPOT WELD MODE is used to make spot plug welds when continuous welds are not needed or to hold thin sheet metal together prior to stitch welding or continuous welding.
Plug welds are made by using a punch to make a 3/16" (5mm) diameter hole in the top sheet and arc welding through the hole into the back sheet.
1.Punch 3/16" (5mm) holes in the top sheet.
2.Set the SPOT/STITCH
3.Set the procedure for the metal thickness to be welded.
4.Install spot weld nozzle (if available) on gun and press it against the top sheet so the top and bot- tom sheets are tight together.
5.Close trigger and hold it closed until the arc goes out.
a.If a spot weld nozzle is not used, smoother welds will result by moving the welding wire in a small circle during the weld.
TO MAKE A STITCH WELD:
The STITCH WELD MODE is used to weld thin mater- ial when warpage and burn through are a problem. Proper adjustment of the Spot/Stitch
1.The SPOT/STITCH
a.Start with a dial setting of 0.5 seconds. Raise setting to increase penetration and weld size. Lower setting to reduce burnthrough and dis- tortion.
2.The STITCH
a.Start with a dial setting of 0.5 seconds. Raise setting to reduce burnthrough. Lower setting to make weld flatter and smoother.
3.Set the procedure for the metal thickness to be welded.
4.Close trigger and hold it closed for length of seam.
a.Hold gun in one place during ON time and move gun just beyond edge of molten metal during OFF time.
NOTE: For smoothest welds on thinner metal, point gun slightly toward the direction of travel.
DRIVE ROLL KITS
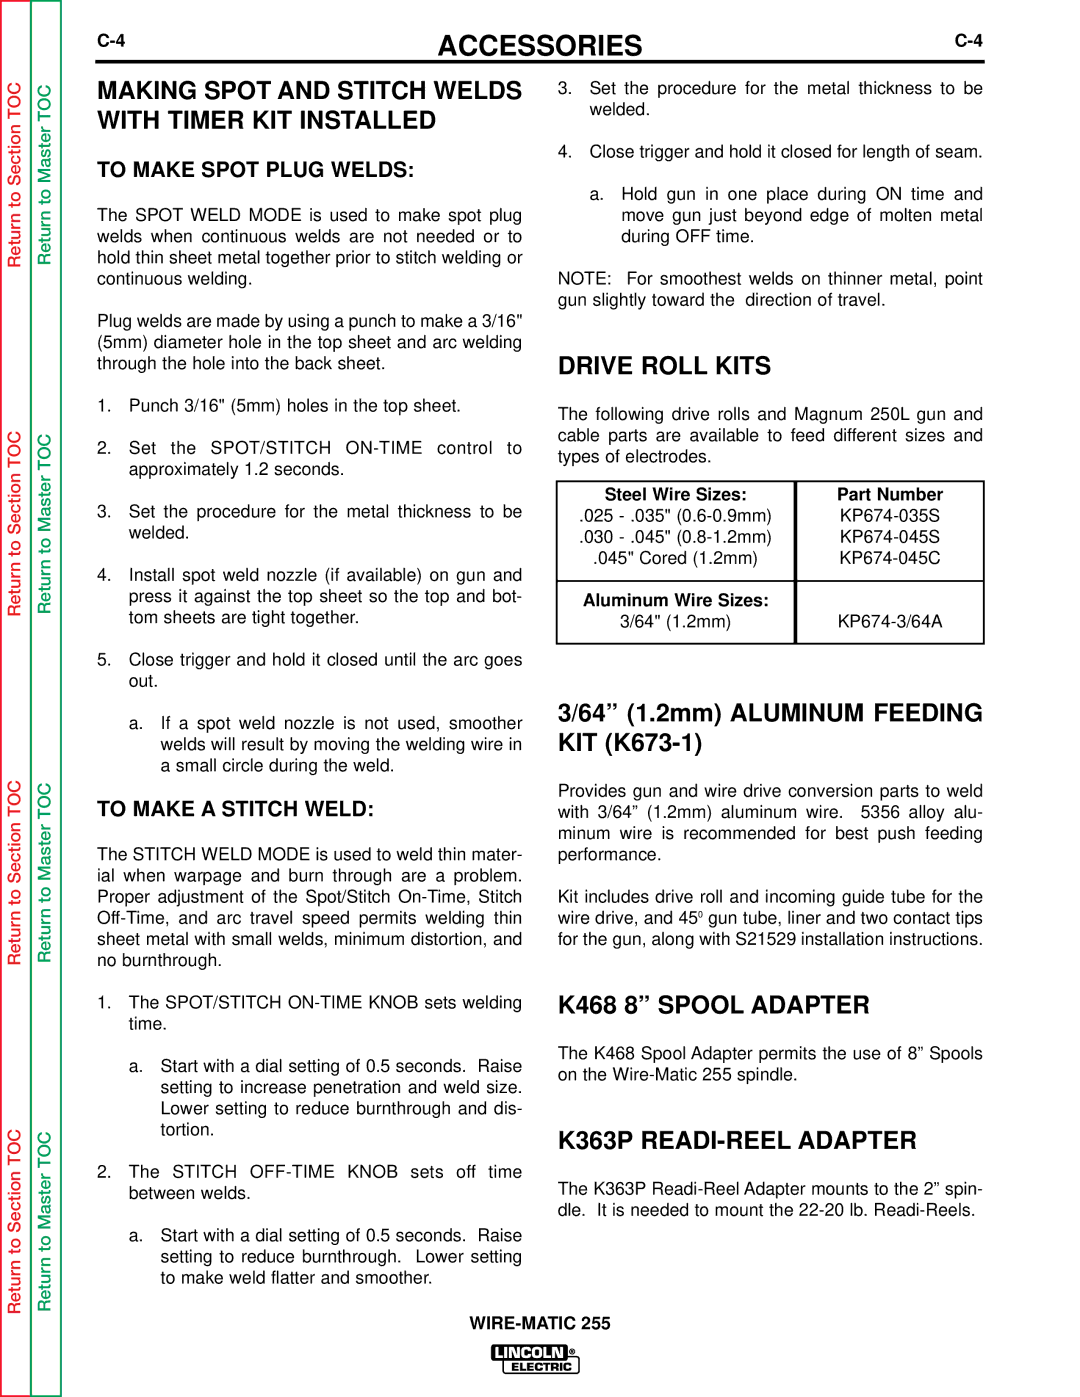
The following drive rolls and Magnum 250L gun and cable parts are available to feed different sizes and types of electrodes.
Steel Wire Sizes: | Part Number |
.025 | |
.030 | |
.045" Cored (1.2mm) | |
|
|
Aluminum Wire Sizes: |
|
3/64" (1.2mm) | |
|
|
3/64” (1.2mm) ALUMINUM FEEDING KIT (K673-1)
Provides gun and wire drive conversion parts to weld with 3/64” (1.2mm) aluminum wire. 5356 alloy alu- minum wire is recommended for best push feeding performance.
Kit includes drive roll and incoming guide tube for the wire drive, and 450 gun tube, liner and two contact tips for the gun, along with S21529 installation instructions.
K468 8” SPOOL ADAPTER
The K468 Spool Adapter permits the use of 8” Spools on the
K363P READI-REEL ADAPTER
The K363P
